8 Powerful New & Old Lightroom Editing Tricks You May Not Know (VIDEO)
This is the first tutorial we’ve posted from Albert Dros, a long-time professional landscape photographer based in the Netherlands who has a solid following on his instructional YouTube channel. Dros is also an experienced Lightroom user, and in this episode he reveals eight editing tricks that comprise a big part of his workflow.
Some of these techniques “are already very old” and no longer grab attention, while others were just introduced in 2023 and may be more top of mind. In either case you may find these tips unfamiliar and Dros wants to get you up to speed because of the impressive utility they offer when processing images that need work.
Dros begins with an interesting way to employ Lightroom’s Histogram with a rather dark forest photo he shot during a visit to a forest in Luxembourg. Rather than using sliders beneath the Histogram to adjust various values, he drags across the Histogram graphic itself to quickly modify attributes like, Blacks, Shadows, Exposure, Highlights, and Whites.

As he does this the corresponding sliders move automatically to reflect the changes he makes. According to Dros, this method can be far more intuitive than the conventional approach, especially for inexperienced Lightroom users—but even pros like Dros avail themselves of this time-saving trick.
Tip number two involves what Dros says is a “smarter way to adjust White Balance.” The image for this demonstration lacks a true white point, so Lightroom’s Color Picker can’t be used in the normal way. Instead, Dros moves the Vibrance and Saturation sliders all the way to the right (i.e. to the maximum) and then he carefully observes how colors in the image respond as he carefully drags the White Balance slider.
With this approach colors change rapidly as he moves the White Balance slider in minimum increments. Dros explains that “this way we can accurately see exactly what’s going on with the color.” The goal is to arrive at “the best possible color separation,” and Dros also employs Lightroom’s Tint slider to refine the results until he sees exactly what he wants.

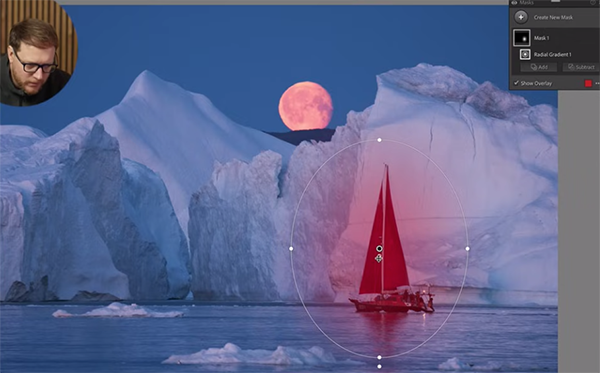
The foregoing is just a small taste of what you’ll learn in this eye-opening lesson, and by the time you’re done watching you may be inspired to modify your workflow. Other topics covered include what Dros refers to as “Light Bleed, a quick and effective Curves Trick, and how to employ Selective Color.
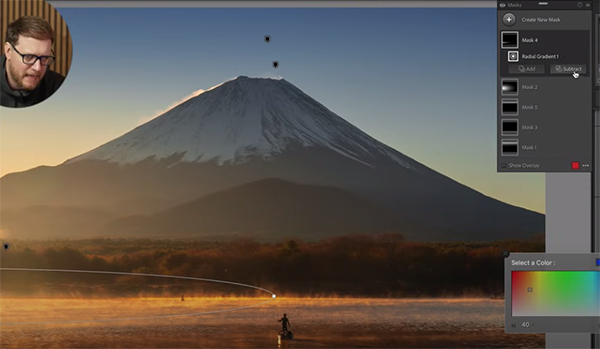
Dros also explains how to use a Land Mask, a Map Module, and a Smart Sky Mask to enhance a wide variety of images. There’s also a link beneath the video to his Full Editing Course on Landscape photography if you’re so inclined.
Be sure to visit Dros’ instructional YouTube channel where you’ll find more free lessons for improving your work. We also recommend watching the tutorial we posted recently with five Lightroom Masks that another accomplished landscape photographer says he simply can’t live without.


