
A “Secret” Pro Sharpening Trick for Landscape Photos & More (VIDEO)
There are a variety of techniques for sharpening photos during the editing process, some more effective than others, but none are quite like the method you’ll learn in today’s tutorial that photographer Jethro Stebbings developed himself for bringing images to life.
Stebbings is a British landscape photographer who notes that some conventional sharpening techniques are only effective with certain types of images and don’t work particularly well with others. That’s why he created his own approach in Photoshop that he says will enable you to “tackle any scene and any subject matter with confidence.”
This 13-minute episode is somewhat more involved than others we’ve shared, so we suggest jotting down a few notes for future reference, but you’ll be justly rewarded for your efforts. Stebbings also explains how to negate the negative effects that often occur with sharpening so that you’ll consistently achieve “super-clean” results.

Stebbings walks you through all the important steps while editing a stunning seascape image photographed in Cornwall. His goal is to sharpen the shot in a way that adds texture and impact to the prominent rocks in the foreground and mid-range, as well as to a cliff face in the background.
One reason why this technique is so effective is that it doesn’t rely upon global adjustments to sharpen the entire image at once. Instead, Stebbings separate the photo into three distinct sections and makes selective adjustments to each. As he explains, “this means we’re going to employ different strategies for each area or plane.” As you’ll see, this makes total sense because one overall adjustment simply won’t work to perfection.
Stebbings creates three layers for each plane he intends to sharpen. He then tuns to Photoshop’s High Pass filter that you’ve likely used in a different way before. Here you’ll want to move the Radius slider until you start to see the image come to life. In basic terms this means “you want this filter to essentially make an outline of the details that are there.” For this shot a Radius of six or seven pixels seems about right.
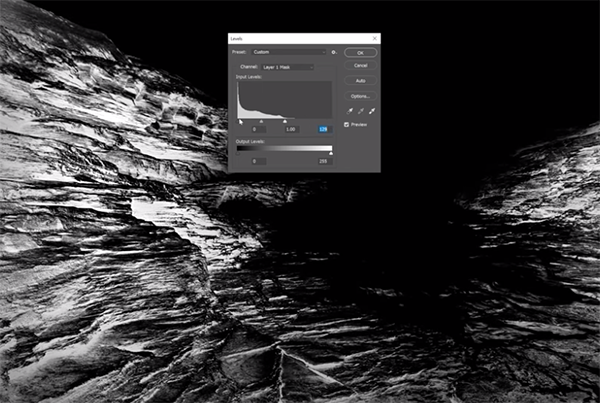
The next step in Stebbings technique is reducing Opacity, and you learn how this contributes to the final result. He then completes the precision transformation by dealing with any remaining negative artifacts. You be impressed when you compare the before/after images.
There’s much more to learn on Stebbings’ instructional YouTube channel and in a tutorial we posted earlier, explaining how to solve the challenges of wide-angle landscape photography.


