
A Ton of Tips For Better Summer Photography
How do you photograph summer? Ecstatically of course! Here’s a large collection of tips that are sure to make your summertime photography more enjoyable and more successful.
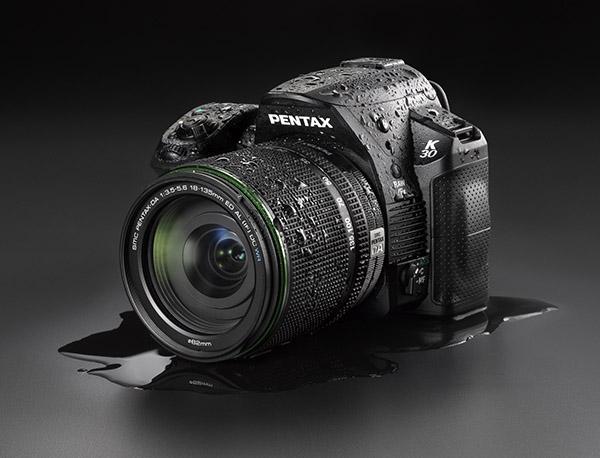
1. Always Use Protection
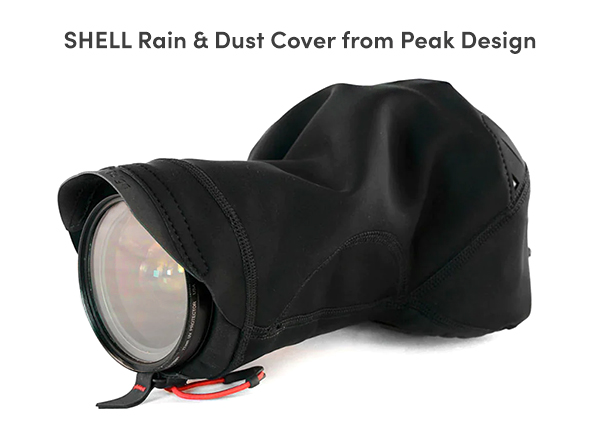
Summer showers bring broken hearts over ruined camera gear. Even if your equipment is advertised as “weather-resistant” why roll the dice? Pack a few 30-gallon Hefty Trash Bags in with your gear and you’ll never be left out in the rain. They don’t take up much space and they’ve saved my bacon many a time. In a pinch, a trash bag can be converted into an impromptu rain poncho of sorts, enough to keep your torso dry. Priced at $10.89 for 25 pieces on Amazon (43¢ a piece) they’re the cheapest protection you’ll ever find.
Read this Shutterbug classic to learn how water and dust resistance levels are measured on the IP (Ingress Protection) scale (international standard IEC 60529): Is Your Weather Resistant, Splashproof, Waterproof Camera Impervious to Water & Dust?
Summer sun can give you a good blister; it can also cook a camera that’s left on the passenger seat while you cruise the beach in your convertible Jeep. I use a PGYTECH Protective Wrap ($19.95 from Amazon). I’ve tried other wraps but the PGYTECH (reviewed here) are soft, self-clinging and larger than most (17.7 x 17.7 inches). Cover your camera and lens where it sits when you’re in the car. In the field, the Protective Wrap clings to a long lens or whatever and acts as a sunlight deflector.
A word of caution about sunscreen: if transferred from your hands (or nose) to a camera it creates a nasty mess that’s difficult to remove. Doubly bad is insect repellant which can sometimes damage the finish of a lens or camera body. Either wash your hands thoroughly after applying these summer necessities or, better yet, have someone else apply them on you.
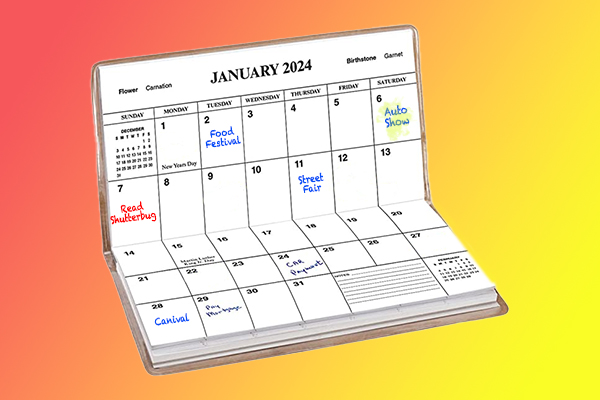
2. Make a Calendar of Summer Events
Parades, farmers’ markets, carnivals, food truck festival, concerts, state fairs, baseball games—the list goes on and on. But you can’t photograph any of them unless you know when and where they’re happening. Start your search at a regional or municipal website and jot down some dates. And don’t forget the July 4th fireworks, Labor Day celebrations and ethic food fairs.
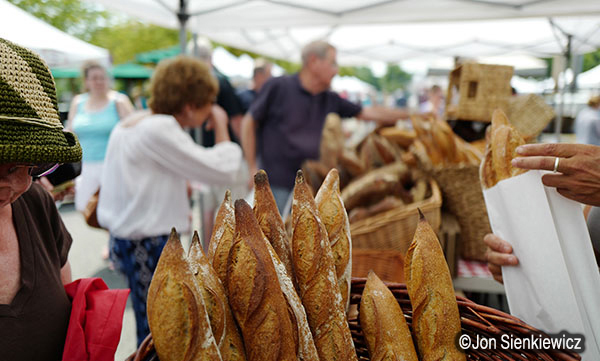
Tip: when photographing a stationary event like a farmers’ market or street fair I usually make a first pass past the booths using a short zoom or medium prime, then cover the same areas in a second pass with a macro lens—or sometimes a different camera. Try it. You’ll be surprised how your perception changes when you change tools.
3. Leverage the Legendary Golden Hours
In my experience, the coveted magic attributes of the Golden Hours are significantly overemphasized. Typically defined as the first hour after sunrise and the last hour before sunset, some believe the naturally occurring colors are better, and there are arguably fewer harsh shadows.
For my money, every cloudy day is Platinum, and they normally last longer than an hour. An overcast sky assures fewer shadows and more even lighting. If you want to add warmer or cooler tones as you shoot (as opposed to doing it during post-processing) change your camera’s White Balance settings or make adjustments in Lightroom.
4. Filter Your Images
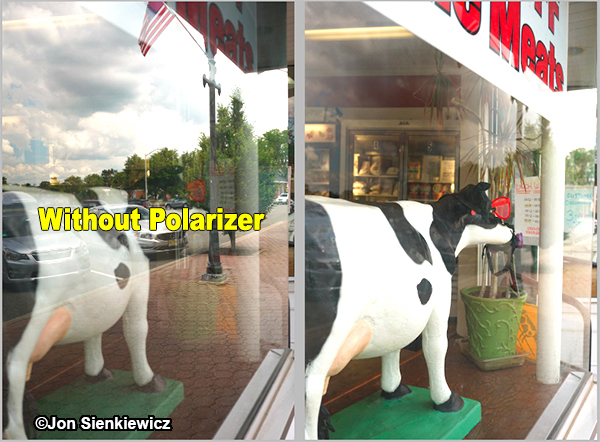
Polarizers reduce surface glare and make colors pop. They also deepen the blues of the sky and minimize reflections from water and windows. You can use polarizers year round, but they are especially useful for summer landscapes. Bonus: since polarizers require 1 to 2.5 stops of additional exposure, they double as a de facto ND filter explained below.
When the summer sun get too bright, opt for a ND (Neutral Density) filter. These screw-in filters reduce the amount of light transmitted through to the camera’s sensor without changing the colors, i.e., they absorb all wavelengths equally. At least most of them work that way. Some have a faint tint which is annoying to say the least.
ND filters are categorized by density. For example, an ND .3 (sometimes written as “ND3” without the decimal point) equals 1 stop of exposure. An ND .6 equals 2 stops. See a pattern here? You can stack ND filters to increase density, but be wary of vignetting (darkened corners, sometimes called “shading”) and overall image degradation caused by the nonparallel glass surfaces of the layered filters.
I’ve never had much luck with adjustable ND filters, the kind that darken when rotated. Other photographers swear by them, but I can’t make them work nearly as well as filters with fixed density.
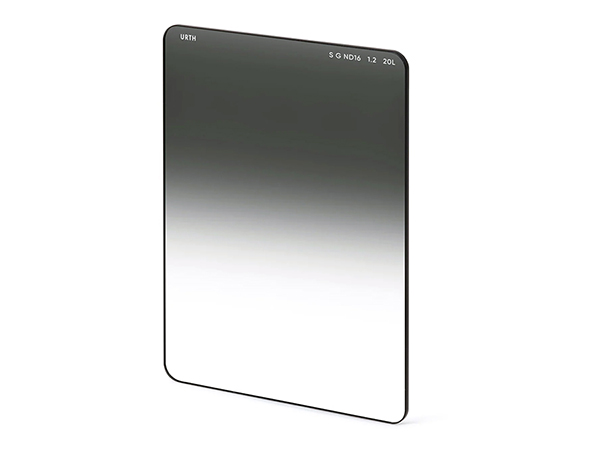
Graduated NDs are a different story—they work great if you’re at least half careful. To block some of the light in the sky without affecting the foreground, try a graduated ND filter. They’re dark at the top and provide a gradient of neutral density until it fades to zero about in the middle. You need a square filter holder so you can move the horizon without moving the camera.
Summertime is also the time for special effects filters like diffraction gratings (star filters), graduated, soft focus and multi-image prisms. Try them on colorful lights at night, and experiment with long exposure times (tripod required).
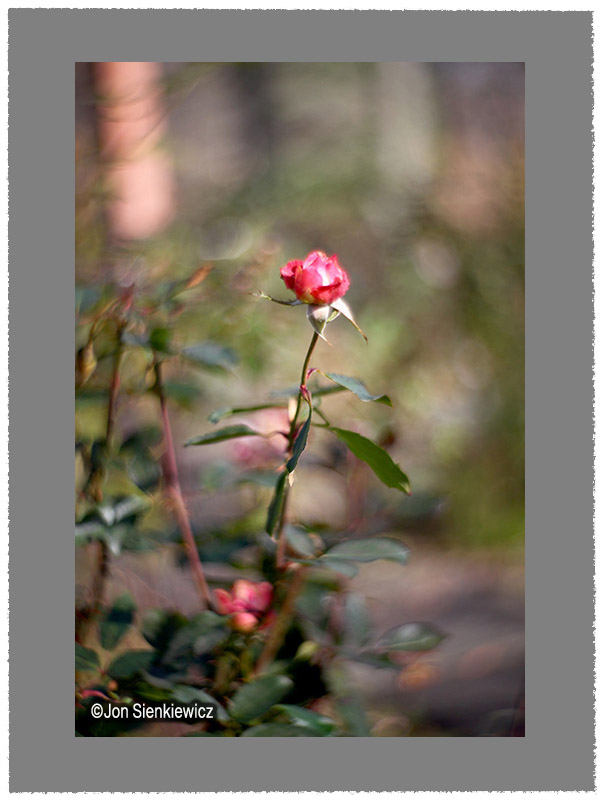
5. Bugs, Flowers, Wildlife
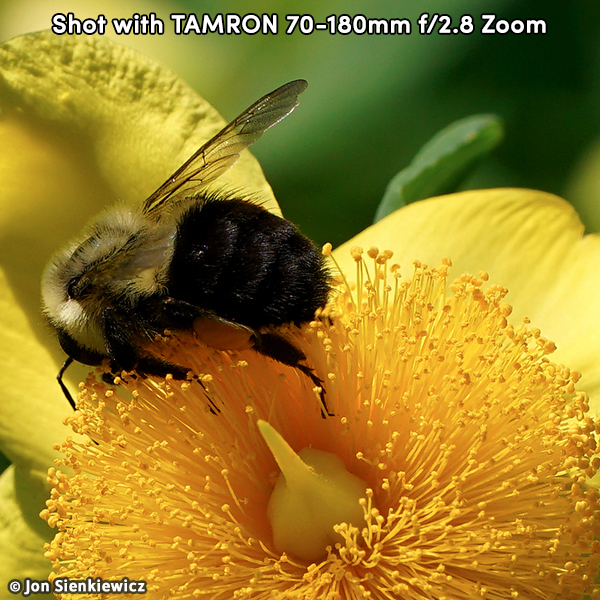
Flowers bloom, bugs swarm and bees do something with birds (based on what I was told as a youth). Capture the abundance of nature with a macro lens. If you don’t have a macro lens, some zooms focus close enough to give satisfactory results, e.g., the Tamron 70-180mm f/2.8 that was used to shoot these bee’s knees. Read our review of the Tamron 70-180mm f/2.8 zoom for Sony mirrorless cameras here.
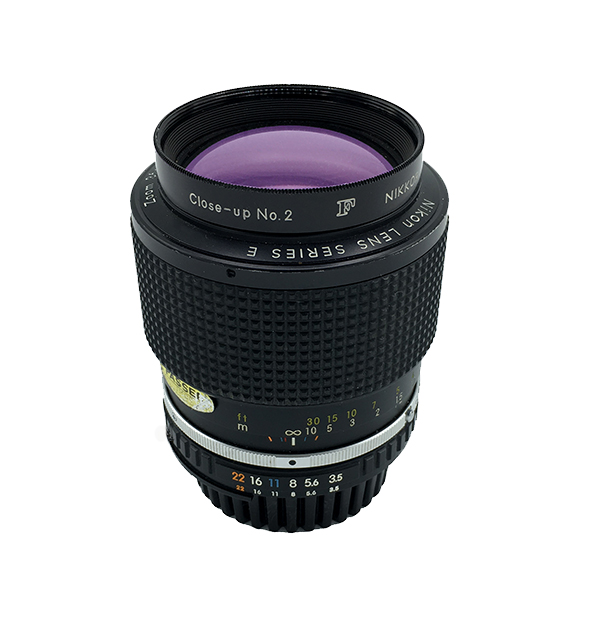 Alternatively you can use a screw-in closeup filter or extension tubes. Closeup filters are way easier than tubes and are generally more affordable. Amazon offers a set of four 62mm closeup filters for less than $20. The set includes +1, +2, +4 and +10. The numbers indicate the strength of the closeup effect, higher numbers getting you closer. These too can be stacked like ND filters but doing so can cause the same problems. Note that I have neither used nor seen the filter set from Amazon, so I can’t endorse them. If you’re hesitant, make sure they are returnable.
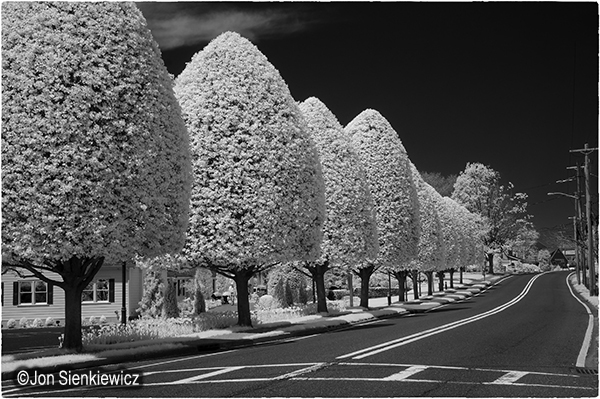
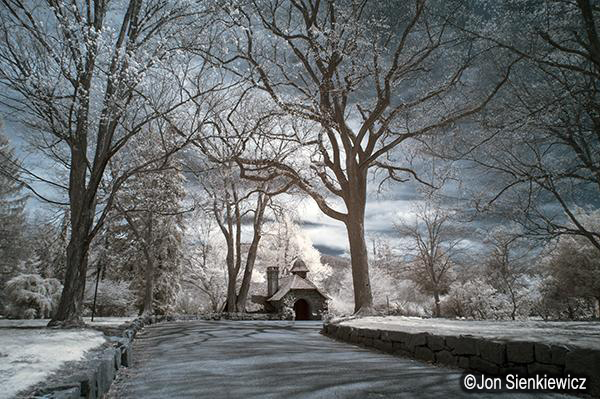
6. Summer is the Time for IR
I shoot IR (Infrared) year round with Nikon and Fujifilm cameras that have been specially modified to capture the IR wavelengths. Undeniably, it’s more successful to shoot IR in the summer because there’s more vegetation to emit infrared light.
Here’s a link to a two-part Shutterbug story that provides a fairly deep dive into IR: How to Shoot Mind-Bending Infrared Digital Photos with a Modified Camera. Part II of this article, in which we go out into the field with a modified camera and then do a little channel-swapping back at the Mac, can be found here.
Here’s another link that illuminates the details of IR-only camera conversion. If you’ve ever had the IR itch, now the time to go for it.
7. Become a Member of the Shutterbug Community
Register for a free account. Sign up for our newsletter. Spend five minutes (or less) uploading your best shots once every week or so. Potentially become a Shutterbug Photo of the Day winner. Enjoy viewing the fantastic work being done by thousands of photographers all over the world—and add your images to the enduring collection.
—Jon Sienkiewicz
(As an Amazon Associate, Shutterbug earns from qualifying purchases linked in this story.)


