
An Easy Way to Fix Photos with Perspective Problems (VIDEO)
Photoshop offers a variety of tools for fixing photos with a skewed perspective. Some of these methods are more complicated than others, and today’s tutorial demonstrates an easy and very effective approach.
The quick tutorial below comes from our friends at VerticDesigns, a popular British-based YouTube channel dedicated to basic editing tips that deliver big results. Today’s instructor is using Photoshop CC 2024 to demonstrate how it’s done, but what you’ll learn works equally well older versions of Photoshop with Perspective options.
This four-minute lesson illustrates the tricks by fixing the perspective in an indoor image of a room, but you can do much the same thing with outdoor photos with skewed vertical or horizonal lines. The video begins by explaining how to use the ruler and a keyboard shortcut to match the background of one shot with another of the same scene to obtain a reference for creating one awesome photo.
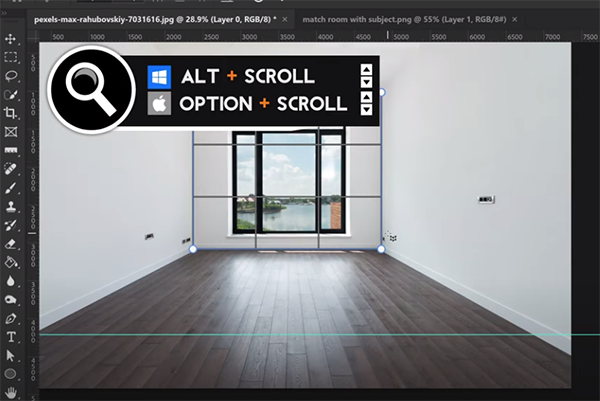
The next step involves employing Photoshop’s Perspective Warp tool to display a grid on the initial shot. Doing his enables you to drag on the boxes in each corner of the grid to match the perspective of the back wall to the corners of the room. You then take the same approach to straighten the back edge of the floor.
Then, by adding additional grids, it’s easy to correct the perspective of both walls, the ceiling, and the floor of the image. You’ll see why it’s important that your grids extend beyond the outside of the canvas. When using the Warp tool to match a guideline it’s also essential to alternate between left and right adjustments until everything looks good.
Once these corrections are applied you may notice an empty area at the top of the photo. This problem is easily rectified with simple cropping, or by selecting this part of the frame and leaving the rest to Generative Fill.

The transformation is completed by selecting the dancer in the second image and dropping her into the one you just fixed. After watching the video take a look at the VerticDesigns YouTube channel where you’ll find many more simple tips and trick.
We also suggest that you check out another basic image-editing tutorial we posted that explains the important differences between Vibrance and Saturation, with tips on the best way to use these helpful color adjustment tools.


