
Basic Guide to Editing with Adobe Camera Raw in Photoshop (VIDEO)
We recently featured an eye-opening tutorial explaining why it sometimes make sense to shoot Jpeg images, and the best way edit them in Lightroom for optimum results. We’re following that up today with this beginners guide to processing Raw files in Photoshop with Adobe Camera Raw (ACR).
This tutorial comes from our friends at the PHLEARN YouTube channel, a robust source of instructional Photoshop advice with over two million subscribers and almost 900 lessons. In today’s episode you’ll learn how easy it is to unlock the amazing benefits of ACR in less than eight minutes.
Instructor Aaron Nace is a world-renowned photographer and post-processing expert. He demonstrates how to use ACR for non-destructive editing just like in Lightroom, and kicks of the video with this promise: “You’ll learn how to open photos in ACR, master masking basics for selective adjustments, and make targeted corrections to exposure, brightness, and color.”

Nace explains that this oft-ignored built-in Photoshop feature is “insanely powerful” with a all the basic functionality of editing Raw files in Lightroom. The technique begins by creating a new layer and converting it to a Smart Object. Doing this is the key to a non-destructive approach that enables you to undo any adjustments and return to ACR whenever you want.
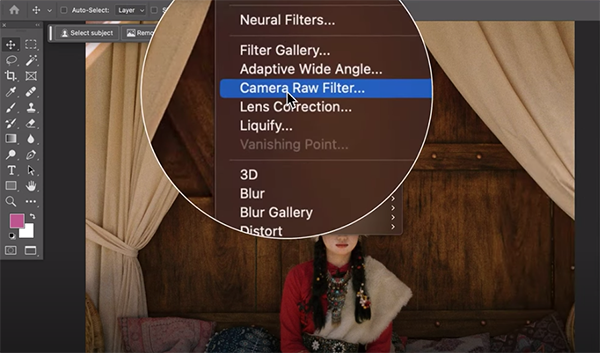
The next step is navigating to Photoshop’s Neural Filters panel and selecting the Camera Raw Filter from the dropdown list of options. Now you’ll see an array of adjustment sliders on the right side of the screen for performing fast and precise enhancements. Masking is available too. In other words, if you’ve ever used Lightroom, everything with be very familiar.
Nace explains why he typically start his edits with Masking before moving on to other enhancements. Because he’s working on a portrait photo he initiates the process by clicking on Select Subject. Then he employs the Subtract command and uses a brush to quickly refine the Mask so that the following adjustments are as precise as can be.
Nace demonstrates the enhancements necessary for his selection in this particular photo. He employs simple sliders to slightly increase overall exposure and further open up shadows to increase details in the darkest portions of the model.
The foregoing is just a taste of what you’ll learn in this basic guide to ACR, so follow along and perhaps jot down a few notes. Then compare the before/after images and you’ll be very impressed by what can be accomplished with this quick and simple technique.
Aaron’s instructional YouTube channel offers straightforward videos on just about any Photoshop technique imaginable. So check back frequently, especially when you run into a bind.
And be sure to check out the tutorial mentioned above with a basic guide to editing Jpeg photographs when it doesn’t make sense to shoot Raw files.


