Umu Restaurant review, Mayfair, London
Umu Japanese restaurant in Mayfair London is celebrating its 20th anniversary this year (2024) and is known for its expertise in multi-course Kaiseki haut cuisine. That hasn’t gone unnoticed as Umu has retained its Michelin star for eight years.
That’s pretty impressive and sets the scene for a menu that for Japanophiles at least, is going to be reliably authentic. For those uninitiated in Kaiseki dining, the Umu experience provides a compelling learning curve way beyond going out for sushi.
Excited by the prospect (but not so much by the £240 price tag for two) I headed there one summer’s evening. Umu is tucked away in the curvey alleyway-like Bruton Place, with an easy-to-miss frontage almost hidden on the convex.

Umu restaurant c. Umu
I must have blinked at the wrong moment as I had to retrace my steps. There is a panel with the instructions “touch to enter”. When I did a door slid open to unveil a small reception area that leads to a wood pannelled room. Dimmed lights and somewhat mirrored walls with wood decorative designs on top create an ambient effect.
The interior is pleasant and very calming and you could sit by the chef’s counter and have a close-up view of their handiwork with cold food. The hot plates were created in another kitchen. We chose to sit by a table and watch the theatre slightly from afar.
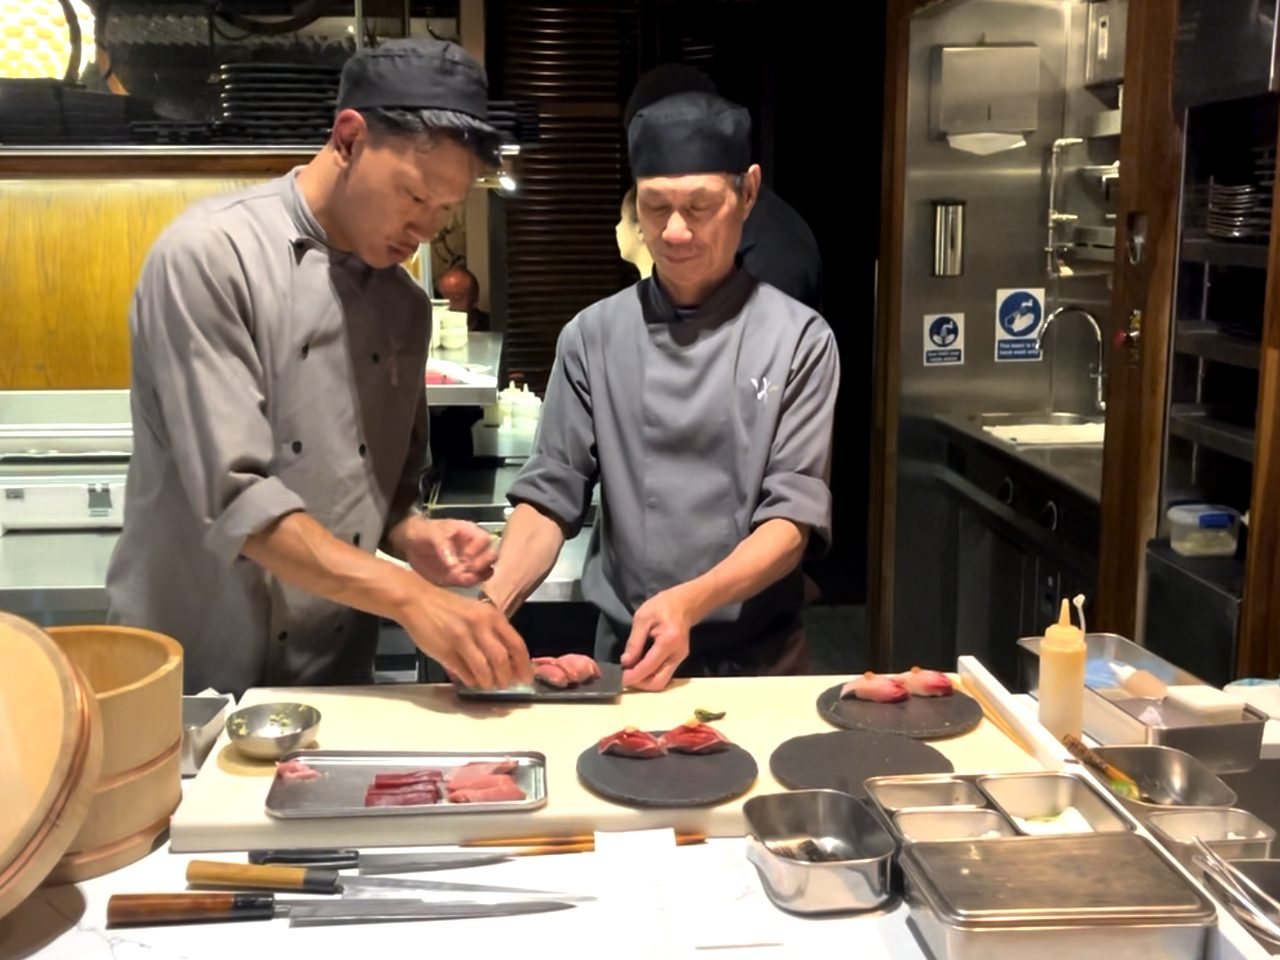
Umu chef’s counter
The warm welcome, the polite attention to detail and the hot towel on the table were a traditional start to herald that a Japanese dinner was about to be served.
Umu summer Kaiseki tasting menu
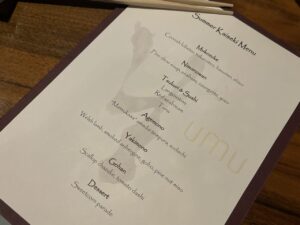
Umu summer menu
Japan is an island nation and perhaps it’s not surprising that Japanese cuisine often offers the taste of the sea.
Occasionally the cuisine is intense in flavour but often delicate, savoured mostly by the attuned palate. Many will add some soya to taste.
Umu restaurant offers the delicate cuisine of the mountainous region of Kyoto and we were there to enjoy the new summer Kaiseki tasting menu put together by Chef Ryo Kamatsu. Often his advice on some of the later offerings on the flight was to not add soya, something diners do almost unthinkingly in the same way some add salt and pepper before tasting a meal.
The flight of seven courses began with the most subtle of flavours of Mukazuke, a dish of seasonal sashimi, and increased in intensity as we journeyed to a flavourful dashi and a most unusual sweetcorn-based dessert.

Lobster – Mukozuke – Cornish lobster, takoroten hasuimo, shiso
The Mukozuke was served in a glass containing a piece of Cornish lobster claw and tail on top of lobster stew, itself on top of translucent noodles. This is served cold, so it is refreshing and an ideal environment for contrasting textures to come to the fore at various moments. I didn’t care much for the jelly-like texture of tokoroten noddles – these are made from kanten, the gelatin of the tengusa seaweed, yet overall this was interesting on the palate.
The next flight was Nimonowan. This fine clear soup – served in an attractive black bowl – is made with kombu seaweed and bonito (from the tuna family) stock.

Nimonowan – fine clear soup, seabass, courgette, yuzu
Floating on the soup is steamed seabass fashioned into a rose, with slices of courgette and a square cake of edamame. The chef suggested lifting the bowl to sip the soup and then eating the seabass, courgette and edamame later.
This was followed by the three Tsukuri (which means a sashimi selection) & Sushi dishes. First a duet of Scottish langoustine, one cured in kombu and topped with langoustine caviar and the other a sushi on top of sticky rice and topped with beluga caviar.
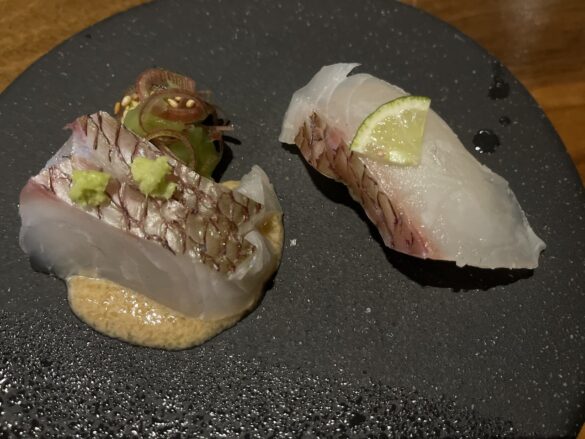
Then red seabream sashimi and a nagiri sushi with fresh wasabi on top and white sesame sauce underneath. The nigiri was seasoned with rock salt and suduchi – a Japanese lime. The chef was right, no soya was needed on any of these dishes.
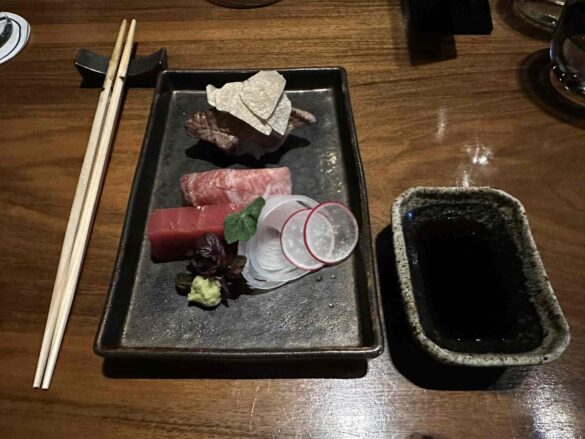
Before the next course, a palate cleanser of pickled ginger and cucumber was served. Duly cleansed my palate was ready for the two types of tuna, a lean tuna and a fatty nigiri seared tuna belly with wagyu beef sauce and summer truffle.

Deep fried tail fish – tasty and crispy
My highlight was the Agemono “Matsukasa” amadai tempura, sudachi. This was tail fish deep fried with tempura butter on top with sudachi with crystal salt and amadai fish sauce at the bottom. This was gorgeously crispy.
What came next was a complete departure from the sea and a most delicious end to the savoury part of the menu.
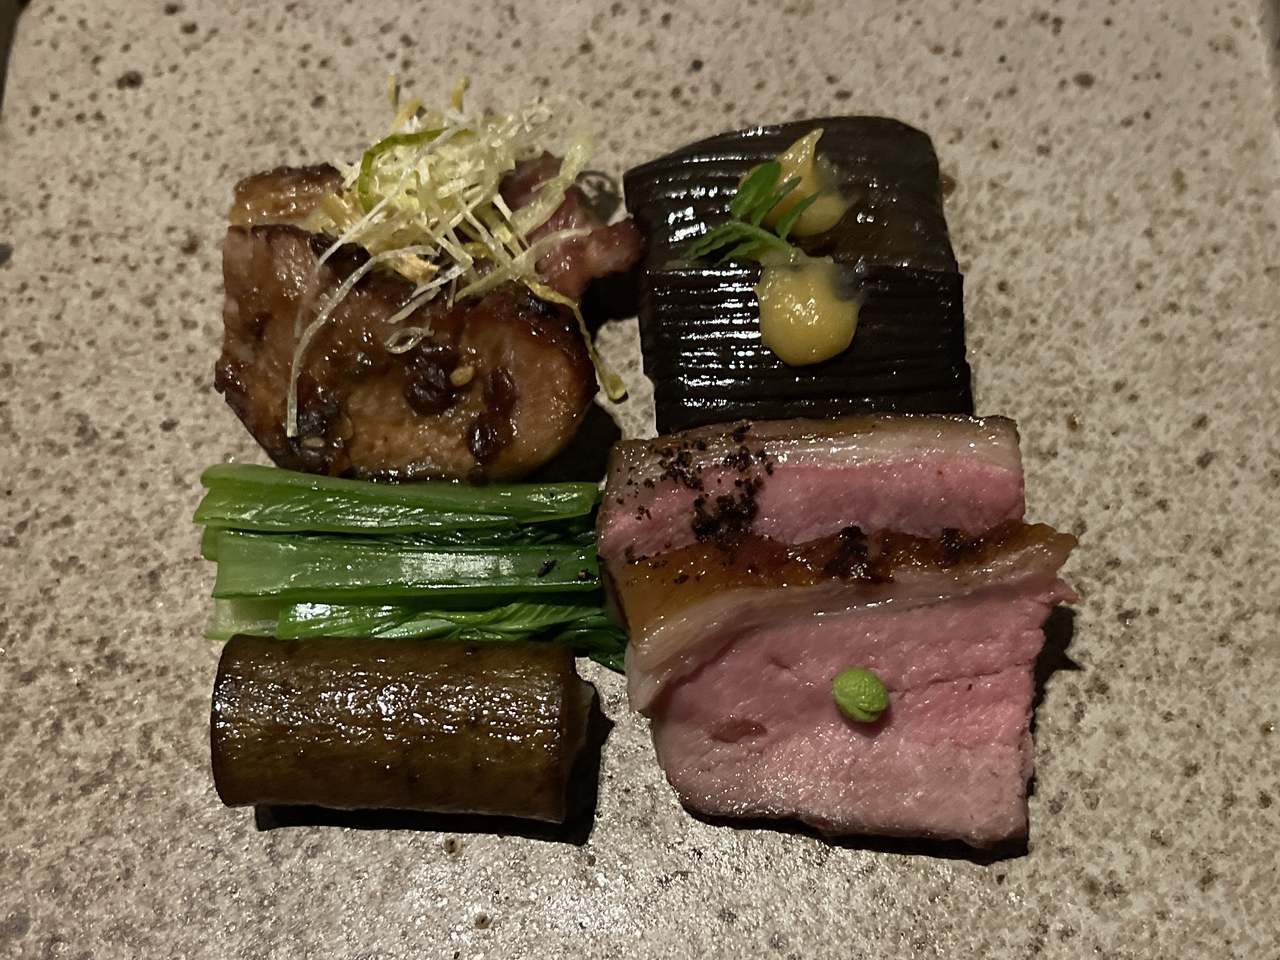
Welsh lamb, smoked aubergine, gobo, pine nut miso
This was the Yakimono dish comprising thin slices of Welsh lamb (tataki) served with smoked aubergine, gobo (this is burdock root that looks a bit like a tree root), Tokyo leek which is a sort of spring onion, and pine nut miso.
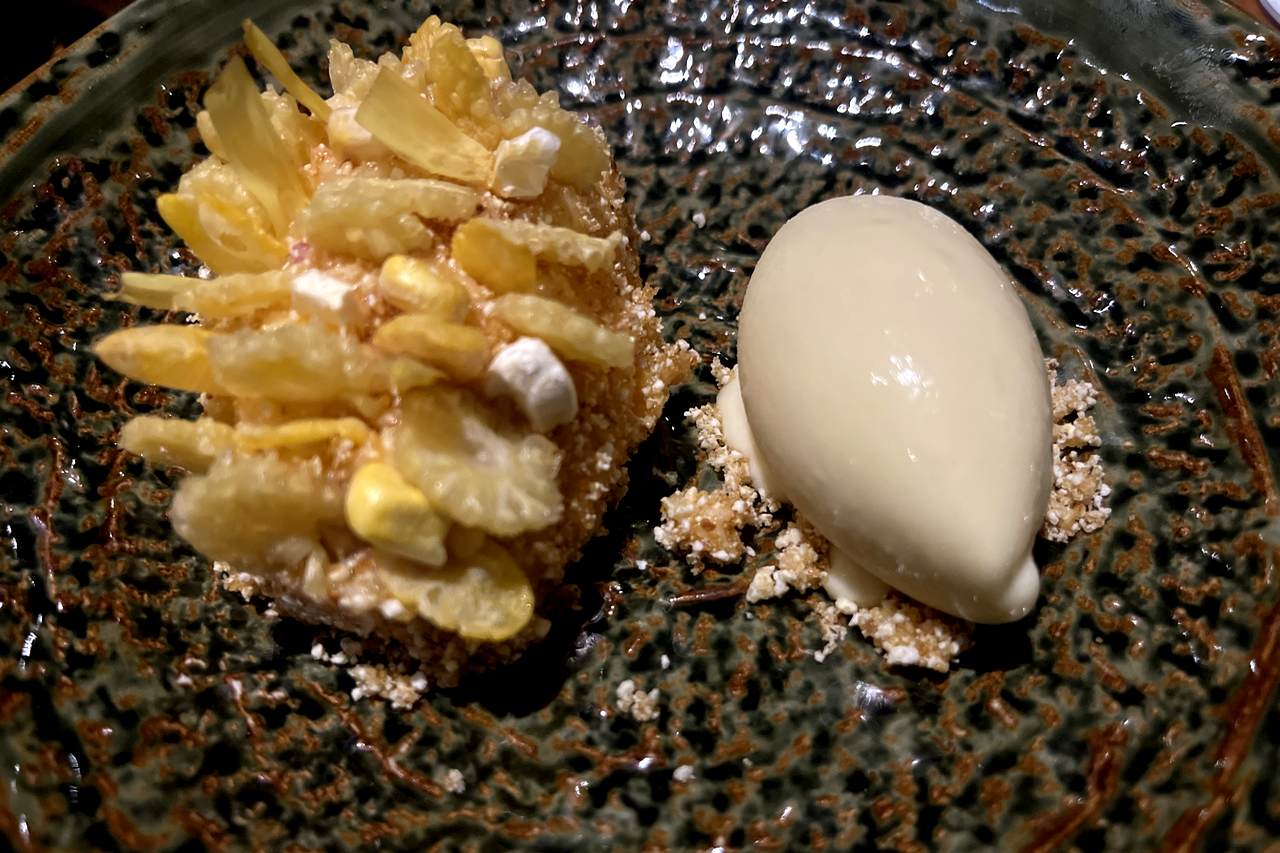
UMU Sweetcorn parade
Desert was a Sweetcorn parade -peach and cherry jam and sweetcorn custard in a sweetcorn sponge cake with crispy sweetcorn. Now here is the thing; I am allergic to peach, and the chef turned his hand to making a version without peach so I didn’t miss out on this most unusual delightfully crunchy, somewhat sweet creation.
Thank you chef.
Verdict: You can truly elevate your understanding and appreciation of Japanese cooking way beyond soya and sushi at UMU restaurant. Give it a go, after all it’s backed by Michelin, offers a lovely environment, and sublime service. But just don’t blink when you get there otherwise you will be missing out.
Fact file
The menu is £250 for two.
- Wine or Sake pairing £120
- Sparkling pairing £200
- Prestige Wine or Sake pairing £240
- Non-alcoholic pairing £80
14 – 16 Bruton Place, London W1J 6LX. Visit Umu Restaurant
You may also like:
The post Umu Restaurant review, Mayfair, London appeared first on The Travel Magazine.


