
Complete Guide to Masks: A Crucial Tool for Editing Landscape Photos (VIDEO)
Ask a bunch of experienced Lightroom users to name their most essential editing technique and most will respond with one word: “Masking.” This is particularly true among landscape shooters who frequently encounter scenes with a wide range of tones that exceed the density range of their camera.
So here’s the bottom line: If you ignore Masking and only make global adjustments, your edits will fall far short of what’s possible. Fortunately, this Complete Guide to Masks from the Park Cameras YouTube channel will get you started today—even if you’re an inexperienced Lightroom user.
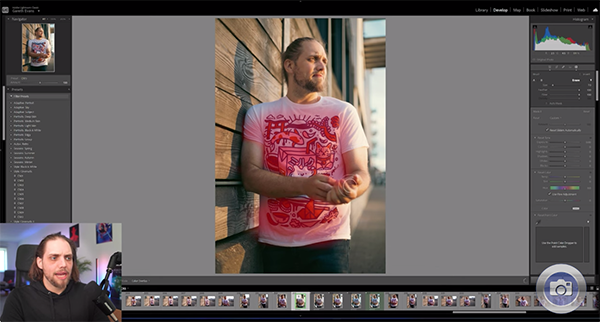
Instructor Gareth Evans is a favorite among Shutterbug readers who enjoy his easy-to-follow enthusiastic manner. He says Lightroom’s Masking panel is like a home away from home, insisting that, “I use it on every single image I edit; landscapes, portraits, wildlife, street photos, and whatever else they are.”
Evans further notes that the latest version of Lightroom makes Masking extremely easy. So if you thought this method was too complicated in the past, now’s the time to reconsider. He walks you through a variety of scenarios, using several images that require different solutions, and by the time you’re done watching you’ll be totally up to speed.
He first explains why it’s important to make a few basic adjustments to the image as a whole, before turning to selective enhancements with Masks. This preliminary stuff incudes global enhancements to Exposure, Color, Contrast, White Balance, and other simple variables with which you’re familiar, so we won’t repeat them here.
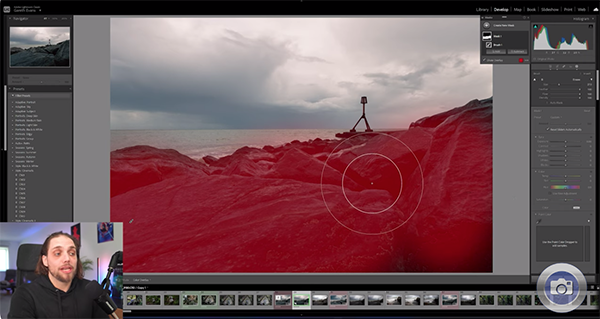
Evans’ first example is a seaside scene that’s frankly dull and boring. But watch what happens when he employs masks to selectively target individual areas within the frame to achieve a striking and perfectly balanced image that grabs attention.
The goal is to retain a soft, moody look, while significantly pumping up the shot in a realistic way. Evans opens the Masking panel, describes the options available, and demonstrates why the Brush tool can be the easiest and most straightforward place to start. For this photo it’s super simple to brush across rocks in the foreground and then adjust them so they become a prominent element of the shot.
Evans provides step-by-step instructions for using Lightroom’s various Masking tools to rehabilitate several other problematic images. He also provides keyboard shortcuts that accelerate the process. We’re pretty sure that by the time the video concludes you’ll add these techniques to your Lightroom workflow.
We also recommend watching the tutorial we shared earlier from another post-processing expert who explains what causes image-killing Chromatic Aberration in high-contrast outdoor photographs and how to fix it fast.


