
Focus Stacking for Beginners: Complete Sharpness Throughout the Scene (VIDEO)
Here’s a quick tutorial that demystifies the process of focus stacking; a technique many photographers avoid because of conventional wisdom that the technique is overly complicated to get right. In fact, it’s super easy if you follow the straightforward tips below.
Instructor Jalen Oban describes the essential principles of this powerful method that enables you to achieve maximum sharpness from foreground to background and everything in between. It’s a technique regularly used by experienced landscape shooters, and Oban guides you through a simplified step-by-step process in barely seven minutes.
Oban’s approach may be easy but it’s a structured technique that delivers very polished results, and he ensures that you won’t skip any critical steps. He covers everything from shooting on location to processing the images in Photoshop.
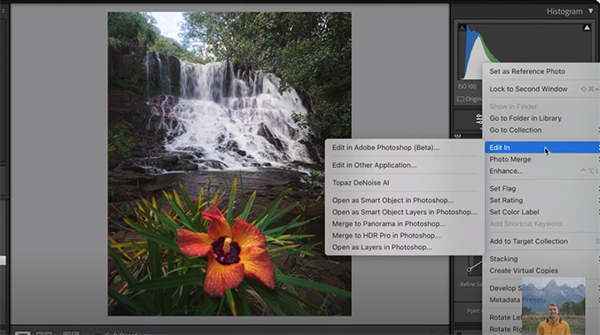
Put simply, focus stacking involves merging multiple images of the same scene, each with a different point of focus. Oban pulls up a beautiful landscape image captured in Hawaii that relies upon focus stacking for its dramatic impact. The challenge is that there’s a vibrant hibiscus bloom a few inches from the camera, with an eye-catching waterfall far off in the distance
Both of these elements are critical to the scene and there’s really no way to keep both critically sharp with a single shot in the camera. In this instance only two images were required to get the job done, because the midrange of the scene is devoid of important details. Thus, Oban captured one photo focused on the hibiscus and a second with the focus point on the waterfall.
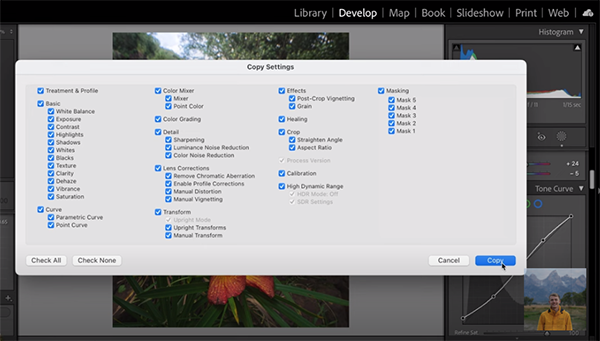
The edit works like this: You choose one of the shots and make whatever adjustments are necessary to the entire shot, like correcting exposure, contrast, and color enhancements. This is when you’ll also add a vignette if that’s part of your plan. Then you’ll learn how to copy these effects to the second photo in the sequence.
Now both images will look exactly the same, other for the different points of focus. Oban also provides a few tips for shooting these images properly for the stacking process that follows, the most important of which is to not move the camera before the first shot and others in the sequence.
As you’ll see, the image-blending procedure is surprisingly simple, as long as you load the photos into Photoshop as separate layers. Just follow Oban’s straightforward instructions and we guarantee that you’ll like what you see. There’s more to learn on Oban’s new YouTube channel, so pay a visit and check out.
We also recommend watching a tutorial we posted recently from another accomplished landscape photographer who explains how to avoid five landscape photography image-killing mistakes.


