
How to Use Photoshop’s New Adjustment Brush Tool (VIDEO)
Now that the powerful Adjustment Brush tool is out of beta and officially a part of the current version of Photoshop, it’s time to learn exactly how it works. And there’s nobody better to bring us up to speed than instructor Anthony Morganti.
Morganti is a post-processing expert, adept photographer, and professional photo retoucher based in Buffalo, NY. We often rely upon him to explain new image-editing features and techniques, and he does that today in less than 10 minutes. After watching him demonstrate Photoshop’s Adjustment Brush tool be sure to download his free printable keyboard shortcuts PDFs using the link in the description beneath the video
Depending upon how you’ve set up your workspace you may not see this new tool nested within your brushes panel. But don’t worry because Morganti explains how to make the Adjustment Brush appear exactly where you want it. Then you can click on the Adjustment tab atop the screen to reveal a dropdown menu that displays all the enhancements you can make using the new tool—one example being Hue/Saturation.
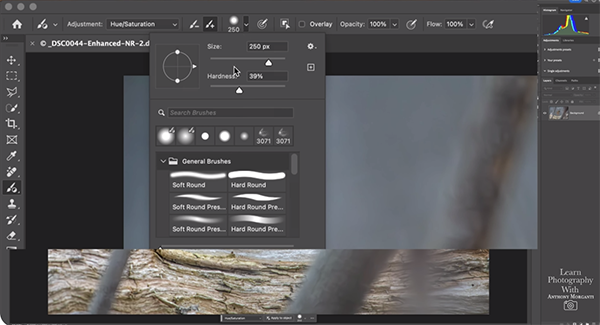
With some options you have a choice of adding or removing an adjustment, and there’s a handy window with various settings like brush size, hardness, opacity and flow. You can also choose from a number of pre-defined brushes. Morganti also reveals several timesaving keyboard shortcuts to facilitate the process.
Morganti then pulls up his image of a small bird perched atop a branch and demonstrates how easy it is to boost saturation of his subject with the new Adjustment brush tool. Photoshop adds a Hue/Saturation layer with a black mask once he selects a brush, and here’s how this mask works: Photoshop won’t add adjustments to areas that are black, enabling you to quickly paint in whatever effect you want to create without affecting other areas within the frame.
Other adjustments work much the same, and Morganti’s next example involves adding contrast to the bird. Simply click on the Brightness/Contrast option in the dropdown menu mentioned above and use whatever Brush style you want to paint in this enhancement—leaving the rest of the image untouched.

The lesson includes many more examples with different tools, and a few tips and tricks, so you’ll understand everything that Photoshop’s new Adjustment Brush tool can accomplish with speed and precision. Then, when you’re done watching, head over to Morganti’s instructional YouTube channel and peruse a wide variety of image-editing techniques.
And be sure to watch the earlier tutorial we featured with another post-processing expert who demonstrates a simple way to fix converging vertical lines that can spoil your landscape and cityscape photographs.


