
In-Camera Exposure Bracketing Does More Than You Think (VIDEO)
In may be a new year, but it’s still “Tutorial Tuesday” at Park Cameras—a leading retailer in the UK that posts weekly photography lessons for their customers and the rest of us who want to improve our skills. Today’s episode is all about employing exposure bracketing in the conventional way, as well as for other tasks you may not have used it for in the past.
Gareth Evans is lead instructor at the channel, and he’s a favorite among Shutterbug readers because he always combines an exuberant teaching style with practical tips and techniques. Exposure Bracketing is an easy-to-use feature that’s available in just about any modern camera you have.
Bracketing is most commonly used to overcome high contrast situations to balance bright highlights and deep shadows that occur in the same scene. In this six-minute lesson you’ll see how this works, but the main emphasis today is a different approach in which you use this powerful feature to create images with a variety of interesting moods to achieve exactly the effect you envision.
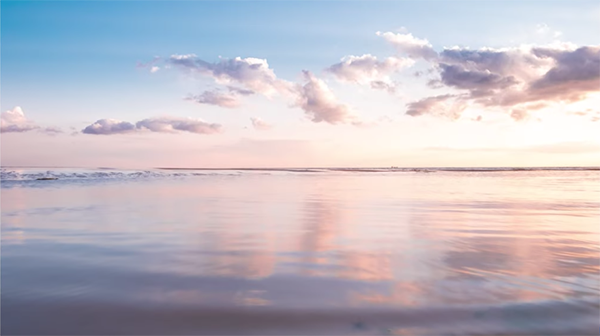
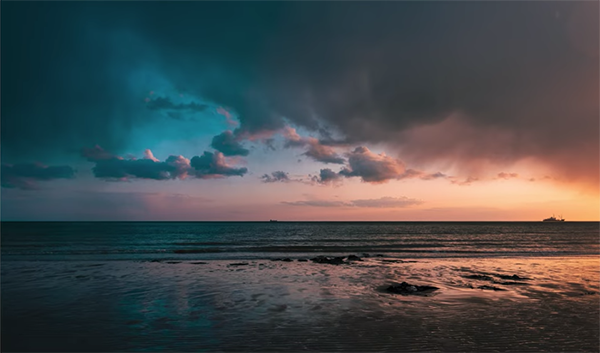
Sometimes a scene can be properly exposed without any extra adjustments at all. But as Evans explains, you may want to bracket your shots to create an intentionally underexposed photo full of drama and mystery. Likewise, intentional overexposure can imbue images with a light, airy, and minimalist feel that conveys the opposite feeling.
By bracketing three exposures in various increments you end up with a number of photos—each with a different look or “feel.” Then you can choose the one that suits your vision, without a lot of additional work during the editing process or combine them in post-processing for maximum dynamic range.
Evans says the method you’ll learn today is particularly useful for landscape and cityscape photography. All that’s required is capturing multiple photos of the same scene, each with different exposure settings. He further explains that this approach works really well in high-contrast situations; namely those containing both very bright highlights and dark shadows.
When used in the typical manner you’ll shoot three images: one that’s underexposed to avoid blown-out highlights, another with a “correct” exposure according to the camera, and a third that’s overexposed to open up the shadows. Then, if one of these shots is just what you want, you’re done. Otherwise a quick merge gets combines the best of all three.
But as you’ll see, this “typical” approach isn’t why Evans uses bracketing so frequently. His interesting technique often overlooks the so-called “correct” exposure and uses with the under- or over-exposed shot as a base image from which to proceed—depending upon the specific mood he wants to convey. It’s a really interesting technique that’s very easy to emulate.
There’s much more to learn on the Park Cameras’ instructional YouTube channel, and we suggest paying a visit regularly.
And on a related note, be sure to watch the video tutorial we posted recently from another accomplished photographer who explains how to use EV Compensation to consistently nail exposure in the camera.


