
Landscape Photos with Dull Colors? Restore Them Like This (VIDEO)
Many photographers shoot in Raw rather than Jpeg for a variety of reasons, not the least of which is that this unprocessed format captures the maximum of detail. Another advantage is the greater flexibility Raw files provide during post-processing.
If Raw is your file format of choice you may have noticed that colors may appear flat and dull straight out of the camera. There are a variety of methods for restoring photos to their original hues, some more complicated that others, and this tutorial from the PHLOG Photography YouTube channel demonstrates a quick and effective method for getting the job done to perfection.
Instructor Christian Mohrle is a German pro specializing in landscape photography, a genre in which accurate color is an essential component of every great shot. We encourage you to download Mohrle’s demonstration photo with the link beneath for video so you can follow along in real time—making the changes yourself as they’re explained.
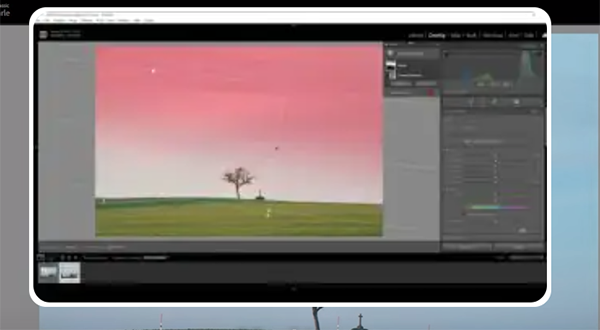
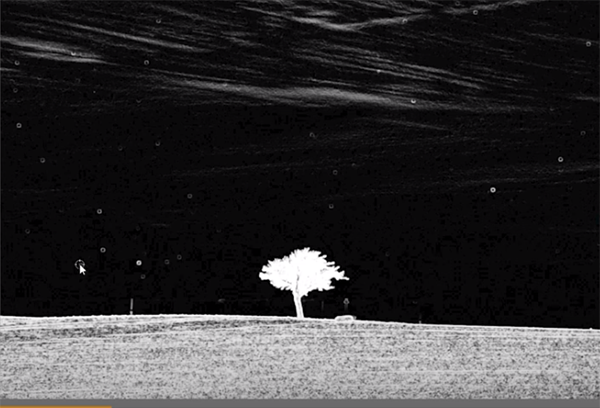
Mohrle recommends starting an edit with basic global adjustments to best prepare the image for the selective masking, color grading, and sharpening enhancements that complete the task. Mohrle explains why the sample photo looks so dull: “It almost looks like a black-and-white image because I was using a strong ND filter to be able to create a long exposure.”
The preliminary adjustments begin in Lightroom’s Basic panel where Mohrle changes the profile from Adobe Color to Adobe Landscape, and this immediately boosts base saturation. Unfortunately there’s an unwanted blue cast that you’ll see how to fix by playing around with White Balance settings using the Tint and Temperature sliders. He also adjusts exposure, contrast and other variables to balance out tones in the entire image.
Now it’s time to for selective enhancements targeting specific portions of the scene in various ways with careful masking. Masks are applied to bright and darker areas of the sky, as well as to the foreground and other portions of the shot.
The image is now far more compelling and the next step involves using Lightroom’s Color Mixer to further accentuate colors while retaining a realistic look. This is a simple task once you determine exactly how you want the image to appear. The tutorial concludes subtle sharpening and a bit of final cleanup.
Mohrle’s instructional YouTube channel is a great source of information for outdoor photographers of all skill levels, so pay a visit when you have time to explore.
We also suggest watching the related tutorial we posted with another expert who offers a great method for editing sunset photos so they look just as spectacular as they did through the viewfinder.


