
LIGHTROOM BASICS: A Histogram Hack for Ideal White Balance (VIDEO)
Yesterday we brought you a timesaving tutorial for streamlining Lightroom so the workspace displays all the tools you use in the order you want, with everything else hidden from view. We have another great trick today, this time it’s a simple hack for using the Histogram to achieve perfect White Balance.
Instructor James Pearce is a wedding photographer turned educator. He notes that many photographers are unaware how to use the Histogram to evaluate White Balance and make whatever adjustments are necessary if it’s not technically correct for the image at hand.
The goal of this lesson is to help prevent you from scratching your head in frustration, while saving time processing photos when colors don’t look quite right. Or as Pearce puts it, “By using the method in this video, even photos taken in horrific light will be fixed in a matter of seconds.
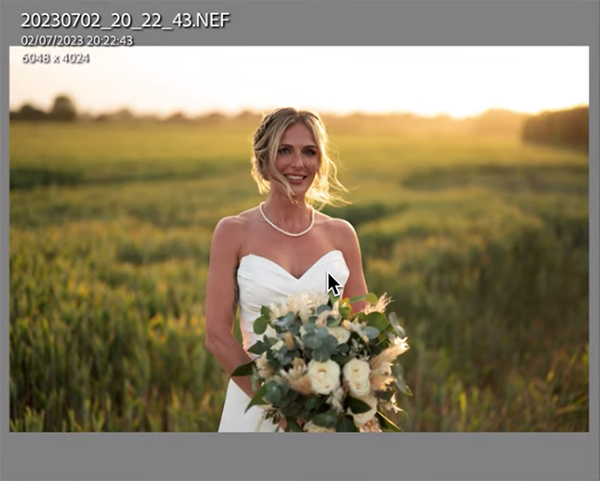
This technique works great with images captured indoors under poor illumination, as well as for outdoor photos like Pearce’s environmental portrait of a bride. There are no presets involved, and He illustrates the quick process using several images shot at a wedding. The first example was captured during an indoor reception, and there’s an unwanted orange cast throughout the frame because of the warm overhead chandeliers.
Orange tones are certainly not what you want on a wedding dress, white ceiling, or pristine tablecloth. Much the same holds true for other types of images where getting white right is super important—like with snow-covered landscape scenes or wildlife photos of white birds.
The magic takes place in Lightroom’s Histogram panel and the trick is so simple that we won’t bother summarizing it here, other than to note the importance of keeping your eye you on the numerical values under the graph as you use various sliders to adjust the tones. He describes the interrelationship between these numbers and the ratios he recommends.
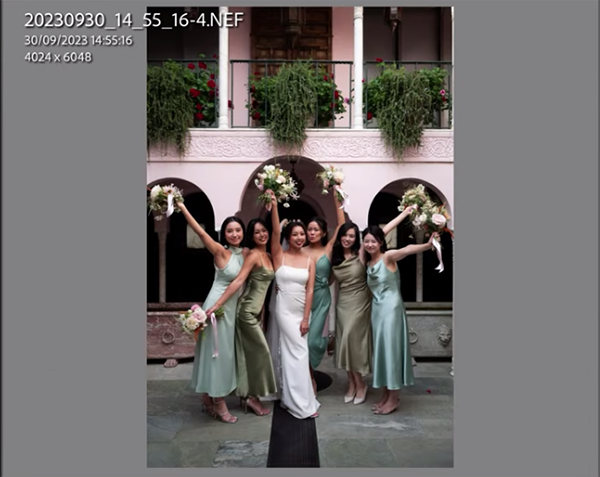
Pearce then pulls up an outdoor shot of the bride and her bridesmaids captured outside with natural light. This shot requires a different approach, and in this case the required temperature change is very slight. You’ll watch Pearce enhance a few other photos from the shoot while illustrating the quick adjustments for each.
It’s important to note that “technically correct” White Balance is one thing, but personally it’s a subjective matter, and Pearce explains how to quickly tweak the adjustments so a photo conveys the specific look you want.
There’s much more to learn on Pearce’s popular YouTube channel so be sure to pay a visit. And don’t forget to watch the tutorial mentioned above for using an oft-ignored Lightroom feature for streamlining your workspace.


