
Lightroom Basics: Stop Making This Image-Killing Mistake (VIDEO)
If you’re new to processing images in Lightroom there’s a whole lot to learn, both for doing things right and avoiding common image-killing errors. In this quick tutorial from Landscape Photography University you’ll learn how to avoid what one pro calls, “the biggest beginner photography mistake in Lightroom.”
Instructor David Johnston is a landscape photography pro who regularly post posts basic lessons intend to help others “level up the success of their photography.” The topic of this episode is the simple task of adjusting contrast in a way that doesn’t spoil photos by imparting an ugly or unrealistic effect.
Johnston begins with a helpful discussion of how Contrast adjustments work, and what happens when you take a heavy-handed approach. As you’ll see, doing things wrong is often worse than doing nothing at all. Bottom line, when you blast Lightroom’s Contrast slider too far to the right, really bad things happen to an image.

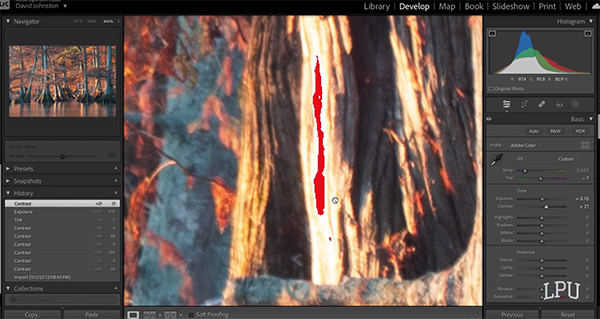
What you really want to know is the correct way to modify Contrast, and Johnston offers three simple solutions; one that he calls a “beginner” fix that works quite well, another that’s a bit more advanced, and the third is what he refers to as a “pro fix.” His demonstration image is of a beautiful morning landscape scene of cypress trees in a swamp.
There’s really nice side light, and beautiful colors, and his composition is great. So what’s the problem? He explains it like this: “There’s a lot of light going on, with shadows, highlights, and tones ranging from whites to blacks. So how do you know how to mix all these up?”
Johnston’s approach for enhancing the shot involves judicious modifications to Contrast for a natural looking image. And he does this without any ugly artifacts that will spoil the photo by taking things too far. In other words, it’s another example of when less can be more.
According to Johnston, ugly results occur “when adjacent highlights and shadows are too far apart.” Put another way, this mistake creates unrealistic images that you’d never see in real life. So follow along as he demonstrates three techniques for getting things right. Then decide whether the beginner, advanced, or pro fix works best for you.
Be sure to check Johnston’s instructional YouTube channel after watching the video. You’re sure to find more tips and techniques for improving your shooting and post-capture skills.
We also suggest watching the earlier tutorial we posted, with an easy and very effective method for shooting and editing eye-popping panorama photographs.


