Photoshop Basics: How to Create Crop Presets For a Fast & Convenient Workflow (VIDEO)
Photoshop includes a variety of built-in crop presets for streamlining your post-processing workflow. But as you’ll see in today’s quick tutorial there care a few really good reasons for creating your own. In today’s video you’ll learn why and how to tackle this simple task.
Australian photographer Barry Beckham doesn’t apologize for his amateur status because his beautiful imagery belies the fact that he doesn’t making his living as a working photographer. In fact, he takes advantage of being an enthusiast by posting straightforward Photoshop tutorials from an amateur’s perspective that allow him to sidestep many of the tools beginners will rarely if ever use.
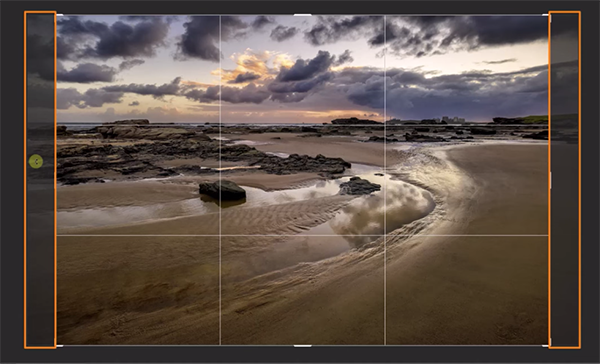
This episode demonstrates the value of creating your own crop presets for a variety of tasks you confront frequently, like photos with a specific aspect ratio for meeting the requirements of social media platforms. These presets can also be a timesaver for other purposes too, especially if you regularly crop landscape photos for an expansive, panoramic view, or if you prefer a tall, narrow crop for architectural images.

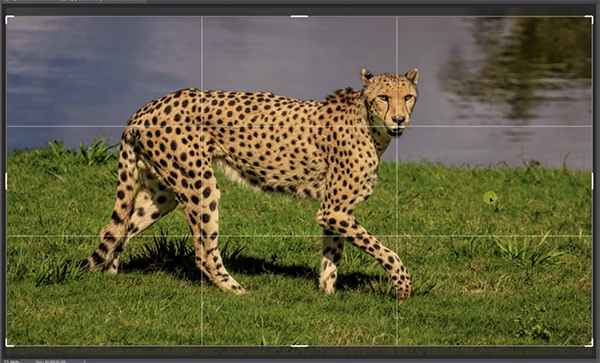
Beckham begin by reviewing the traditional approach when cropping images, and he explains why they don’t always turn out as intended. That’s because there are a few options atop the screen that many Photoshop users ignore. He also provides this important reminder: “Photoshop will always remember the values you typed into these boxes that may interfere with what you’re trying to do.”
While we typically crop a photo for compositional purposes, sometimes our goal is to meet a certain size—even though most of the photos we shoot adhere to a different format. And this is where custom crop presets come into play.
Beckham begins with this rather unusual example: His camera club requires that images be submitted with a specific aspect ratio that meets a predefined size. Sometimes a custom crop preset makes it far easier to fulfill rules like these, depending upon the image at hand. And even if minor adjusts can help fine-tune composition, they’re much quicker to adjust than if you started from scratch.

The bottom line is this: if you regularly edit photos for a set value that you employ over and over again, the simple task of creating custom presets is something you’ll definitely want to understand. After the video concludes take a look at Beckham’s instructional YouTube channel where you’ll find a variety of straightforward Photoshop lessons for improving your skills.
And be sure not to miss the helpful tutorial we featured a couple weeks ago, in which a noted pro demonstrates a “hidden” Photoshop hack for creating breathtaking landscape photographs in three simple steps.


