Yes, I want to shoot some film. But where the heck do I get it developed?
Relax! There are a number of options, five of which we identify here. One will possibly surprise you.
If you’re still on the fence about shooting film, this Shutterbug article may help you make an informed decision: Start Shooting 35mm Film – Here’s a Complete Guide.
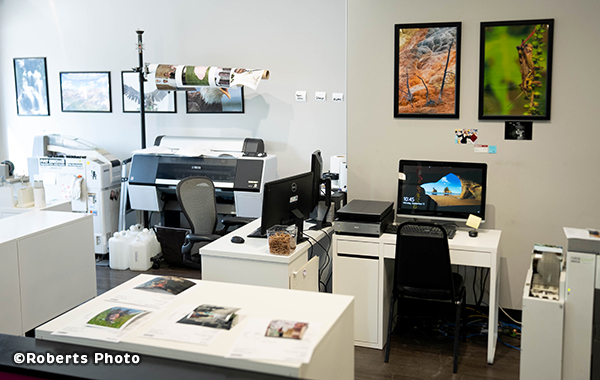
A portion of the film processing work area at Robert Photo Lab in Indianapolis, Indiana. ©Roberts Photo
Roberts Photo Lab (Roberts Camera)
Family owned and operated since 1957, Indianapolis-based Roberts Camera provides expert film developing and printing under the guise of Roberts Photo Lab. They also offer one of the widest assortments of used camera gear via their online retail entity UsedPhotoPro.

Roberts develops all popular film formats including 35mm, 120, APS, 110, and 126. Processing a roll of 35mm color negative film (C41 process) costs just $7.99. They also offer scanning services and of course printing. Affordable; 4×6 inch prints run 40¢ each. A 10×14 enlargement costs less than ten bucks. Download their mail-in film processing form here.

If you DIY your film developing and scanning, shoot digital only, or otherwise need to print existing images, Roberts online printing options include cards, photo books, wearables, mugs, holiday decorations, water bottles, smartphone cases, post cards, stationery—the list goes on and on—and they even offer custom framing.
Roberts Photo Lab also creates posters, metallic and canvas surface prints. Wait, there’s more. They also do movie film processing, video transferring, retouching and restoration, and passport photos for local customers.
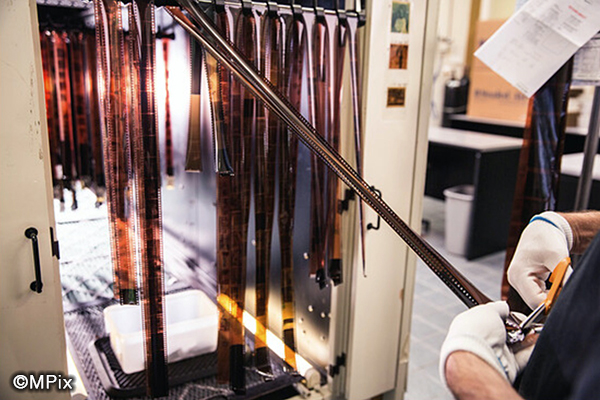
MPix
Located in Pittsburg, Kansas and Columbia, Missouri, MPix is a division of Miller’s Professional Imaging, a lab that has been serving pros since 1964. Known for lightning fast service and superlative handling/packaging of work products, MPix has been a reliable source of mail-in and online processing services that run the full gamut of possibilities and are sure to meet your expectations.
With prices starting at $11.95, MPix processes 35mm and medium format color film, and unopened single-use cameras. Order your choice of standard scans (4.5MB, suitable for 5×7 prints) or higher-res scans (18MB, prints up to 12×18). After scanning, your images are available for download, after which MPix mails your negatives to you. Easy-peasy.
Note that film must be shipped to MPix in a plastic mailer of your choosing, with a maximum size of 11.5 x 15 inches. Do not use USPS Priority envelopes or boxes; in fact, boxes of any type are not accepted. And BTW, most mail-in processing labs stipulate the same restrictions on shipping containers.
This video reviews the process of uploading your images to MPix online printing services.

Bay Photo
Bay Photo has a separate website for film processing information. You’ll find it here. To view their entire range of printing services, visit this site instead. For our money, access to Bay Photo’s amazing Xpozer prints is reason enough for them to make everyone’s short list.
Bay Photo offers processing and scanning of color print, color slide and black & white film. Prices start at $15 per roll and you have three choices of scan resolutions. You can add prints for an additional fee. Optionally, you can request process only, or scan only (of existing negs or slides). Download their mail-in order form here. The also sell an extensive assortment of film, frames and darkroom supplies.
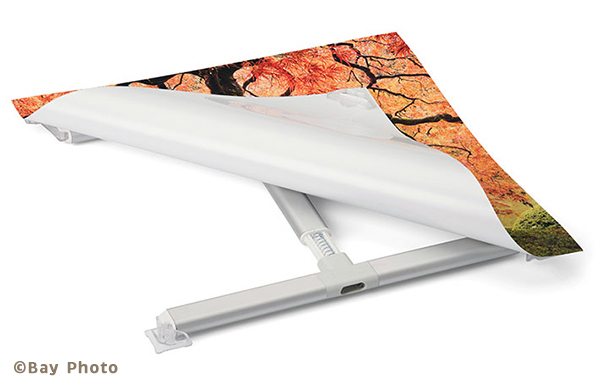
Founded in Santa Cruz, California in 1979, Bay Photo has long been a favorite of professionals and is home of the Xpozer prints mentioned above. If you’re not familiar with Xpozer, watch this 1.5 minute YouTube video. Xpozer is the coolest way to display photographs we’ve ever seen.

The DarkRoom
Here’s how The Darkroom describes themselves: “In business since 1976, we’re a traditional dip & dunk lab with the modern convenience of easy online ordering, free inbound shipping, and a mobile app that allows you to order processing as well as download and archive your scans!” That just about says it all.
The Darkroom processes virtually all sizes of color print and transparency (slide) film as well as black & white. They also offer the full range of prints, print stocks, surfaces, photo gifts and nearly every other type of specialty print item.
Download The Darkroom’s mail-in order form and prepaid label here.
Even if you don’t become a customer of The Darkroom, take a look at their Film Index. It’s a great resource for film stock comparison.
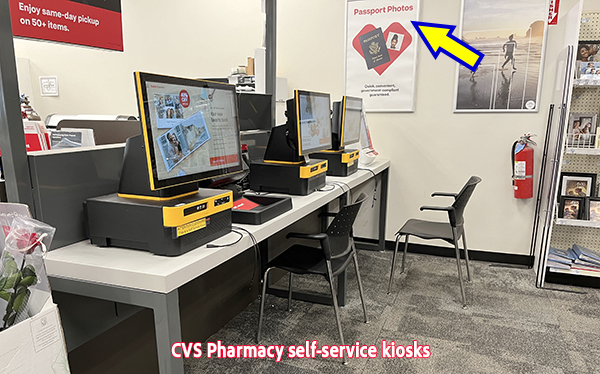
CVS Pharmacy
Yup, we’re referring to the popular drug store brand. With sundry products and services ranging from flu shots to flea collars, Metamucil to MoneyGrams, it should come as no surprise that CVS offers film processing. They can handle APS (Advanced Photo System)—that’s simply amazing, since many of you can’t even remember APS— plus 35mm color negative, black and white, 110 and most flavors of slide film.
Many locations have kiosks where you can print digital images, too. And if you’d rather handle print orders online, CVS accommodates you there as well.
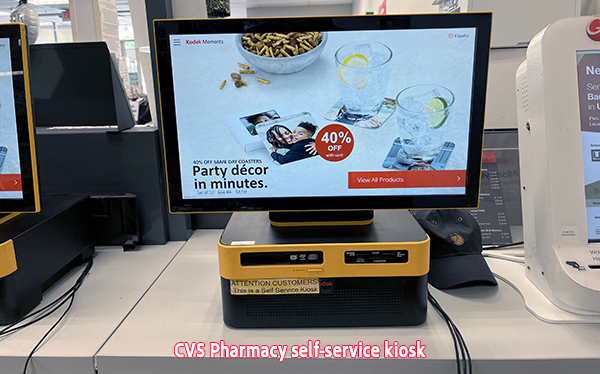
Need a passport photo pronto? Select CVS locations take passport and ID-photo pics using the KODAK Moments Passport & ID Photo System that automatically verifies your photos meet all government requirements. They charge about 17 bucks.
With more than 9000 locations scattered across 3390 cities, there’s likely a CVS location in your neighborhood. Click here to find a CVS location near you.

Bonus: Online Print Providers (no processing)
Printique (an Adorama company), Saal Digital and WhiteWall do not offer film development, but all deserve inclusion here because of their sterling reputations for exceptional quality, and immense assortment of first-class photo products, including professional services, standard and stylized prints, posters, calendars, photo books, interior-designer-level art prints, greeting cards and a broad selection of popular photo gifts like mugs and keychains.
In short, turn to Printique, Saal Digital and WhiteWall for legendary quality and never-tiring varieties of print options, professional customization and exemplary production standards.

Conclusion
Now there’s one less excuse you can use to rationalize why you don’t shoot an occasional roll of film. Dig that SLR out of the closet and bang off a roll of Fujifilm Fujicolor.
A parting thought for photographers already hooked on celluloid, check out this Shutterbug story: Film Shooters: The Film Photography Project is a Valuable Free Resource You Should Know.
If You Enjoyed This Article
Click here and bookmark a collection of more than 500 reviews, how-to articles, quizzes, attempts at humor and other allegedly insightful journeys into the world of photography written by never-humble me.
Become a Member of the Shutterbug Community
Register for a free account. Sign up for our newsletter. Spend five minutes (or less) uploading your best shots once every week or so. Potentially become a Shutterbug Photo of the Day winner. Enjoy viewing the fantastic work being done by thousands of photographers all over the world—and add your images to the enduring collection.
—Jon Sienkiewicz


