Kate Moss has launched wellness scents for the home – I tried them and they honestly smell incredible
Elegant and earthy, the incense sticks won me over
 REAL ESTATE
 REAL ESTATE
 REAL ESTATE
 REAL ESTATE
 REAL ESTATE
 EVENT
EVENT
 LANDSCAPE
 LANDSCAPE
 CONCERT
 LANDSCAPE
 TRAVEL

REAL ESTATE
Residential, Commercial, Interiors

LANDSCAPE
Landmarks, Cityscape, Urban, Architectural

FOOD
Hotels, Restaurants, Advertising, Editorial

PORTRAIT
Traditional, Glamour, Lifestyle, Candid

PRODUCT
Studio, Lifestyle, Grouping

EVENT
Conference, Exhibition, Corporate

FASHION
Portrait, Catalog, Editorial, Street

TRAVEL
Landscape, Cityscape, Documentary

SPORT
Basketball, Football, Golf

CONCERT

STILL

STREET
Cameras come and go, but Lensbaby lenses are timeless. They add dynamic energy to ordinary photos and empower creatives to express unique visualizations. I can think of more than 101 reasons to use a Lensbaby, but I’ll share just five big ones.
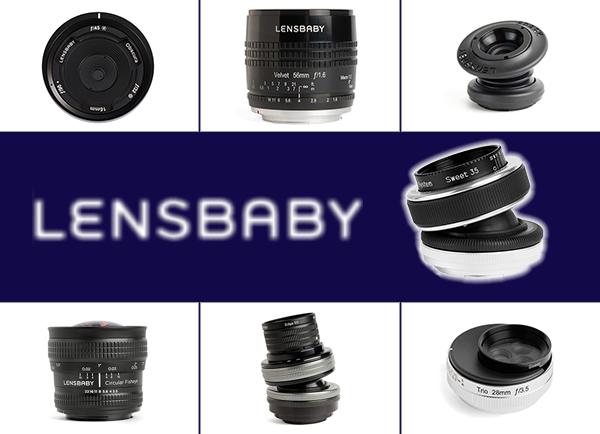
Lensbaby lenses come in variety of shapes and sizes. Some let you drift between razor sharp images and surreal creations, while others enable streaking, blurring and total distortion. They’re designed for dreamlike artistic expression, not inflexible realism.
Even older, discontinued Lensbaby lenses are exciting to use. Lenses, in general, seldom wear out. Due to their lack of delicate automated apertures or autofocus gears, Lensbaby optics are nearly impossible to break (unless you drop them on a rock).
Here are five reasons to use a Lensbaby.
5. Creative Supremacy
Lensbaby is synonymous with creative.
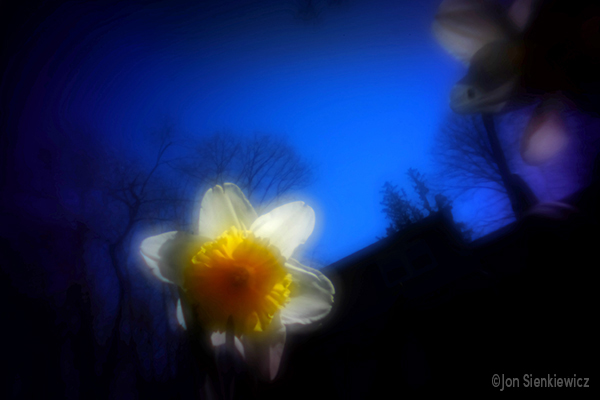
While conventional lenses deliver tack-sharpness and expose every wart, a Lensbaby allows you to create softened, semi-blurry pics to showcase your creative talents. If you can appreciate a muted smudge of colors representing a spring flower, you’re ripe for a Lensbaby.
Best of all, YOU control the amount of blur, distortion and or visible aberration. They don’t restrict you to one certain look the way a simple soft-focus filter does. That’s the basic difference between creativity and luck.

Currently, my favorite Lensbaby is the tried and true Lensbaby Obscura. The exact model I personally use is no longer available (dammit!) but the two current Obscura variations deliver approximately the same gorgeous results and are far more flexible to use.
For a deep dive into the Lensbaby Obscura, check out this story I penned a while back. You’ll find out why I like it so much. Lensbaby Obscura Pinhole Camera Simulator Review Back to Basics for Fantastic Creative Images.

4. Unique Images
There are some images (like the one above) only a Lensbaby can create.
A great example of Lensbaby’s ability to produce one-of-a-kind imagery can be found here: Lensbaby Twist 60 Petzval 60mm Creative Lens Review .
The original Petzval lens was conceived more than 100 years ago as a portrait lens by Joseph Petzval. Its specialized construction introduces coma, flare and vignetting — three things we all try to avoid, right? Well, yes — but when combined in a certain way the results are simply amazing.
3. Dreamy Portraits
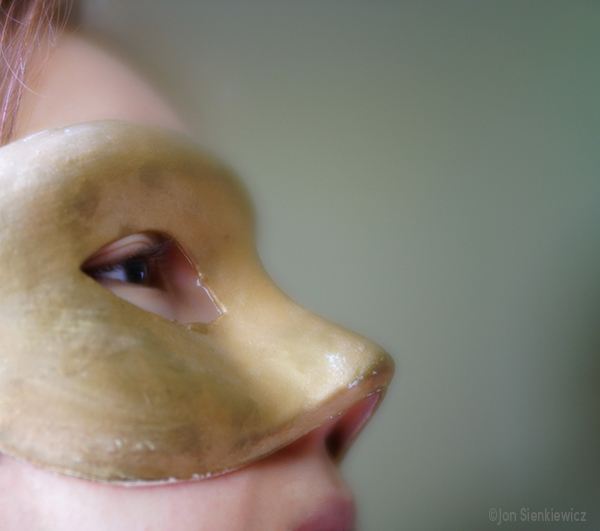
Capture the subject’s spirit, not their wrinkles.
Successful portraits range from frighteningly sharp through naturally relaxed and on into the realm of smoothly impressionistic. Many photographers perform their magic during postprocessing, and some are very good at it. I prefer to do it in the camera when I can, otherwise I’m never sure I got the shot I was after.
To soften a portrait, I reach for a Lensbaby Velvet. The imaginative enhancements it offers apply to many other subjects, too.
Here is my appraisal of just one of the Lensbaby Velvet optics: Lensbaby Velvet 85 Creative Lens Review.
2. Totally Affordable
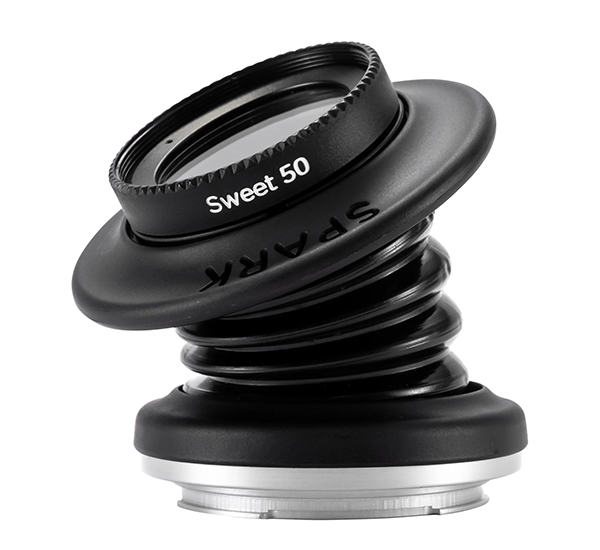
In addition to being drop-dead simple to use, the entry-level Lensbaby Spark is affordable.
Instead of a traditional helicoid focus mechanism, the Spark focuses by compressing its accordion-like body toward and away from the camera. You can also shift it from side to side a bit to add additional distortion and have more fun. Check out my review Lensbaby Spark to learn more and see a few more examples.

1. New Life for Old Cameras
Got an aging clunker in your collection that’s been collecting dust? It’s perfect for Lensbaby. This is, perhaps, the single best reason to buy a Lensbaby.
Nearly any camera that accepts interchangeable lenses is a suitable platform for a Lensbaby. I frequently use a 20-year-old Canon 20D. I equally use a modern, 40.2-megapixel Fujifilm X-T5. And everything in between. Here’s the thing: when you’re making dreamy, soft-focus images, it doesn’t make any difference whether the camera captures 8.2 megapixels or 40+.
Because focus is manual and exposure settings are Aperture Priority (primarily) or Manual, AF speed and operational response are not issues. Images are intentionally slightly blurred and/or distorted, so resolution and ISO performance don’t matter at all.
Fetch that old DSLR out of the closet (or buy a used one for the price of a cheese sandwich) and marry a Lensbaby to it. Mirrorless camera shooters can buy an inexpensive (typically in the $15 range) manual adapter in the appropriate mount and start shooting right away. This is another example where the lack of autoexposure and zero autofocus are not disadvantages.

Wrap Up
Some of the products mentioned in this story are no longer available as new, but they’re widely available in clean, secondhand condition from the usual suspects. Check Lensbaby’s website first, and if you can’t find it there, don’t give up.
Click here to find an authorized Lensbaby retailer near you.
—Jon Sienkiewicz
