
Our editor’s top 3 tech hacks for your home – turn your interiors dreams into reality
These tech-based ideas can make a world of difference


REAL ESTATE
Residential, Commercial, Interiors

LANDSCAPE
Landmarks, Cityscape, Urban, Architectural

FOOD
Hotels, Restaurants, Advertising, Editorial

PORTRAIT
Traditional, Glamour, Lifestyle, Candid

PRODUCT
Studio, Lifestyle, Grouping

EVENT
Conference, Exhibition, Corporate

FASHION
Portrait, Catalog, Editorial, Street

TRAVEL
Landscape, Cityscape, Documentary

SPORT
Basketball, Football, Golf

CONCERT

STILL

STREET
What is required to amass 100,000 Instagram followers?
Today we find out.
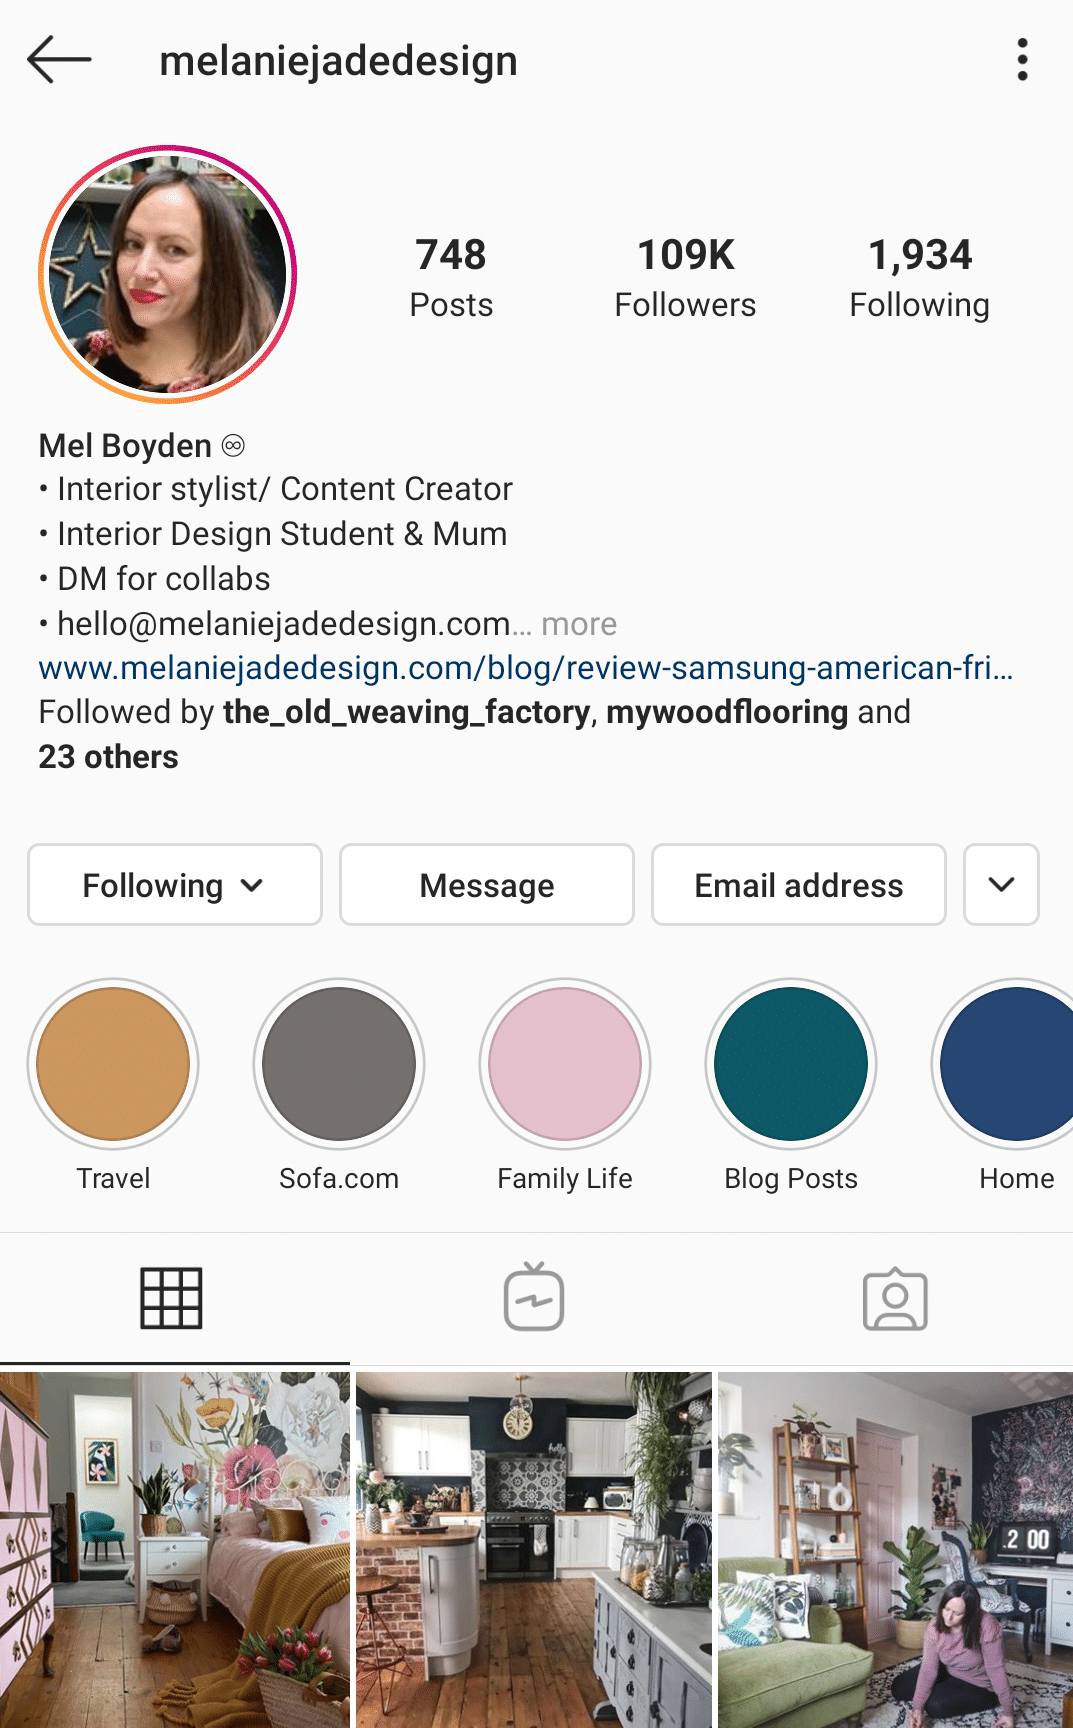
I’ve been picking the brain of Mel Boyden on her experience growing her Instagram (@melaniejadedesign) following to over 100,000!
We’ll learn everything from the common mistakes she’s made and she sees others making to you can avoid them to what is really working right now and how to recycle your content to boost your engagement.
Now let’s get right into it…
Hello! I am Melanie Boyden of Melanie Jade Design which started out as an Instagram account to post the progress of our renovation, find design inspiration and chat to fellow interior lovers about all things home decor. I used to work in IT, but when I got married and had my two children, I became a stay at home Mum.
The house prices in our area are very expensive so we knew to get the house and space that we wanted, we had to buy a property that needed doing up. I’ve always had an interest in Interior Design but it wasn’t until we started the renovation that I realised how much I love it.
My Instagram page and blog has now become a full-time job and I am currently studying a diploma in Interior Design so that I can start offering Interior and Styling content for interior designers.
I work with brands to produce content for them, taking photos of their products in my home and writing reviews. This also includes creating stories around the product and writing blog posts.
I’m not 100% sure where this journey will take me, whether I want to be a self-employed interior designer or work for a design firm and how I will manage my time with all my Instagram and blog commitments.
I am thoroughly enjoying my interior design course so I know my future lies in this area, but I am also extremely interested in the world of social media. I am constantly being asked for advice on how to grow an Instagram account and have written several blog posts on just that.
In all honesty, I think that interior design and social media go hand in hand together.

Hugely positive, encouraging, friendly and inspirational! Through Instagram I have seen my confidence grow when it comes to my interior style and offering advice to people who are also renovating and choosing how to decorate their home.
I have had opportunities thrown at me which I would never have dreamed were possible when I first started my Instagram account and I am now sitting on panels chatting about Interior trends and working with numerous big and small brands.
Thankfully, there doesn’t seem to be a lot of negativity in the interior designer world on Instagram and it is a community I love being part of. I have made many friends in real life through this little app and a few of us are actually planning a weekend away together to talk interiors and drink gin together! Perfect 

It might sound like a bit of a cliche, but not being true to yourself! I think in the first 18 months of being on Instagram, I was regularly following and watching what successful accounts were doing and trying to imitate that even though it just wasn’t my style!
I went through a phase of not gaining many followers and I think it was because I’d lost my way a little, my aesthetics on my feed was all over the place and I was constantly mixing up different interior styles like scandi and maximalism.
I love colour, biophilic design, pattern and nature and when I started concentrating on this style alone, I saw my follower count increase significantly.
You probably only get a few seconds for someone to look at your feed and decide whether they want to follow you or not so you’ve got to grab their attention straight away and make them understand what you are all about!
Another mistake I think a lot of people make is not being consistent. This applies to engagement, how often you post and your stories. You’ve got to keep feeding the beast as they say (the beast being Instagram), make sure you reply to all the comments on your post, post consistently whether that be every day, every other day or once a week and keep your stories updated.
It can become very time consuming but all the hard work eventually pays off.

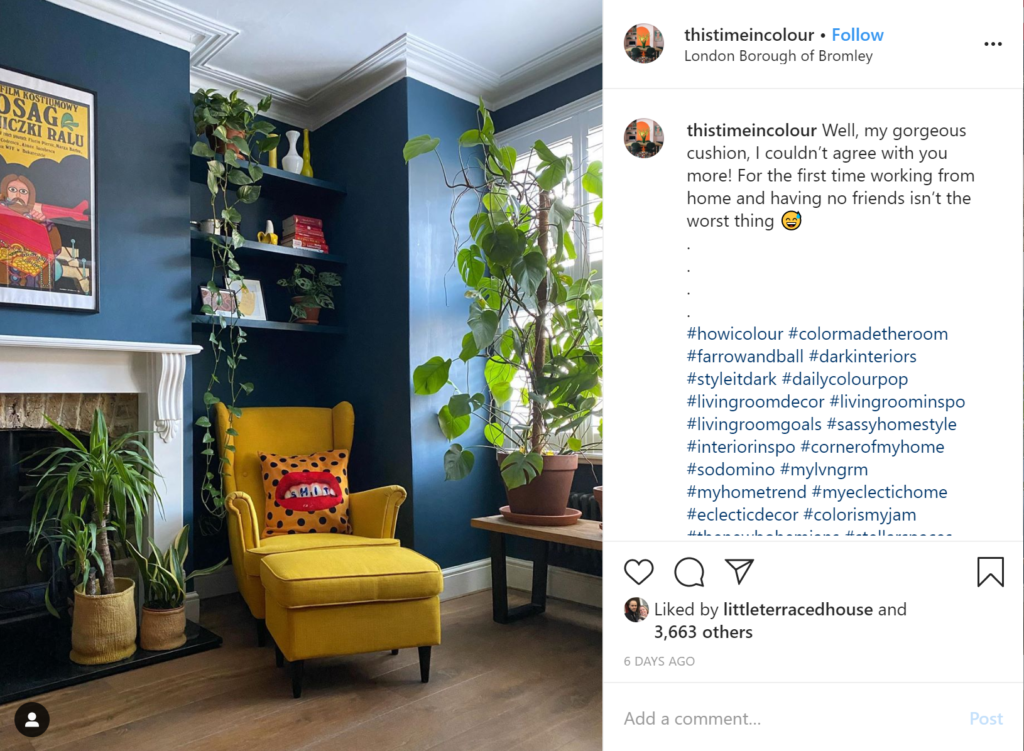
My gallery walls! I find what really works for me on my feed at the moment is posting my gallery walls (I can get nearly 1,000 new followers off the back of one post), my floral wallpaper and any new project I reveal.
It is so difficult to keep churning out updated rooms and redecorating and most people haven’t got the time or money to do it, but people want to see new trends and design inspiration constantly.
To maximise your engagement, you have to keep posting fresh content and there is no easy way around this. The interior world on Instagram is quite saturated these days so you really do need to stand out!
I’ve also found that it doesn’t really matter if you post the same photo a few times over a few months. If I have a post that has done extremely well, I will post it again a couple of weeks later and it still receives fantastic engagement.
Not everyone will have seen it the first time around and this is definitely true when it comes to hashtags. It also helps to keep the aesthetics of your feed consistent and flow well.

A bit like my previous comment, it is very difficult to get noticed on Instagram in 2022 so you really do need to stand out! There is no quick fix to growing your account organically, it takes a lot of work, time and careful curation of your feed.
Post consistently good photos with engaging captions (asking questions is always a good way to build engagement on a post), try to get a lot of full room shots in your feed and stick to your interior style! Before and afters, room reveals and renovations are always an Instagram hit.
I know a lot of Interior Designers say that the devil is in the detail and would like to showcase vignettes of a room, but unfortunately, they just don’t do very well on Instagram!
Also, don’t neglect your stories! This is a fabulous way to showcase your work, showing your followers how you have come up with ideas for projects and the progress.
We all carefully curate our feed but we can show the real person behind the feed in stories and help connect with our followers.
This is probably the hardest question of them all! I follow so many Interior accounts and design inspiration is in abundance on Instagram but my top five would be:
And there we have it. What a goldmine of insight from Melanie. A massive thank you for giving up her time to share her experiences from growing to over 100,000 followers on Instagram.
What problems are you having on Instagram?

Ever wonder why some portraits snap while others snooze? It could be the camera equipment — specifically the lens. Get better results consistently with used camera gear from MPB. With spring’s outdoor portrait weather afoot, now is the time to gear up. Leverage the pleasant weather and shop at MPB without breaking the bank.
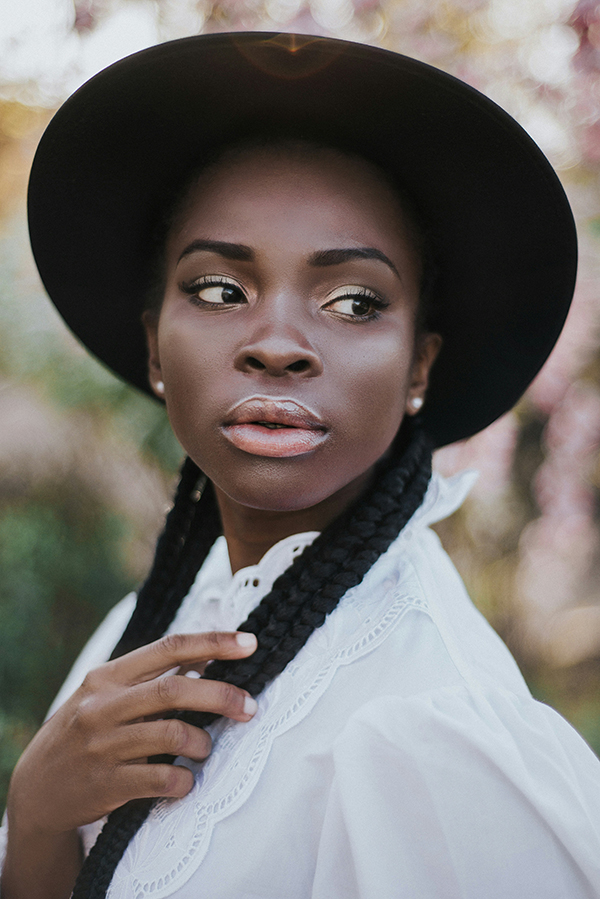
Portraits that delight both the subject and the photographer are arguably the most important pictures. Capturing the absolute essence of a person is challenging but sublimely rewarding, and while many try, few fully succeed. All too often, a portrait photograph falls short.
Blame the technique, blame the lighting, blame the lack of experience — maybe. While it’s true that some talented photographers can take amazing photographs with mediocre cameras, the right lens is critical for portraits.
MPB is the largest global platform to buy, sell and trade used photo and video gear. MPB has the inventory, the right prices and an outstanding reputation for customer satisfaction.
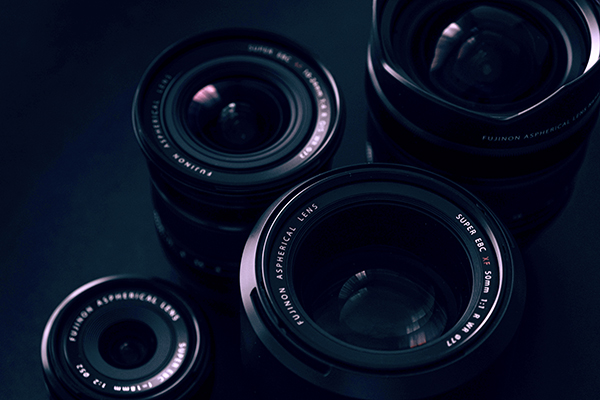
It All Starts with the Lens
Lenses in the 70 to 105mm focal length range have long been considered ideal for portraiture because they render perspective more natural looking. Longer telephotos tend to compress facial features while wide angles increase the apparent distance between the subject’s cheeks and the tip of their nose—serving up a semi-Pinocchio look.
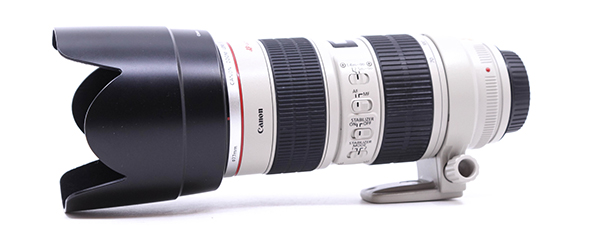
It follows logically that zoom lenses in the 70-200mm range comprise the go-to glass for portrait photographers. A fast f/2.8 70-200mm zoom adds the dynamic benefit of being able to provide limited depth-of-field when shot wide open, producing beautiful bokeh that separates a portrait subject from its background.
A great example is the Canon EF 70-200mm f/2.8 L IS USM, which is available for up to 40% off retail from MPB.
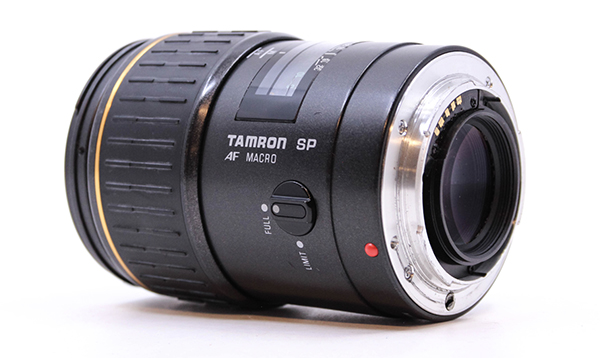
Prime Lenses
Photographers who are skilled at shooting headshots with 35mm or 200mm lenses are considered unicorns — but don’t rule out prime lenses in that 70mm to 105mm sweet spot. 90mm Macro lenses are great, partly because they allow you to move in close to isolate a particular facial feature.
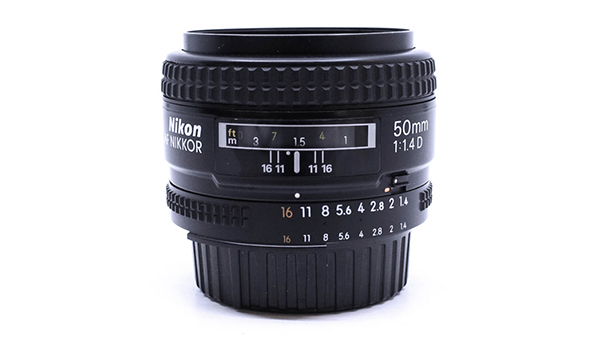
Prime Bonus for APS-C Shooters
Here’s an often overlooked bonus: When you use a 50mm full-frame lens on an APS-C camera, the focal length becomes the equivalent of either 75mm or 80mm, depending on the host camera (e.g., 75mm on a Nikon APS-C, 80mm on a Sony). If you start with a 50mm f/1.4 prime lens on a Canon EOS 77D, for example, it becomes the equivalent of an 80mm f/1.4—a lens with the perfect focal length and fabulous bokeh. The focal length increases by a factor of 1.6X while the aperture remains the same fast f/1.4.
Best of all, using a 50mm on an APS-C format camera is almost always the most economical way to go. Save money and get great results.
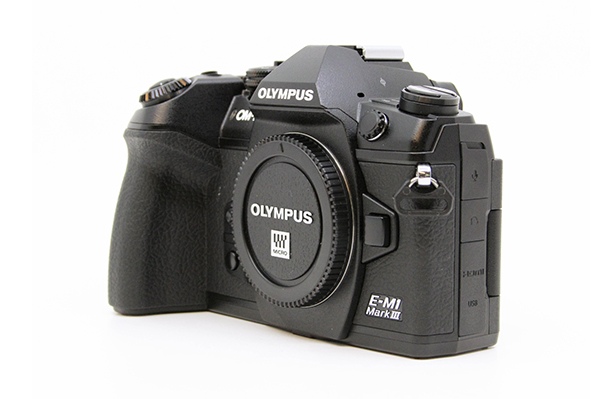
Even Bigger Bonus
Taking the advantages of optical physics a step further, when a 50mm lens is used on a Micro Four Thirds camera body, one from the popular Olympus OM-D series for instance, the 50mm becomes a whopping 100mm. Again, the f/stop is unaffected. So a 50mm f/2 becomes a 100mm f/2 —a quite formidable portrait tool.
Buy Used and Save Big
MPB buyers save an average of 35% off retail. Think of it as buying three lenses for the price of two. So why not buy used and save? As a matter of fact, you’re in the majority when you buy used. According to new research by MPB and Retail Economics, almost three-quarters of consumers (71%) bought or sold used goods in the past year, with 63% of these shoppers making a purchase at least once a month.
Buying used doesn’t mean sacrificing quality or reliability — it means getting more for your money. Used lenses perform exactly like their new counterparts. Every camera and lens sold is MPB Approved after undergoing a rigorous 8-to-10 point inspection by a trained photo specialist and assigned a cosmetic condition rating as follows:
• Like New – little to no sign of wear • Excellent -minor signs of wear • Good – noticeable signs of wear, scuffs and marks • Well Used – distinct signs of wear and scuffs • Heavily Used – significant signs of wear, heavy marks or scuffs. This YouTube video explains the system in greater detail.
Furthermore, MPB photographs every single item, so what you see is what you get. MPB provides a complete list of all included accessories and, in nearly all cases, detailed specifications.
Because MPB is confident about the way they evaluate the product’s condition, every camera and lens comes with a free six-month warranty.
Why MPB?
The Top Three reasons to buy, sell and trade with MPB.

Customer Satisfaction — MPB has served 625,000 visual storytellers. MPB recirculates more than half a million items a year and enjoys a well-earned 5-Star Rating on Trustpilot based on more than 35,000 reviews.
Vast Inventory — MPB has more than 16,000 pieces of used gear in the US and over 47,000 globally. They add more than 2,000 products every week. The inventory turns over fast, so if you don’t see what you’re looking for, check back in a couple of days. You can view recently added gear via this link.
Outstanding, Penny-Pinching Prices — You are assured of competitive prices thanks to MPB’s dynamic pricing engine and continual market analysis. The proof is that MPB buyers save an average of 35% off retail.
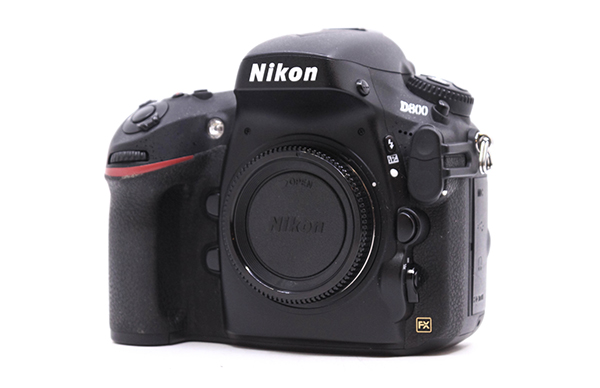
DSLR or Mirrorless?
From the standpoint of portrait photography, it doesn’t make much difference. Use whichever feels most comfortable to you. To learn more about the merits—and limitations—of mirrorless, check out this article: Make the Move to a Mirrorless Marvel from MPB.
MPB has a very wide assortment of both DSLR and mirrorless camera bodies to fulfill your needs, whatever they may be.
Full-Frame or APS-C?
Some will argue bitterly that full-frame cameras are superior, while others firmly insist format makes no difference in skilled hands. If you’re a first-time camera buyer, do your homework before buying from MPB.
If you are a full-frame shooter already, strongly consider adding an APS-C companion model of your regular brand to cash in on the benefits of the focal length multiplier outlined above. The 50mm f/1.4 you use on your Sony Alpha A7 becomes a 75mm f/1.4 on a Sony Alpha A6500, for example.
Don’t Rule Out Premium Compacts
Premium compact cameras are very competent portrait makers, provided they have a zoom lens in the appropriate range. In fact, they can offer distinct advantages in certain circumstances. Compact cameras are more portable, so they’re readily available for spontaneous candid shots. Additionally, they’re often less intimidating to camera-shy subjects.
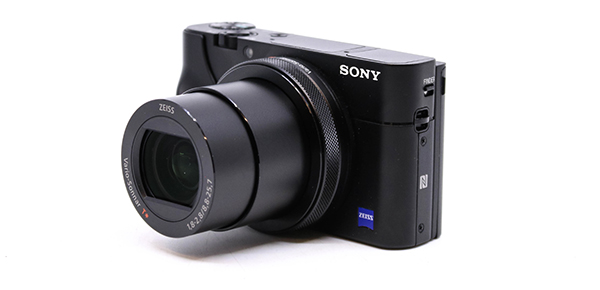
Start with a look at any model in the Sony RX100 series. These gems are legendary image makers, are supremely small and easy to carry and have outstanding zoom optics with fast apertures. Even the older models deliver excellent portraits. The Sony RX100 Mark V features a 1-inch, 20.1-megapixel sensor, equivalent 24—70mm F/1.8-2.8 Zeiss Vario-Sonnar T* zoom and weighs a tiny 10.5 ounces (299g).
Save Big Bucks — Trade in the Underused
Aside from buying used gear, the best way to save money while expanding your photographic arsenal is by trading in the gear you don’t use. If you have something in your equipment closet that’s been collecting dust for a few months or so, sell it outright to MPB or trade for something you need. On average, photo and video storytellers earn $900 when they sell to MPB. Even if you’re only thinking about trading, get a free online quote from MPB so you can make informed decisions.
Get Started on Spring Portraits
Do you have the right lens? If not, visit MPB today before spring slips into summer. Whether buying, selling or trading, MPB is the best place to shop all year.
∞ Shutterbug Staff


