5 Must See US National Parks for Luxury Travellers
America is home to numerous national parks. For many luxury travellers, going off the beaten path may seem like an unconventional thing to do. However, some like adventure and won’t mind exploring the beauty that America offers at these five national parks that are a must-visit. You might also stay somewhere close to enjoy the luxurious amenities of your hotel stay after a day of exploration and soaking in the experience.
Ready to see which five parks in the United States made the list? Let’s take a look now at the following.
1. Yellowstone National Park

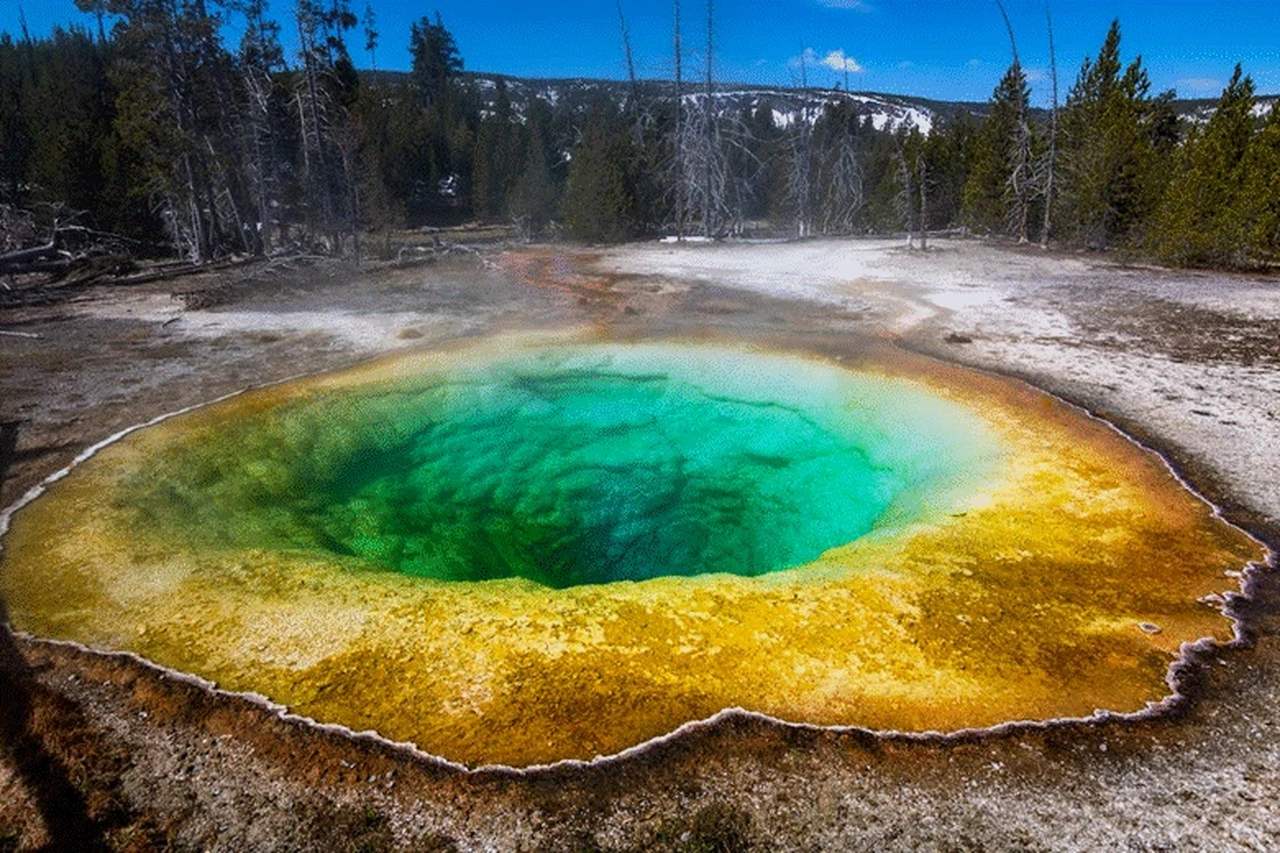
Yellowstone National Park
Yellowstone National Park is one of America’s first national parks. It’s also an hour away from some of the best 5-star hotels in North America . While camping may not be something you plan on doing, you may at least enjoy some of the natural beauty that this place offers. Of course, there’s the iconic Old Faithful that you definitely don’t want to miss out on.
You can also explore all kinds of wildlife and enjoy the natural mountainous views. You could spend time enjoying world-class restaurant options such as the Old Faithful Inn. Yes, dinner and a show featuring the venerable geyser is always something you can scratch off the travel bucket list. Who says you can’t go on an adventure if you are a luxurious traveler?
2. Grand Canyon National Park
Now, we venture farther south to the beautiful desert landscapes of Arizona. If there is one place where you can start exploring the Grand Canyon, it’s the South Rim, which can be the best starting point. Go on a Rim-to-Rim tour, whether it’s by helicopter or even go rafting down the mighty Colorado River. If you want excellent views, the El Tovar Hotel just might be the place to enjoy your stay, or even if you want to check out the world-class El Tovar Dining Room located in the friendly confines of the hotel itself.
Imagine having dinner and seeing a gorgeous sunset that serves as the perfect backdrop. If that isn’t an impressive sight to see when you enjoy delicious fine dining, we don’t know what is. You can also spend the day at the Sedona Rouge Spa if you want the luxury experience while spending time near the Grand Canyon.
3. Glacier National Park
Located in Montana, Glacier National Park is one of the go-to places for luxury travellers who love exploring miles upon miles of pristine wilderness. You can go on a private hiking tour or even sail on the mountain lakes on a private charter boat. After a day of exploration, you could head to some of the local wineries where you can enjoy the best wines made in areas of the United States including the Pacific Northwest, which may be a hidden gem for wine lovers that may want to see something outside of the usual Wine Country that is Napa Valley.
4. Zion National Park
If the Grand Canyon is something you enjoy, you may also want to check out Zion National Park. Right here is where you’ll check out some of the most exquisite red rock landscapes you’ve ever seen. Imagine waking up to the red rock views that you see out of your hotel room window every morning. Enjoy a cup of coffee while looking outside on your balcony as you plan the day’s adventure.
Join expert guides as you explore the canyons or go on a private helicopter tour to see the red rocks from up above. You’ll never know what kind of breathtaking scenes you’ll see when you’re exploring this iconic part of Southern Utah.
5. Yosemite National Park
Finally, we end our adventurous tour of these national parks right here in California. That’s where you’ll find Yosemite National Park. Go on a tour of the legendary El Capitan or Half Dome and take pictures of the experience. You can also explore the backcountry areas where you can see all kinds of wildlife right before your eyes. If you are looking for a one of a kind spa that will be your go-to place to unwind after a day filled with adventure, the Yosemite Spas and Wellness Centers can certainly be the place where luxurious pampering is possible.
Final Thoughts
These five must-see national parks in the United States are all fitting for luxury travelers. While you might not be camping in the wilderness, there are some excellent opportunities to explore the parks and take in the scenery. Even if it’s a bit out of the way of some luxury accommodations, it’s always an experience to see the natural beauty of America. Don’t miss out on exploring these iconic national parks while also getting a luxury experience that’s second to none, from fine dining to spa treatments and more.
The post 5 Must See US National Parks for Luxury Travellers appeared first on The Travel Magazine.


