
Photoshop’s Liquify Tool: Treat Pixels Like Water (VIDEO)
If you’ve never used Photoshop’s Liquify tool to manipulate an image or create unique effects, now’s the time to give it a try. The following guide from the How to Use YouTube channel demonstrates everything necessary to start using this technique today.
Adobe explains the interesting filter like this: “Liquify lets you push and pull pixels like they’re water to move elements very slightly in one direction or another.” In practical terms this enables you to accomplish subtle retouching tasks like smoothing out wrinkles in clothing or fixing rough edges. You can also use the tool to tweak facial features in portraits—or as with this lesson, modify the shape of a plant.
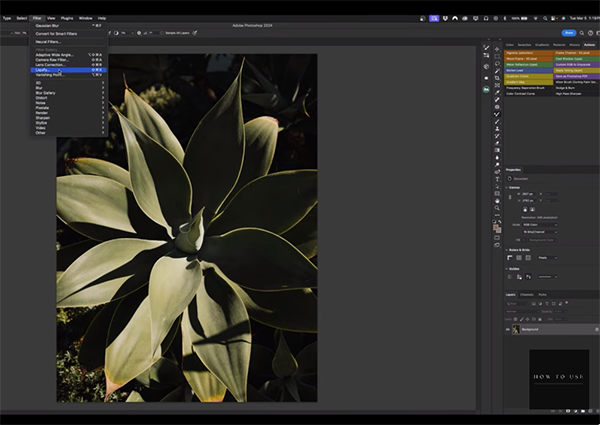
In essence the Liquify filter is a distortion tool, and instructor Nathaniel explains how it works in less than four minutes. He pulls up an image and gets right to work by clicking on Filters atop the screen and choosing the Liquify option from a dropdown menu that appears.
For his first basic example Nathaniel uses the Pucker tool to shrink the center portion of the plant. If you don’t like what you see, simply revert to the original image by clicking on Restore All. It’s easy to further modify a portion of the image, like one of the leaves, with Photoshop’s Forward Warp tool to push an element one way or another, as well as enlarge or shrink it in whatever way you desire.
Nathaniel says he often takes this approach for subtle adjustments that make an image “more esthetically pleasing,” and sometimes these small moves make a big difference in the impact of a photo. He then explains a couple more tools that are very effective for further enhancing your results.
One of these, for example, is the Restructure tool. Nathaniel explains that with this approach “Photoshop takes its best guess as how the image should look.” Clicking on Preview lets you examine the before/after effect. And, once again, it’s possible to Restore and try something else if you don’t like the result.

As you’ll see, this is just the beginning and there’s much more you can do, like swirling the image with the Swirl Clockwise tool. Nathaniel urges you to not go overboard with this effect if a natural-looking image is your goal.
There’s much more to see on the How to Use YouTube channel, so be sure to pay a visit when you have time to explore.
We also suggest watching the recent tutorial we posted from another image-editing expert who demonstrates how to harness the power of Photoshop’s two new Gradient modes.


