
Speed Up Portrait Photo Edits with These Fast & Easy Tools (VIDEO)
Even if you don’t dread sitting behind a computer for hours, editing images from a shoot, there’s no reason not to streamline your workflow with fast-and-easy techniques that deliver superb results. That’s topic of this tutorial, specifically with regard to processing portrait images.
Instructor Lizzie Peirce is a photographer and video producer based in Ontario, Canada with a portfolio of beautiful portraits. She admits, “I’m not a Photoshop pro which is why I’m so excited about today’s video,” that explains the straightforward retouching tools she relies upon to achieve great edits in a hurry.
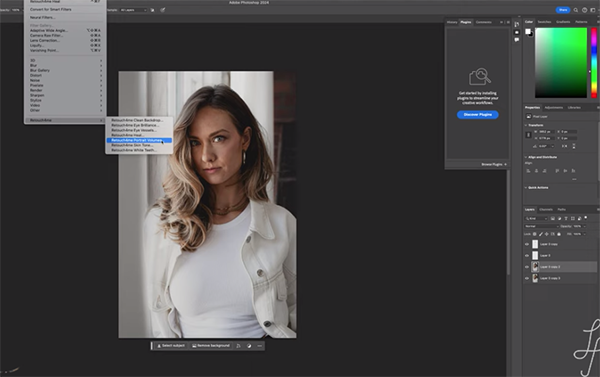
Peirce explains her process like this: “I typically spend most of my time editing in Lightroom, and then I head over to Photoshop to do any retouching with Frequency Separation and a few other tweaks with the tools and technique I understand.” Peirce also employs several plugins that she describes near the end of this 11-minute lesson.
The first step in editing a portrait of her friend Lauren is to be decisive in culling images from the session and narrowing down her “selects.” As she says, “selecting your all-time favorites from a shoot will incredibly speed up the process because they’ll be far fewer images to edit.” So be as “brutal” as possible in eliminating images that are duplicates or don’t quite make the grade.
Once her best shots are imported into Lightroom, Peirce explain why and how using presets further accelerates the process. Here there are two basic options: purchase a set of presets or make a few of your own. And she offers several of her presets that you can find in the description beneath the video. You’ll see the effects that a few of these provide.
Another timesaving tip is to take advantage of Lightroom’s Auto adjustments that often do a great job. At the very least, they’ll provide a great starting point that can be quickly refined with a few manual adjustments.
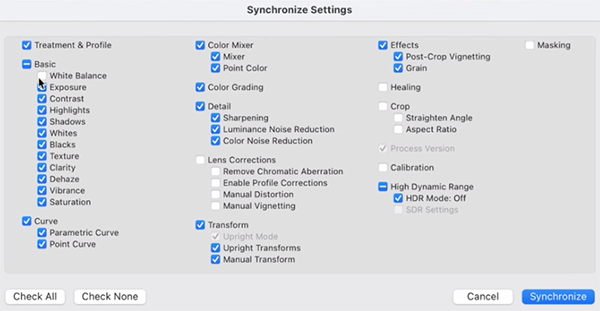
Peirce says that once an edit is completed to your satisfaction, “you don’t want to start from scratch on the others,” which is why she recommends syncing those edits onto other similar images from the same session. Depending upon the photos in question, you can synchronize all the adjustments made to the first shot or specify which ones should be copied over.
The lesson concludes with her Frequency Separation technique and the aforementioned plugins that she uses. There’s much more to be learned by paying a visit to her instructional YouTube channel, so don’t forget to do that.
And if you want to capture unique available-light portraits, be sure to watch the recent tutorial we posted on photographing subjects at Blue Hour outdoors.


