Gear Up to Visit a National Park Before Fall
For many of us, a trip to a major National Park may be a once in a lifetime event. Maximize your experience by anticipating the photo opportunities you’re likely to encounter and planning a course of action. Here are some photo tips to give you a head start, and some gear recommendations from the experts at MPB, the largest global platform to buy, sell and trade used photo and video gear.
Don’t Tackle Yellowstone with a Smartphone!
When venturing into a photogenically rich environment like a National Park (or even a neighborhood picnic area) you absolutely want to make sure that your photo equipment is capable of matching the task. Don’t tackle Yellowstone with a smartphone! That goes for everyone in your family, even the younger members.
At the core you want a solid mirrorless system camera, something like the Nikon Z series, Fujifilm X mirrorless or one of the highly popular Sony Alpha cameras. Alternatively, you may want a traditional DSLR, although if much of your travel is to be on foot, you’ll appreciate the generally lighter weight of the mirrorless cameras and lenses.
The good news is that you can stretch your equipment budget by buying MPB Approved cameras and lenses.
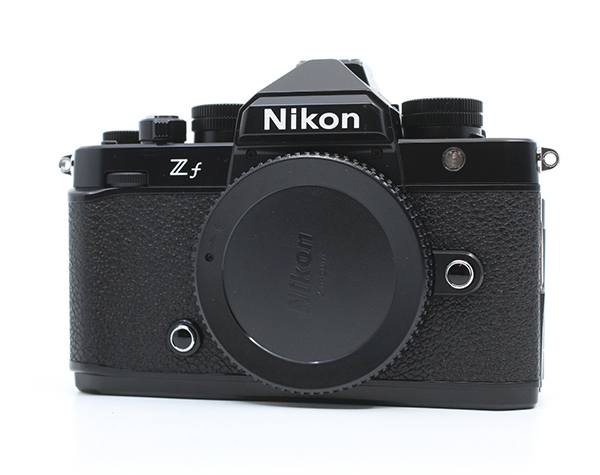 Mirrorless camera systems are currently most popular for pros and amateurs alike. Small wonder: collectively they’re smaller, lighter and every bit as good as their large DSLR counterpart. In fact, “Small Wonder” is the perfect identifier.
MPB offers popular used mirrorless cameras like the APS-C format Fujifilm X-T and the full-frame Nikon Z system. Prices start below $800 an MPB Approved used Fujifilm X-T3 (body only). You can buy a retro-style Nikon Zf body for under $1900.
Not looking for a Nikon or Fujifilm product? No problem. MPB has more than 16,000 pieces of used gear in the US and over 47,000 globally. And they add more than 2,000 products every week.
Get the Big Picture
MPB Gear Tip: wideangle lens, polarizing filter, and for fun a Ricoh GR in your pocket.
To convey the full impact of sweeping vistas, use a wideangle lens. Even if you normally carry the kit zoom that came with your camera, take along the widest zoom you can find. Wideangle lens deliver more depth-of-field than long lenses and are unbeatable when you enter a canyon, cave or other smallish space. To darken a blue sky and accentuate color saturation of landscapes, use a polarizing filter.
That said, consider also packing a compact camera that has a wideangle as standard, something along the lines of a Ricoh GR that has a lens that’s the equivalent of about 28mm. Ricoh GR series cameras are top-level street shooters and indispensable as a back-up camera should the unthinkable happen.
About Joshua Tree National Park
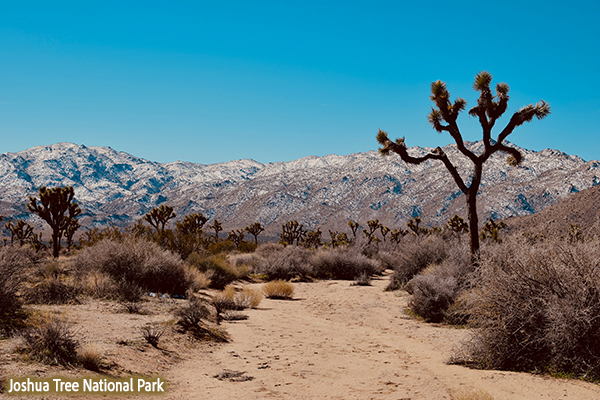
Located at the conjunction of the Mohave and Colorado desserts, Joshua Tree National Park is most hospitable in the spring and fall when this part of California enjoys more moderate temperatures. Inside the park you’ll find campgrounds, hiking trails, vista points, picnic areas, and pullouts with interpretive information — but no creature comforts like hotels, restaurants, or gas stations. With that in mind, it’s important to arrive prepared with water, food and sufficient fuel. Despite its rough texture, Joshua Park offers some of the most breathtaking photo ops found anywhere.
Don’t be Afraid of the Dark
MPB Gear Tip: Fast zoom, tripod, mirrorless with excellent high-ISO performance.
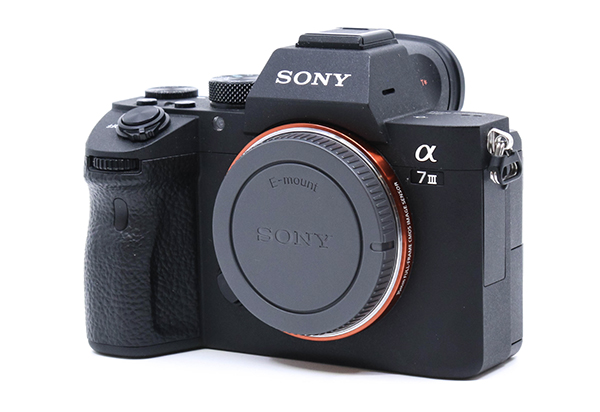
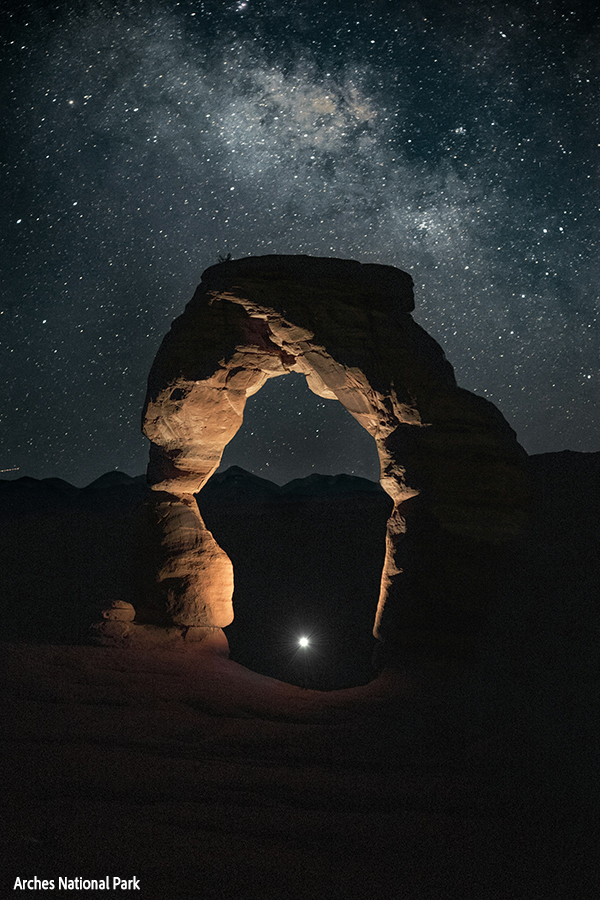
Night shooting is thrilling and challenging. You’ll need a fast zoom lens and a tripod—that’s common sense. But also consider the high-ISO performance of your main camera. You do not want a spectacular shot of the Milky Way spoiled by digital noise. Sony Alpha A-series cameras have a well-deserved reputation for exemplary low-light performance. MPB has dozens of used Sony mirrorless cameras in stock at prices everyone can afford.
About Arches National Park
Famous for spectacular sunsets amidst the mind-blowing rock formations (including 2,000 natural stone arches), Arches National Park belongs on the short list of all landscape photographers. And because of the light-pollution-free Utah skies, it’s a haven for stargazers. Afficionados of American history can trace the footsteps of the more than one dozen tribes of Indigenous peoples traditionally associated with this terrain. Note that reservations are required April 1 through October 31. Don’t leave the part without at least one great nighttime shot.
Focus on Details
MPB Gear Tip: mid-range zoom.
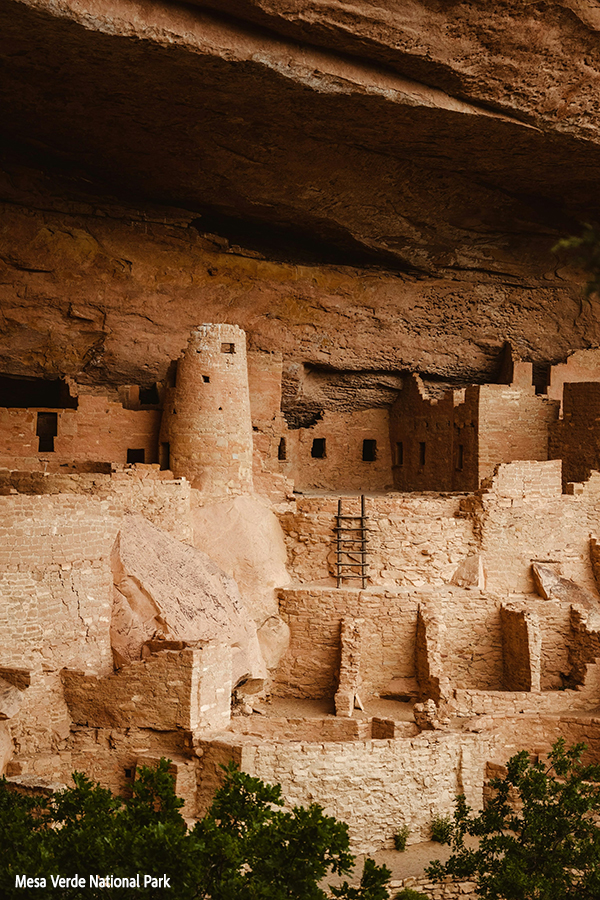
The zoom lens that came with your camera is likely not up to the task of zeroing in on distant details. For those out-of-reach subjects, look toward a mid-range zoom, something in the 18-135 range. The Canon EF-S 18-135mm f/3.5-5.6 IS USM is perfect for Canon users. Nikon users should consider the Nikon AF-S DX Nikkor 18-135mm f/3.5-5.6G IF-ED. No matter what brand of camera you drive, you can find a suitable used mid-range zoom among MPB’s vast inventory.
About Mesa Verde National Park
A World Heritage Site, Mesa Verde National Park was home to Ancestral Pueblo people for more than 700 years, and abundant architectural structures remain to the delight of visitors young and old. Wildlife photographers take note: this park is inhabited by more than one thousand species, including several that live nowhere else on earth. Located in Colorado, this amazing piece of history is about 180 miles NNW of Albuquerque, NM.
Sunsets & Sunrises Add Drama
MPB Gear Tip: be prepared at all times with a high-end compact plus your primary camera.
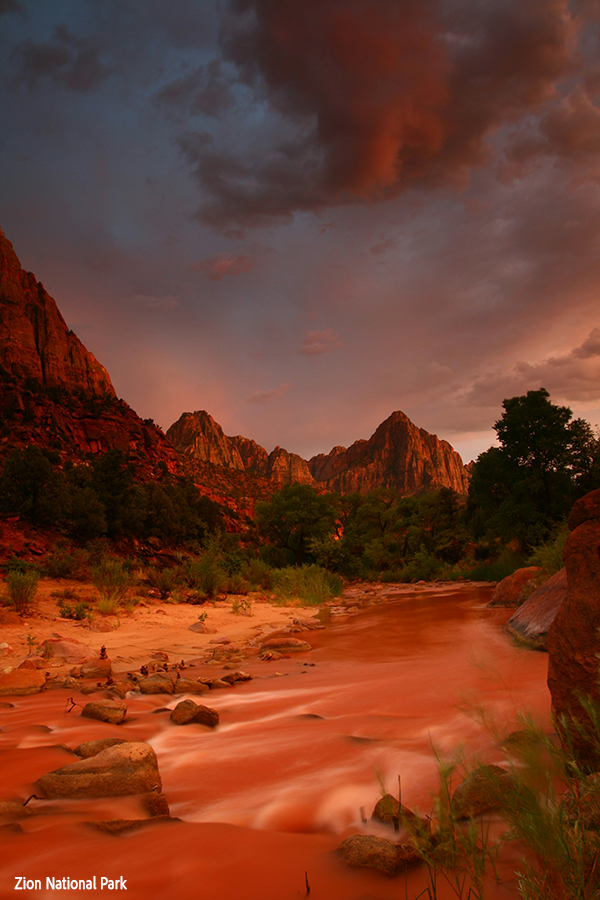
Be prepared. Having a top-shelf compact camera like a Sony Cyber-shot RX100 Mark V or other model from the Sony RX100 lineup will ensure that you are photo-ready at all times, even at the crack of dawn or drama of sunset. In addition, a compact camera is a great way to capture spontaneous indoors scenes, like dinner around the campfire.
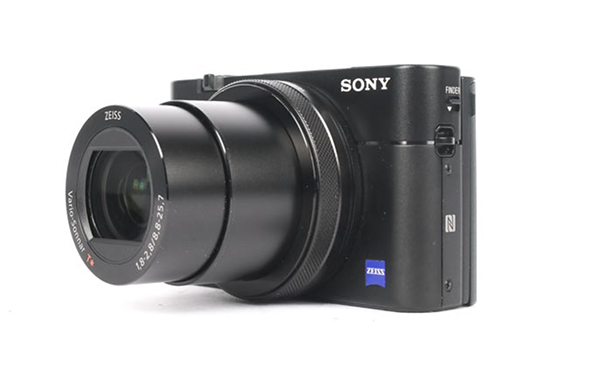
When you purchase an MPB Approved used product, you always know precisely what you’re buying. MPB uses an easy-to-understand 5-point Condition Rating System. The condition ratings are: • Like New – unboxed, unused or lightly used • Excellent – minimal signs of wear, otherwise pristine • Good – fair amount of use, but well-kept • Well Used – significant use, signs of normal wear and tear • Heavily Used – clear signs of wear and tear, still works. For a deeper dive into the Rating System, check out this YouTube video and review the complete details by clicking here.
About Zion National Park
Zion National Park is home to the spectacular Kolob Canyons and Kolob Arch, one of the largest free-standing arches in the world. “Wild” in every sense of the word, Zion Wilderness is not for the timid beginner, nonetheless it’s a popular destination for backpacking, camping, canyoneering, rock climbing and river trips (permits may be required). Zion is Utah’s first national park and belongs on your bucket list.
Include Foreground for Scale
MPB Gear Tip: 70-200 zoom, UV filter.
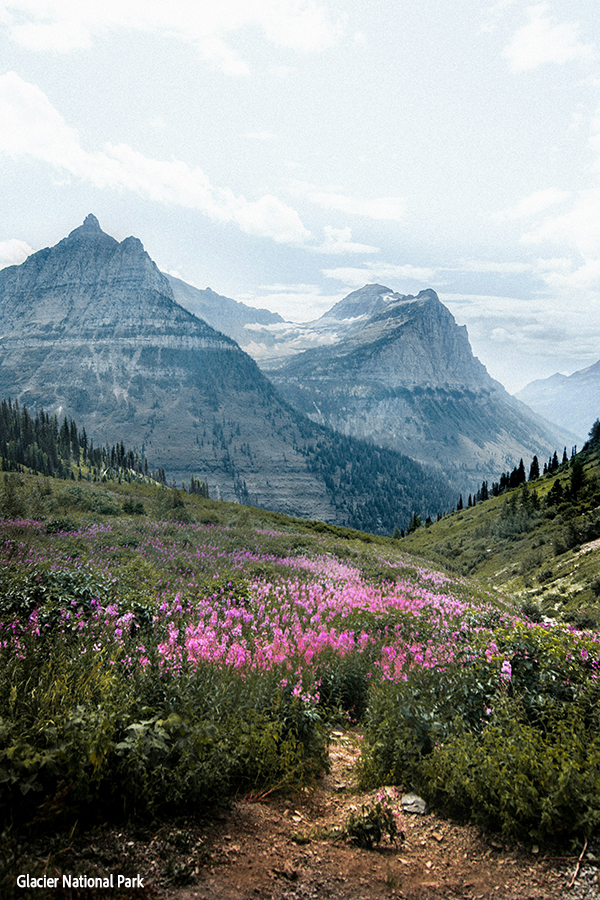
It’s much easier to comprehend the enormity of a mountain when the photo has something in the front for scale. Include a person, plant or other identifiable item. A 70-200mm f/2.8 zoom lens is a must-have for this type of outdoor photography. You’ll use it for landscapes, family portraits and wildlife. Reduce the dulling effects of atmospheric haze by adding a UV filter. It’s essentially colorless so you can leave it on the lens.
MPB has an extensive selection of used zooms in the 70-200mm range. Don’t overlook Tamron, Sigma and other non-camera brands in your search, just be sure to select the correct mount for your camera. MPB also offers a wide variety of used UV filers in sizes sure to match your lens’s front thread.
About Glacier National Park
If melting ancient glaciers, sculpted valleys, alpine meadows and stunning lakes appeal to you, set your summer vacation GPS on Montana’s Glacier National Park. Our National Park Service strongly recommends that you plan your accommodation options in advance, especially during the normally busy summer seasons. There are currently 26 glaciers, but that number is shrinking possibly due to the impact of global climate change. Yours maybe the last generation to enjoy historical glaciers.
Bonus Destination: Our Neighbor to the North
MPB Gear Tip: Photo Backpack, compact system camera.
To go along with the compact mirrorless camera system we mention above, consolidate your camera gear in a photo backpack. A regular backpack, even if it’s specially designed for mountaineering, probably does not provide the padded compartments needed to fully protect delicate camera equipment. MPB has used backpacks ideally suited for comfort, protection and style. A great example is the Lowepro ProTactic 450 AW II Backpack. Prices start around $129 and it’s an investment you’ll be glad you made. Like other photo items sold by MPB, used photo backpacks also come with a six-month warranty.

Black fabric backpacks tend to show wear more readily than other products, so it’s reassuring that MPB individually photographs each unique item, so the product pictured in the listing is the exact product you’ll receive.
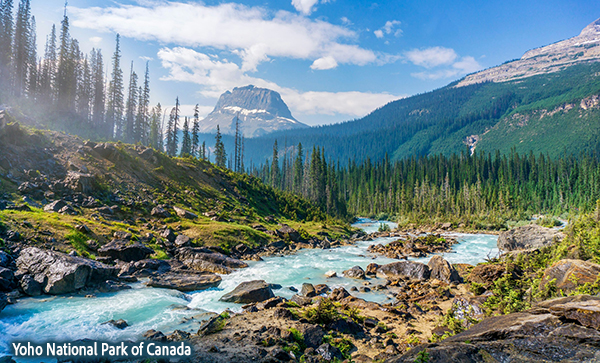
About Yoho National Park of Canada
How lucky we Americans are to have a beautiful, easily accessible and genuinely friendly foreign country at our northern border. Among the most popular destinations within Yoho National Park of Canada is Lake O’Hara. Located about 100 miles NW of Calgary (as the crow flies), temperatures June through July hover around 68 to 72 degrees, with lows in the uppers 40s, making it the perfect spot for a cool vacation. PS: Take a jacket, even during the summer, but leave your drones at home; drones are prohibited and the penalty is fierce.
When You Return Home
Generations ago, families gathered around the hearth at the end of the day to discuss and share their adventures. Today we recommend gathering at the computer monitor and reviewing the images everyone captured. Download all photos from every traveler. Relive your vacation and enjoy the wonderful experiences all over again. And this winter, when a great icy wind is blustering through your homestead, revive the journey and thumb your nose at the cold.
Buy With Confidence & Save
On average, used camera gear from MPB costs a third less than new and comes with 6-month warranty. Every item is carefully inspected by a trained specialist. Plus, the product you see in the listing is the exact same item you are buying, because MPB photographs every camera and lens individually. And MPB lists every accessory included with the product, so there are no unpleasant surprises.
Join the hundreds of thousands of photo and video storytellers who have made MPB the largest global platform to buy, sell and trade used photo and video gear. With a 5-Star rating on Trustpilot (based on more than 38,600 reviews) MPB recirculates 500,000 pieces of photo gear every year. Start planning your family excursions today at mpb.com.
∞ Shutterbug Staff


