When photographers talk “resolution” they usually measure it in megapixels. Today we’re talking about a different sort of resolution, the kind that involves goals, intentions and idealized plans. Whether or not we follow our resolutions is irrelevant in my mind. Outlining a carefully considered course of action for 2024 and exploring new photography options are what it’s really all about.

Make Frequent Backups in Multiple Locations
Your images are not backed up unless you have at least two additional copies besides the original. There’s no excuse; fast external hard drives cost less than lunch in Loogootee, Indiana, and cloud-based online storage is crazy-cheap. For a premium high-speed, highly portable external drive, checkout the tiny, fast, reliable OWC Envoy Pro Elektron which we recently reviewed.

Explore New Technology & Embrace AI
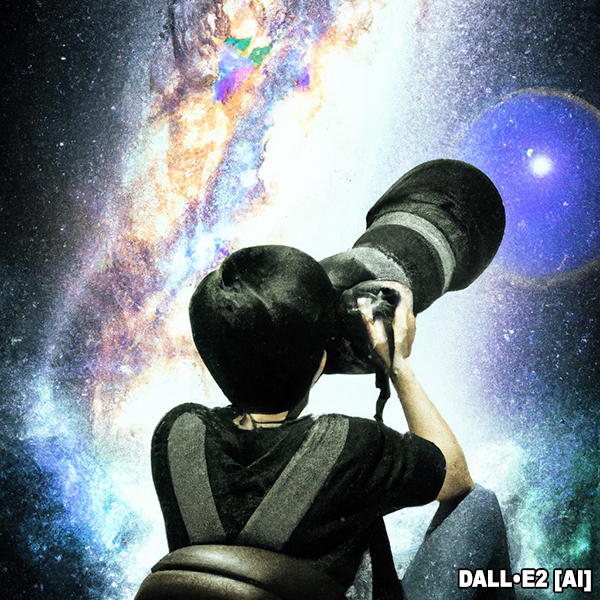
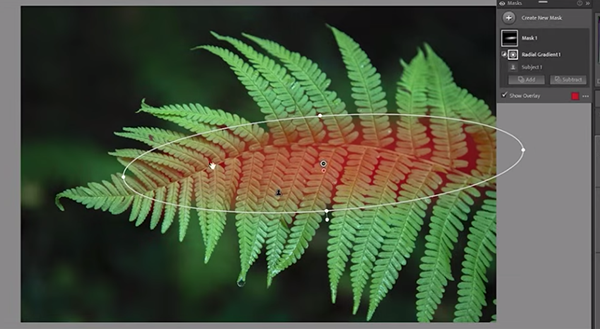
While the world frets over the conceivable existential threat of runaway Artificial Intelligence, camera manufactures and software giants have deployed AI for all-positive (at least benign) purposes. Systems like MidJourney and DALL•E2 are seemingly here to stay, and Adobe has given us the most significant recent software breakthroughs with the likes of Firefly and powerful AI-driven Photoshop/Lightroom features including Generative Expand, and Delete and Fill. So embrace AI. Exploit AI. Have fun with AI. Even if AI will someday annihilate mankind, make hay while the sun shines.

Explore Every Undiscovered Camera Feature
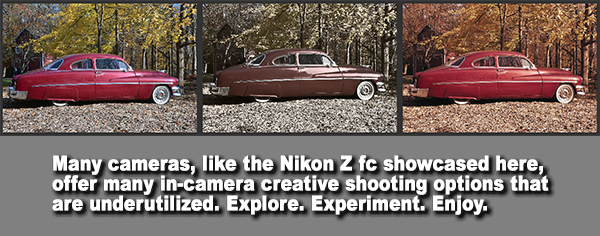
Time and time again I hear friends and strangers insist that “someday” they’re going to learn how to use more of the special features built into their cameras. Do they? Not that I can see. Although it sounds trite and maybe corny, the Owner’s Manual is the best place to begin with any new camera. Make note of the functions unfamiliar to you, like Custom White Balance, HDR Bracketing, Sweeping Panorama and the like. Try them out. If your results suck, delete and try again.

Accentuate the Negatives
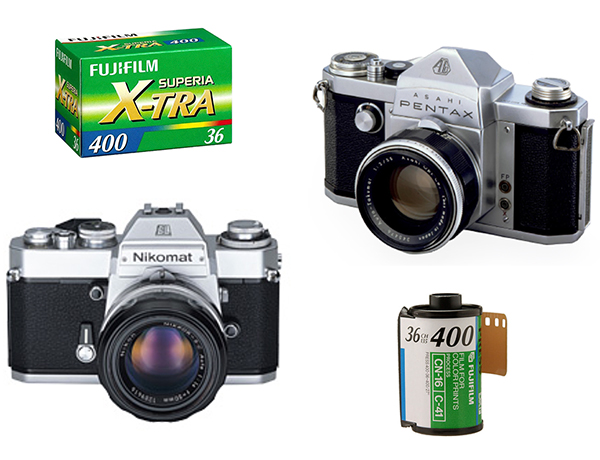
Gen Z photogs don’t know anything about film. Millennials have never shot a slide. I’m painting with a very broad brush, but the essence of my point is true. There is a place in the world for 35mm film cameras and it’s a place you should visit. To get started, begin here: Start Shooting 35mm Film – Here’s a Complete Guide.

Take a Fresh Look at Familiar Things
It’s always fun to see someplace new, but have you ever noticed how different your home looks when you return? I can’t prove this scientifically, but I’ll bet that we stop seeing things after we look at them for the third time. Can you draw an accurate image of your car’s dashboard from memory, with every dial and button in the right place? You look at it every day, but you stop seeing it. My point is that if we take a good, penetrating look at the things we encounter on a regular basis, we just might start seeing something new—without traveling anywhere new.

Adopt a Few Physical Screw-In Filters
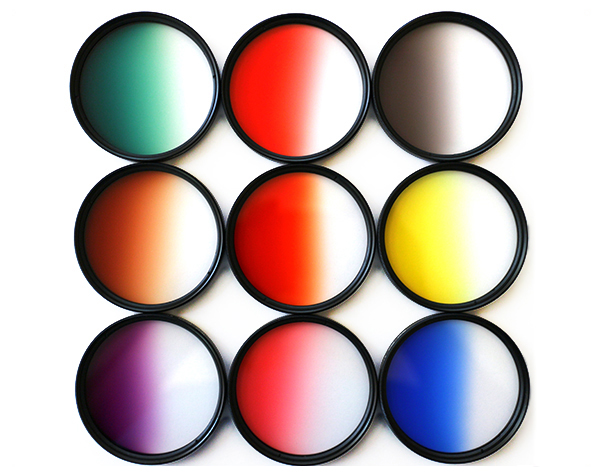
Start here: 10 Things You Need to Know About Physical Photo Filters. Then buy a Polarizer. You will not regret it. Also check out this article that covers (in detail) graduated color filters I purchased as a set for about $3 each to prove that photo fun doesn’t have to be expensive.

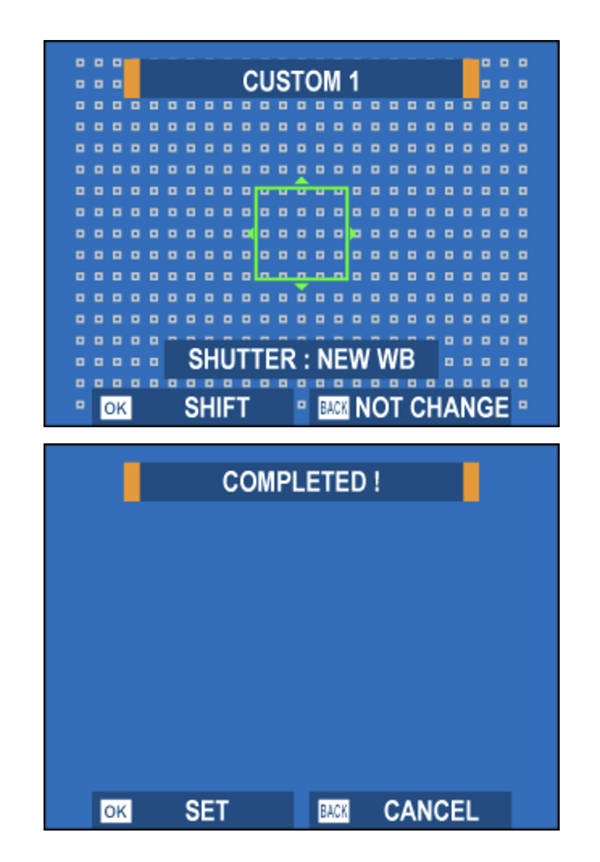
Use Custom White Balance Exclusively for 30 Days
Make a vow to set White Balance manually for the next 30 days. I’m not talking about selecting WB by setting the little light bulb icon or the cloud figure—I mean real manual settings using a grey card or piece of white paper. Nikon calls it Preset. Other companies call it Custom. Whatever you call it, vow to do it without fail over the next month and you’ll never go back to Auto White Balance. Manual WB is better 9 times out of 10 and you can learn how to do it—where? —it’s all right there in your camera’s Owner’s Manual.

Correct Bad Habits
I’ve been taking pictures for about 135 years now, and I am still lousy with bad habits. The default focusing method provided by my money camera encourages me to center every subject because that’s where the default AF point appears. The Auto ISO is so convenient that I often decline selecting it manually. I’m not as steady as I was when I was 25 so I still shoot unintentionally blurry images when I’m too vain to set up a tripod. None of these are capital felonies, but I know better and should do better.

ALWAYS Carry a Camera…
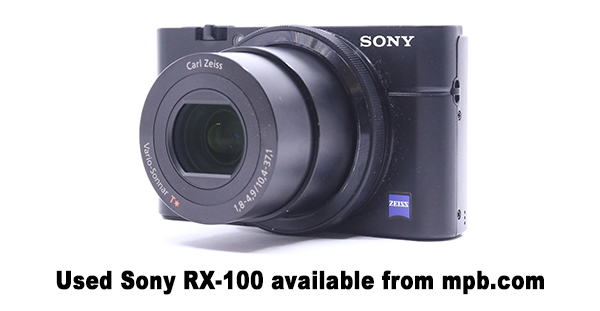
…and for me it will probably be a used compact. I prefer to carry a large DSLR or petite mirrorless, but it can be awkward to do common things like self-checkout at the grocery store or casually browse through a mall. Visit a reliable camera store, like the mega-platform MPB, and take a look at how affordable used high-end compact cameras can be.

Learn New Techniques in Photoshop/Lightroom
Forget about setting Levels or cropping badly composed snapshots. Explore all of the Image Adjustments, apply Neutral Filters, and definitely try out of the Adobe Sensei and Adobe Firefly features. Experiment. Branch out and sample other compatible plugins. And if you’re an Adobe Creative Cloud licensee, download and enjoy Photoshop Beta for free—that’s where many of the newest features debut before they’re added to regular Photoshop.

Print & Display Best Images
Don’t just leave your photos stored digitally. Print and display your best work. It’s a satisfying way to showcase your talent and can be a source of motivation. And the most gratifying words any photographer can hear are, “Wow! Did YOU take that?”

Become a Member of the Shutterbug Community
Please forgive the commercial message, but here’s a chance to see your images published online. Register for a free Shutterbug account. Sign up for our newsletter. Spend five minutes (or less) uploading your best shots once every week or so. Potentially become a Shutterbug Photo of the Day winner. Enjoy viewing the fantastic work being done by thousands of photographers all over the world—and add your images to the enduring collection.
—Jon Sienkiewicz


