
The Key to Sharp Landscape Photos: Pick the Right Point of Focus (VIDEO)
If you ask a bunch of accomplished landscape photographers to name their most difficult challenges, they’ll likely express two key considerations. One is arriving at a correct exposure in scenes with a wide-range of tones from bright highlights to deep shadows. Another is achieving sharp results when there are a number of objects within the frame.
The tutorial below from one of our favorite instructors concentrates on the latter task, explaining the methods he uses to get things right and guide a viewer’s eye through the scene. He demonstrates several tips that factor into the equation, including “proximity,” depth of field, and the aperture setting you choose.
Landscape pro William Patino is based in gorgeous Fiordland, New Zealand, and his imagery display an uncanny knack for perfect composition, with optimum sharpness exactly where it needs to be. By watching this behind-the-scenes episode and looking at the sample images he provides, you’ll be able to take your landscape photography skills to the next level today.
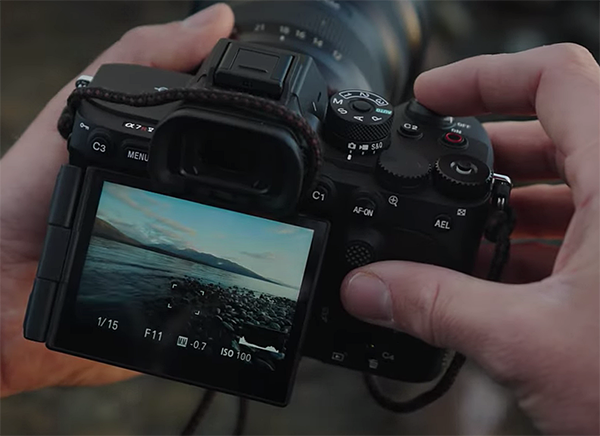
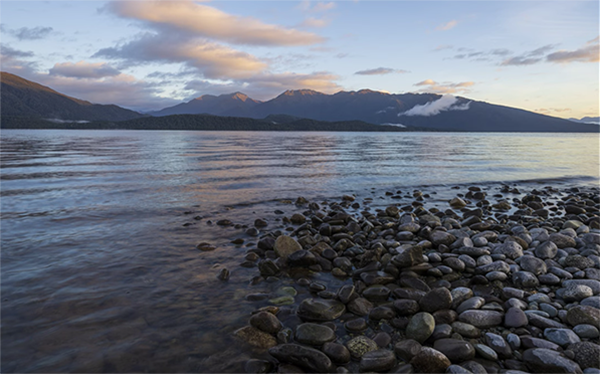
Patino begins shooting from the shore of a lake with mountains in the background. He says there are two key considerations when deciding where to focus, the first being your proximity to the foreground. He demonstrates why “if you’re ultra-close to the foreground you’re going to have to focus on a different point than if you’re further away.
The scene at hand involves a scenario in which Patino is on the shore with interesting rocks in the foreground, and a strong leading line to aid in composition. You’ll what goes into choosing the optimum focus point, but here’s a quick takeaway: For scenes like this you can often achieve sharpness from front to back, simply by focusing on a spot about one-third of the way into the frame.
For the above trick to work, however, a narrow aperture is required so that depth of field provides the necessary sharpness both in front of and behind your point of focus. Patino provides a clear explanation of how your f/stop controls depth of field and how that heavily ties into where you should focus and the range of acceptable sharpness within the image.
As you’ll see in the remainder of the lesson, other types of photos require a totally different approach to choosing a focus point, and Patino walks you through several examples—along with before/after examples illustrating how one approach delivers the goods while others miss the mark.
There’s nothing difficult about the techniques you’ll learn; it’s just a matter of reflecting upon the best method to use depending upon each scene you confront. You can find more helpful tips like these by visiting Patino’s instructional YouTube channel.
And don’t miss the Photoshop tutorial we posted recently from a post-process expert, explaining how to fix landscape photos that are drastically underexposed using a straightforward edit.


