
This Photoshop Hack Lets You Make Local Adjustments Without Masks (VIDEO)
We constantly preach the importance of selective, rather than global, adjustments when editing photos. Even though this approach takes a bit more time and effort it provides maximum control for enhancing different portions within a scene independently of one another.
But hold on: The tutorial below from the PHLOG Photography YouTube channel demonstrates a powerful Photoshop hack for making all your Raw adjustment locally to enhance specific areas with the frame—just like when using masks. Before clicking the “Play” button download the sample file using the link beneath the video so you can do this yourself as the technique is explained.
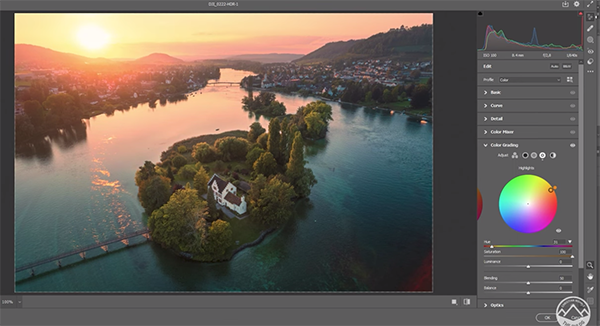
Instructor Christian Mohrle is an acclaimed German landscape photographer based in Germany. He begins this episode by quickly making a few basic adjustments to his HDR drone shot to prepare it for the game-changing magic that follows. The first step is switching the profile from Adobe Color to Adobe Landscape. This boosts base saturation and brightens up the darkest areas of the scene.

Preliminary modifications continue in Photoshop’s Basic panel where Mohrle uses simple sliders to slightly adjust White Balance, carefully drop highlights, open up shadows, and introduce a bit of Texture. He also drops Clarity and Dehaze, while increasing Vibrance for a more colorful look. At this point the image still needs some work.
Before demonstrating his timesaving Photoshop hack for completing the transformation locally Mohrle quickly walks you through the steps he’d use for taking the conventional masking and color grading approach. Along the way he compares this method to the unique trick that follows.
He begins the magical workaround by clicking Control J to create a duplicate layer. Then he taps the Filter tab atop the screen and selects the Camera Raw Filter option that appears in the dropdown menu. Doing this brings you back to Photoshop’s Camera Raw editor where Mohrle walks you through the local-style enhancements.
At this point it only takes about three minutes to complete the job—significantly faster and with equal precision than the standard approach he demonstrated earlier. Check out the before/after images and you’ll be convinced.
After watching the video and adding this hack to your Photoshop bag of tricks, pay a visit to Mohrle’s YouTube channel where there’s much more to learn.
We also suggest watching an earlier tutorial we posted, explaining how to save significant storage space without sacrificing image quality by converting Raw files to DNG.


