
Tired of Shooting in Auto? Here’s How Other Camera Modes Work (VIDEO)
Are you in the habit of always letting the camera make decisions on your behalf? If so, sooner or later you’ll want to switch out of Auto and experiment with other exposure modes than provide far more control. Otherwise you’ll have difficulty expressing your creative of vision as your skills evolve.
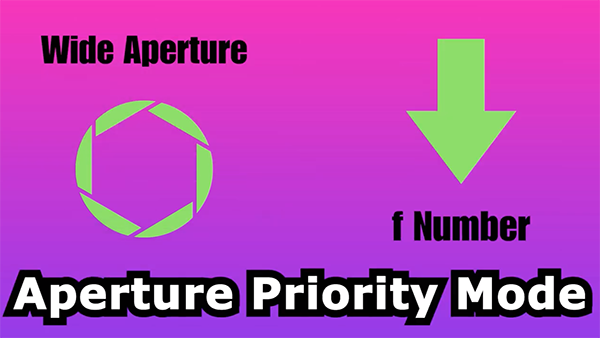
Don’t worry: This isn’t one of those silly tutorials insisting that “you’re not a real photographer if you don’t shoot in Manual mode.” What you’ll learn instead is how and when you’re much better off shooting in either Aperture Priority, Program mode, or Shutter Priority. Of course, there’s also a discussion of Manual Mode too.
This instructional video comes from the Behind the Tripod YouTube channel— a great source of information designed to help inexperienced shooters elevate their skills. A clear understanding of how to refine exposure is essential to your growth. So pull up a chair, hit the Play button on the video, and sit back and watch instructor Steve Mill explain how the various options on your camera’s Mode dial function.
Keep in mind that that there’s no magic exposure mode that’s ideal for every situation. Thus, part of the process is understanding which option is the optimum choice, depending upon the specific subject at hand. You might even find it helpful to have a camera handy while watching Mills’ 10-minute explainer so you can cycle through the modes as they’re discussed.
Your assignment is to stop being a passenger, learn how to drive your camera, and start taking photos you’re proud of beginning today. Mills admits that the Auto mode is the easiest “and least scary” way to shoot photos while relying upon the latest camera technology to achieve a good shot. But “good” really is good enough if you want to create imagery that’s truly special.
When thinking about exposure there are three primary considerations, aperture, shutter speed and ISO. Depending upon the mode of your choice, the interplay between this trio of variables works in different ways to let the correct amount of light to hit the camera’s sensor. This simple equation is often depicted in a graphical form known as the “Exposure Triangle.”

With all this in mind, it’s now time to take a deep breath, launch the quick video, and elevate your skills. Once you’re done watching head over to Mills’ instructional YouTube channel for more straightforward lessons like this one.
And if you occasionally shoot with a phone, be sure to check out our recent post with an ultimate guide to the iPhone camera and important photocentric settings.


