
Unlock the Power of Complimentary Colors for Ideal Edits Every Time (VIDEO)
Today we’re going to demystify the concept of complementary colors to create dynamic and visually captivating photos. This fundamental principle of color theory may sound overly technical, but it’s actually quite easy to understand and employ.
As you’ll see, complementary colors are placed opposite of each other on the familiar color wheel. But according to instructor Neil Borg, when placed side by side or used together in a composition, complimentary colors create “a high-contrast visual impact.”
Borg is a self-taught landscape and travel photographer, and he explains that this phenomenon “is due to how our eyes and brain perceive colors.” In less than seven minutes he demonstrates how to put this concept to use during the image-editing process and create photos that really grab attention.
He begins with a brief discission of the color wheel so you’ll understand how this editing style works, and here’s the takeaway: “The complimentary colors are at the exact opposite end of the primary colors—which are red, yellow and blue.” This is really all you need to know to use the simple steps that follow.
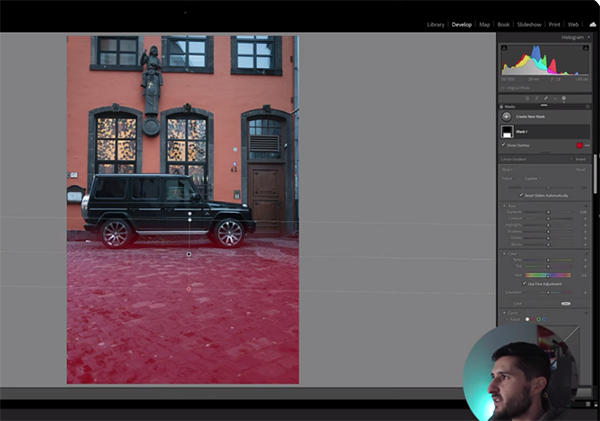
The first image in the demonstration is a simple street scene in which the complimentary colors of orange and grayish blue work pretty well. But watch what happens when Borg makes a few adjustments to further enhance these tones.
Borg starts by applying a Linear Gradient to the foreground, darkens the exposure, and slightly dehazes the shot. Then he adjusts contrast, does a bit of color grading, and modifies color temperature for a much improved result.

Image number two is a slightly overexposed seascape that Borg captured at sunset from a tranquil beach in New Zealand. This time he employs a quick trick to use complementary colors in a different way. The idea here is to adjust shadows and manipulate specific colors to lead a viewer’s eye through the scene.
Once again, this edit involves color grading, contrast adjustments, and some masking to get the job done, and like with Borg’s first image, the result is quite impressive. We’re confident that by the time you’re done watching you’ll want to add this simple method to your Lightroom bag of tricks.
Borg’s instructional YouTube channel is well worth a visit, so be sure to check it out and see what he has to offer.
We also suggest watching a tutorial we posted earlier, where you’ll learn how pros straighten and crop images for a perfect finishing touch with whatever photo editor you use.


