
Use the UPDATED Curves Tool to Fix Saturation in Lightroom & Photoshop (VIDEO)
One variable that can make or break a photo is how the color in your scene is represented. Typically, the goal is natural-looking tones (unless a special effect is what you’re after). And that’s OK too.
When making color adjustments in post-processing, Saturation plays a big role, whether you’re after a realistic representation or something more unusual. We have some good news for those of you who use the Curves Adjustment tool to refine Saturation: Earlier this month Adobe added a very small adjustment that can pay big dividends by tackling a common problem with this approach.
Instructor Matt Kloskowski is a specialist in all things Adobe, who says his goal is “to provide straightforward tutorials to help photographers get the results they’ve always wanted,” and this episode fits the bill. He jumps right in to Lightroom’s Tone Curve panel and demonstrates how the new capability works.
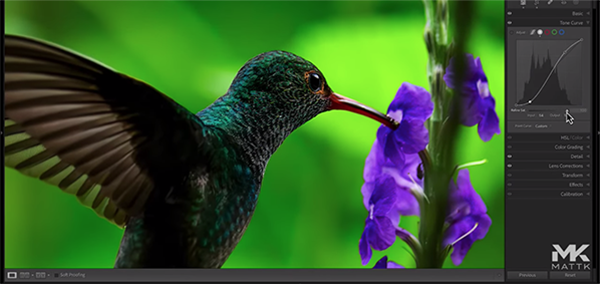
Kloskowski begins by demonstrating the most common approach, that involves boosting the highlights and mid-tones a bit and then dropping the shadows by grabbing the relevant points on the Curve. This method, unfortunately, often results in oversaturation.
But here’s the trick, now you’ll find a simple Refine Saturation slider beneath the Curves graph that simplifies the fix because it’s no longer necessary to employ Blend modes to get Saturation right. Kloskowski uses a tight shot of a vibrant hummingbird against a green background to demonstrate how easy this is to do.
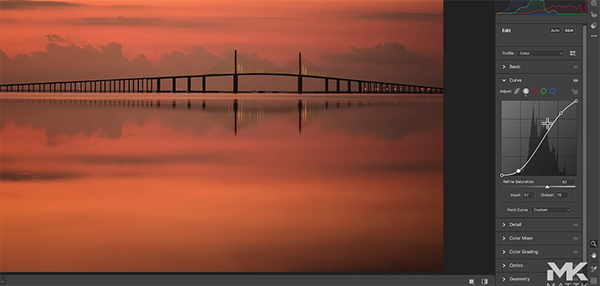
This quick trick works with all sorts of photos, and Kloskowski pulls up a pretty seascape scene to prove this point. As you’ll see, in this case he’s able to retain the desired amount of contrast, without oversaturating the shot—simply by moving the slider. Whether you prefer light pastel colors, or a more vibrant look, the new tool gets the job done in a hurry.
After watching the video how about pulling up a few images you’ve already processed and see what you can create by using Kloskowski’s advice. We think you may be surprised at how simple and effective this is to do.
You can find a wide range of editing tips and tricks on Kloskowski’s instructional YouTube channel, so be sure to take a look.
We also recommend watching the tutorial we posted from another accomplished pro, with an in-camera technique for using complimentary colors to capture eye-popping photographs.


