
Using Lightroom’s Histogram for Photos with Ideal Color Balance & Exposure (VIDEO)
If you’re not paying attention to the histogram when processing images in Lightroom, well, shame on you. That’s because this powerful tool will simplify your workflow and help you achieve far better edits.
It’s unusual to find a four-minute tutorial that helps unlock Lightroom’s full potential, but that’s exactly what you’ll find in this eye-opening lesson from German photographer Maike Born. She provides a step-by-step guide for using the histogram to elevate your post-processing skills and quickly achieve stunning results.
This episode covers everything you need to know from how to interpret and manipulate histograms, adjusting exposure, and using the histogram to achieve optimum color balance. In short, it’s all about creating an ideal distribution of tones within every image you capture.
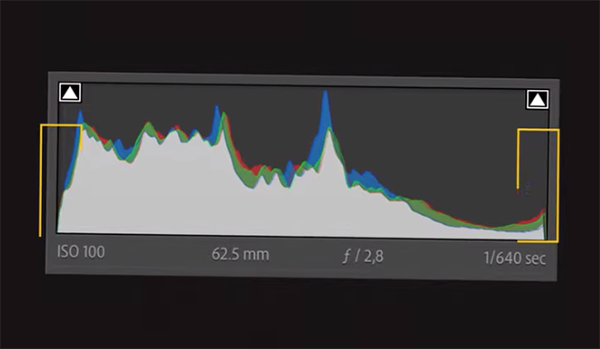
Born illustrates how keeping a close eye on the histogram enables you to evaluate and adjust shadows, midtones, and highlights in a photo. She put it like this: “In practical terms, the left side of the histogram corresponds with shadows, namely the dark areas that capture depth and dimension.”
Conversely, the right side of the histogram represents highlights to help you modify bright elements in an image to bring attention and enhance details to these areas within the frame. As you may suspect, the middle of the histogram pertains to midtones and contributes to the visual harmony of the photograph.
The bottom line is this: Lightroom’s histogram functions as a visual roadmap for evaluating the tones in an image to help you identify and correct any potential problems. Born demonstrates how peaks and valleys within this straightforward tool provide great insight into the distribution of tones, “allowing you to make informed decisions during the editing process.”
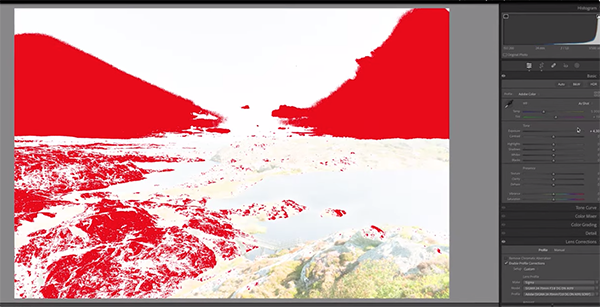
In basic terms, the histogram reveals three essential components of the image at hand: namely clipping, exposure and contrast. You’re no doubt familiar with the terms exposure and contrast, but what about clipping? As Born explains, this refers to the loss of detail due to underexposure and over exposure.
The “crucial” goal is to achieve optimum detail, contrast, and color balance in all tones throughout an entire image, and thanks to the histogram this task is easy to achieve. Just follow Born’s advice and add these techniques to your Lightroom workflow today.
After watching this video pay a visit to Born’s instructional YouTube channel where you’ll find a variety of straightforward tips for improving the look of your photographs.
And on a related note, check out an earlier tutorial we posted with another image-editing expert who explains an easy and effective Lightroom hack for rehabilitating landscape photographs with bad color.
Here’s the link to Born’s video


