
Want Better Landscape Photos? Enhance Light, Sky & Texture Like This (VIDEO)
One big challenge for photographers who shoot landscapes, wildlife, and other outdoor imagery is achieving impressive results when the light just isn’t right. And doing so often means using Lightroom or Photoshop to carefully enhance images in a natural looking way. The following video from a noted pro explains his strategy for getting the job done.
Instructor Mart Kloskowski is a Lightroom and Photoshop expert who specializes in tutorials that enable photographers of all skill levels to enhance photos shot under less-than-ideal light. In this episode he concentrates on three “essential” elements; namely, adding Texture, modifying light, and rehabilitating dull skies.
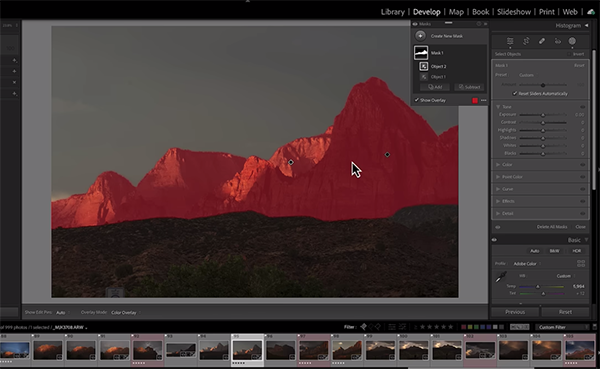
This before/after demonstration illustrates just how much is possible without overly complex adjustments. Kloskowski’s image was shot in Zion National Park with very interesting light, cloud moving in and out of the frame, and imposing peaks in the background—a combination of conditions you’d think would be absolutely perfect. Yet, Kloskowski wasn’t pleased with his results, because they looked a bit flat when viewing them on the computer.
He achieved a remarkable transformation with some help from Adobe and walks you through the straightforward method from start to finish. Keep in mind that the settings you’ll learn work the same whether you’re using Lightroom or Adobe Camera Raw (ACR). So pull up the Basic panel and let’s get started.
Kloskowksi explains why he prefers making selective adjustments using masks, rather than relying upon global enhancements to an image all at once. His goals for the image in question is threefold; improve the sky, accentuate mountains in the distance, and deal with other areas in the shot—all in different ways. Hence, this would be virtually impossible with an all-in-one global approach.
The first step in the process is working on the mountains, and Kloskowski pulls up the Object Selection tool to create and refine his first mask. He then demonstrates how easy it is to make precise adjustments to detail, contrast, exposure, and other key variables without affecting other portions of the scene.
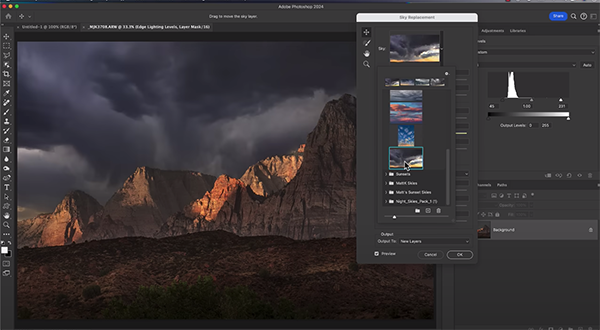
With the mountains looking great, Kloskowski follows a similar masking approach to enhance other key areas that need work, albeit with different adjustments depending upon what’s appropriate for the task at hand. Once you compare the before/after images, and understand this method, you’ll be able to do much the same to improve every image you shoot outdoors.
You’ll discover other valuable editing techniques by visiting Kloskowski’s instructional YouTube channel, so be sure to take a look.
We also recommend checking out a tutorial we posted from another expert who explains how to unlock the power of complimentary colors for beautiful nature and landscape photographs.


