Train travel between Brussels and Venice is due to get easier. European Sleeper, one of the few privately owned international train operators in Europe, has released a launch date of February 2025 for its twice-weekly night train service between Brussels and Venice – a spectacular route from the North Sea to the Mediterranean.
European Sleeper says its overnight routes on “The Good Night Train” from Brussels to Berlin and Prague, will operate during the peak winter sports season.
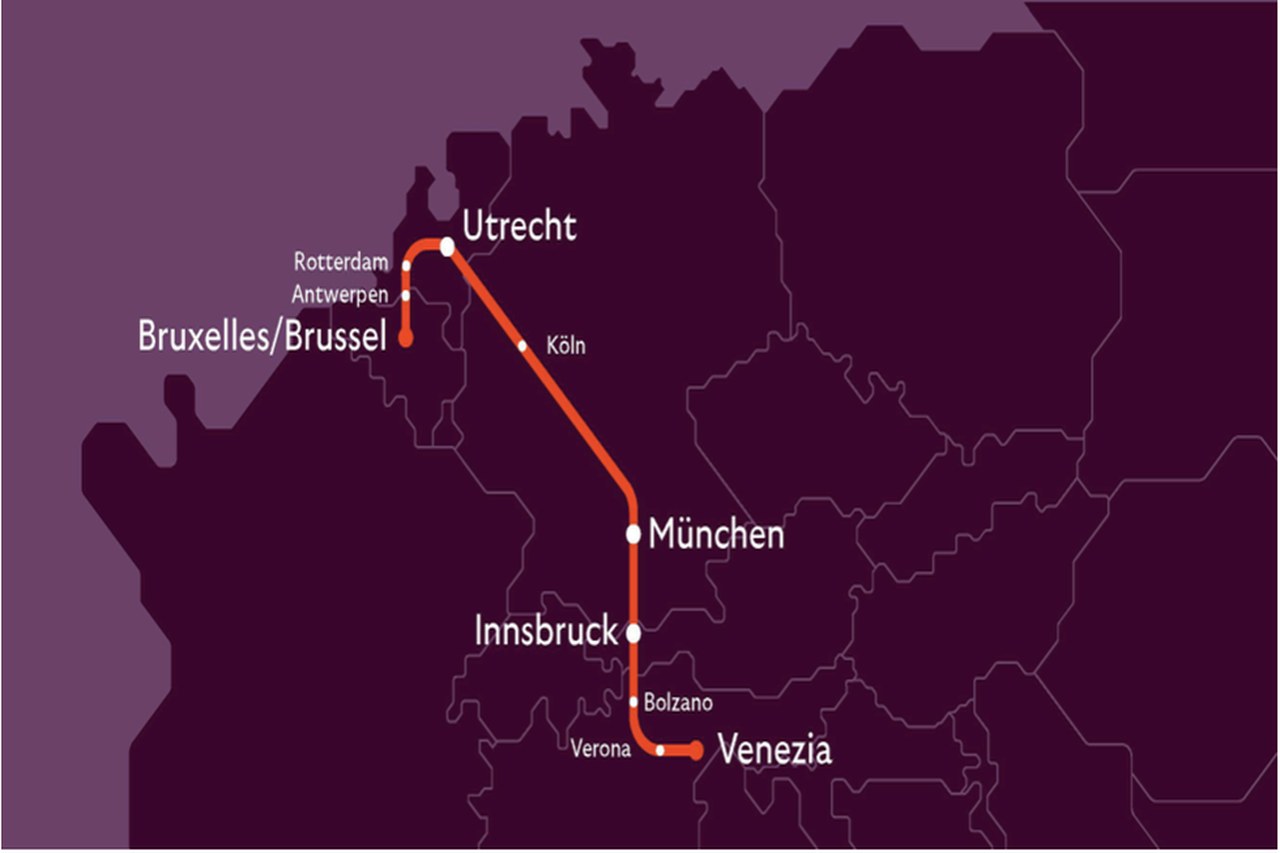
Night train route. c. European Sleeper
The train journey will take around 21 hours and pass through the Netherlands, Germany and Austria, calling at Munich, Innsbruck and Bolzano in northern Italy.
The timetable, which could change, shows departures from Brussels station at 5pm fall asleep and wake up in Venice at 2pm the following day.
Chris Engelsman, co-founder of European Sleeper said,
“Passengers will be able to board our train from Belgium and the Netherlands, and relax in the comfort of the restaurant car, while the train transports them through Germany and Austria, and across the Alps, ending in the historic cities of Verona and Venice the following day. This marks a new important milestone for European Sleeper and the convenience of night travel across Europe more sustainably.”
Anyone travelling from the UK could start their journey in London can arrive in Venice within 24 hours by starting at the Eurostar Terminal at Kings Cross St Pancras, catching the two-hour train to Brussels at 2pm and changing at Brussels Midi station.
Compartments on European Sleeper can be booked as single, double and triple and include a mattress, made-up bed, with a duvet, pillow and sheets. A towel, toiletries and breakfast are also included.
A more budget-friendly alternative is a seat in a 6-seater cabin.
The post Brussels to Venice train launches February 2025 appeared first on The Travel Magazine.