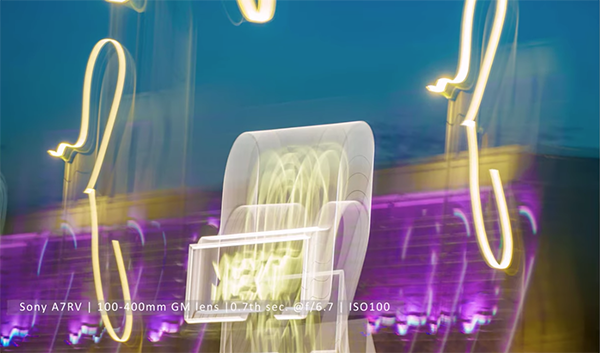
Most of us concentrate on capturing photos that are as sharp and detailed as can be. But this tutorial flips the script by demonstrating how moving the camera during a longish exposure will result in images with a captivating and unique look.
This rule-breaking technique is known as Intentional Camera Movement (ICM) and some photographers avoid it because of a misconception that’s it’s difficult to accomplish. As you’ll see in this beginners guide, nothing could be further from the truth once you understand the basics. Results may be unpredictable, but they’re usually eye-catching and very impressive.
Instructor Tony Howell is a successful British landscape photographer and prolific author whose client list includes prestigious outlets like National Geographic, the BBC, Penguin Books, UNICEF, and other respected outlets. In this 11-minute episode he demonstrates a variety of straightforward ICM techniques that will enable you to expand your skills and add an entirely new emphasis to your image library.
ICM comes in a variety of forms that all requires shutter speed settings that are a bit longer (but not too long) than you’d use to capture conventional photos. Depending on the specific scene and the desired effect you may want to move the camera up and down, side to side, in a circular fashion, or in a totally random fashion. In essence, experimentation is the name of the game.
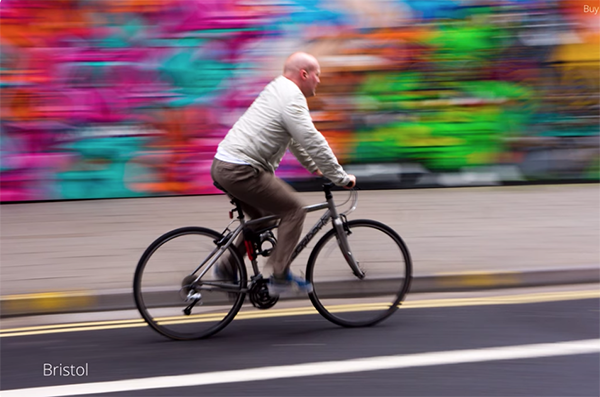
And while the typical approach involves shooting hand-held, you’ll learn a trick for tripod-mounted ICM photographs. Howell also demonstrates how panning with the camera while tracking a moving subject will create dynamic imagery that is somewhat more predictable.
Howell discusses the best shutter speeds to use in various situations. When shooting during the day this often means small apertures, low ISO settings, or an NDA filter to cut the amount of light entering the camera
This is a behind-the-scenes video so it’s easy to understand Howell’s advice because you’ll watch him do his thing while explaining the techniques. After watching the lesson you may even decide to make ICM photography your photo assignment over the weekend.
We suggest taking advantage of Howell’s 40 years of experience by paying a visit to his instructional YouTube channel.
And for another enlightening camera technique be sure to watch the tutorial we featured that demonstrates how to use a camera’s Spot Metering mode so that you never under- or overexpose a photograph again.
Landscape photographers who don’t take advantage of Lightroom’s game-changing Range Masks are in for a big surprise today. That’s because this tutorial from the PHLOG photography YouTube channel demonstrates why these tools are the “most powerful masks” for maximizing the quality of just about any image captured in the field.
German pro Christian Mohrle is an internationally acclaimed landscape shooter and a favorite among Shutterbug readers who appreciate his clear and transformational tutorials. This episode demonstrates why adding Luminance and Color Range masking to your workflow is the best way to make sure that every photo you edit reaches its full potential.
You can follow along and mimic Mohrle’s process by downloading his sample Raw file with a link beneath the video. Before jumping into Range Mask techniques, Mohrle makes a few simple global adjustments so he has the best possible base image for the selective enhancements that follow. The first step is adjusting exposure to improve the lower half of the shot.
Other preliminary enhancements include dialing down highlights, opening the blacks, and adding Texture, Vibrance, Saturation, and Clarity—while slightly dropping Dehaze to create an “atmospheric effect.” The image now appears significantly approved and it’s time to apply the Range Mask magic.
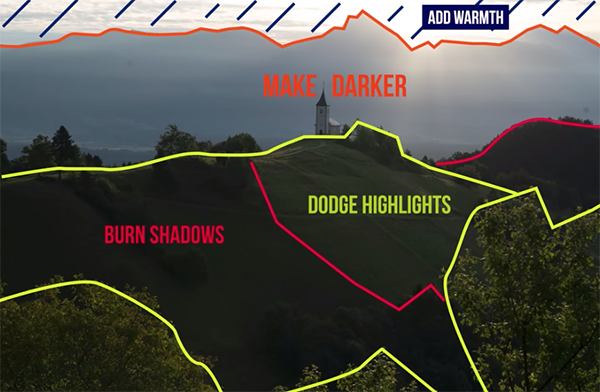
These are selective adjustments (otherwise known as “local” enhancements), each of which are applied differently to various areas within the frame without affecting the image as a whole. Mohrle gently holds your hand while demonstrating how Lightroom’s Luminance Range Masks can easily turn a weak photo into a truly spectacular money shot.
Mohrle opens Lightroom’s Masking panel, clicks on Range, and selects a Luminance Range Mask. Then he turns his attention to the sky and gets to work. You’ll see how his initial imprecise mask changes for the better as he manipulates several tools. His goal here is to retain the interesting light rays spilling over the mountains without biasing other portions of the sky.
The lesson proceeds in similar fashion as Mohrle targets other areas within the scene on an “as-need basis.” You’ll quickly realize that this technique can be extremely useful for editing other editing types of images as well. The video concludes with a bit of sharpening and judicious color grading for an amazing transformation