Guide to Cycling EuroVelo 3: Northern France to Belgium
The EuroVelo 3, known as La Scandibérique, winds from Norway to Spain, tracing the footsteps of medieval travellers by bike. But one of its most captivating sections lies much closer: the 300km journey from Chantilly, near Paris, to Thuin, in Belgium.

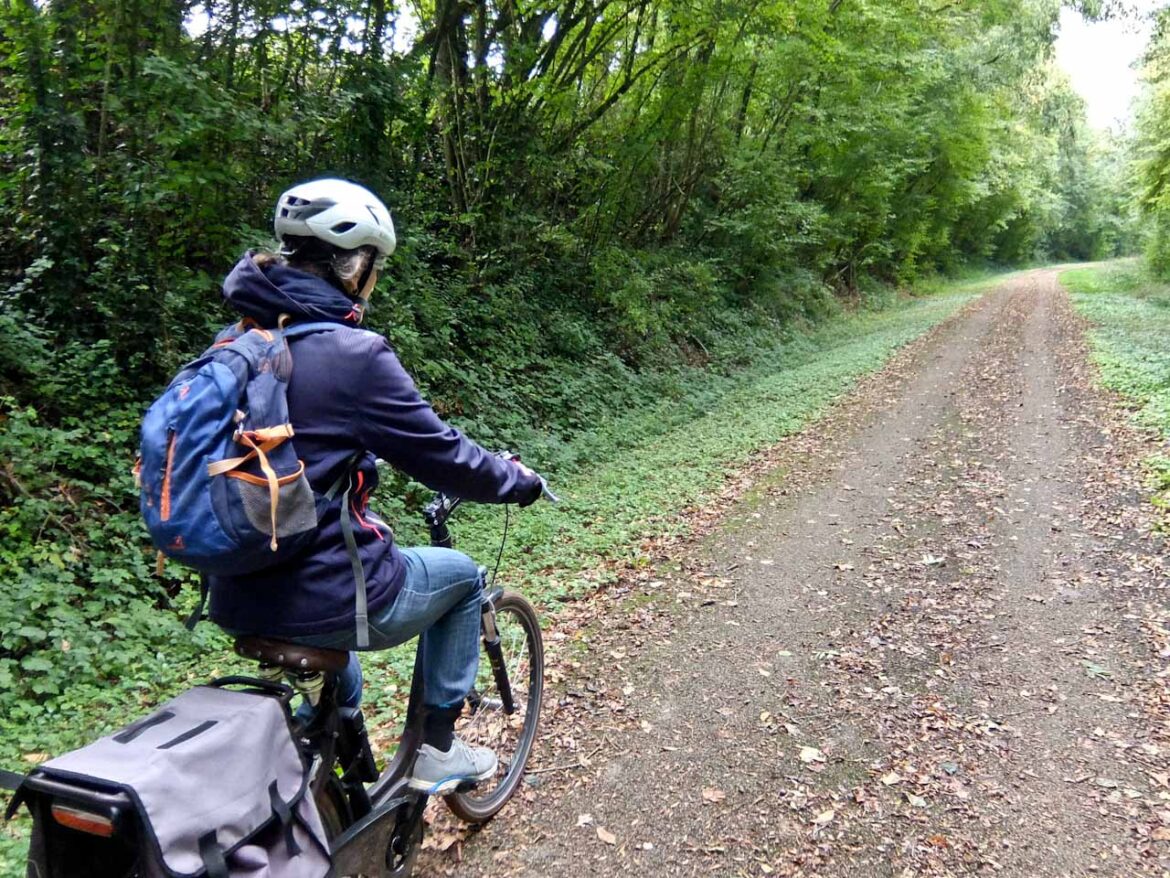
EuroVelo 3 Cyclists
On a practical note, there are Accueil Vélo (in France) and Bienvenue Vélo (in Belgium) accredited facilities all along the EuroVelo 3. Campsites, quirky accommodation, guest houses, restaurants and museums are happy to give out handy advice and offer cyclist-friendly services.

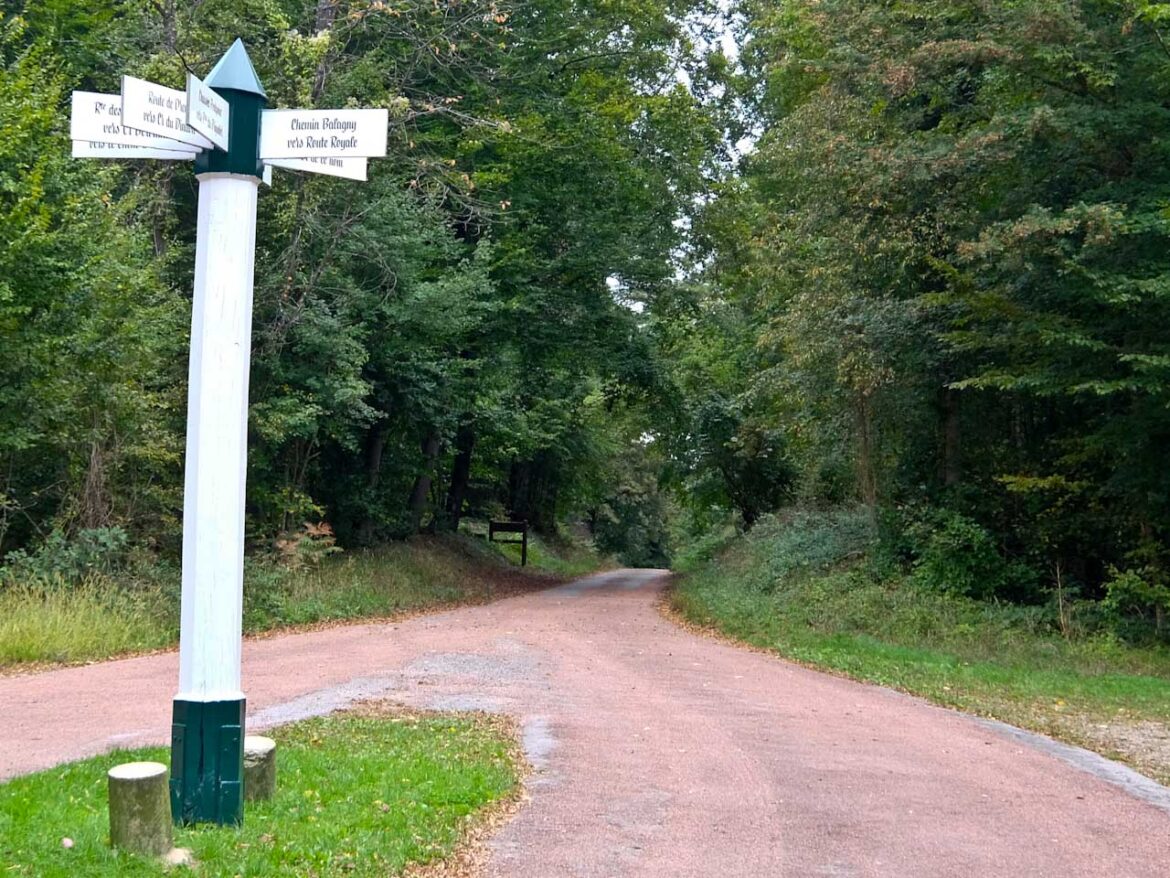
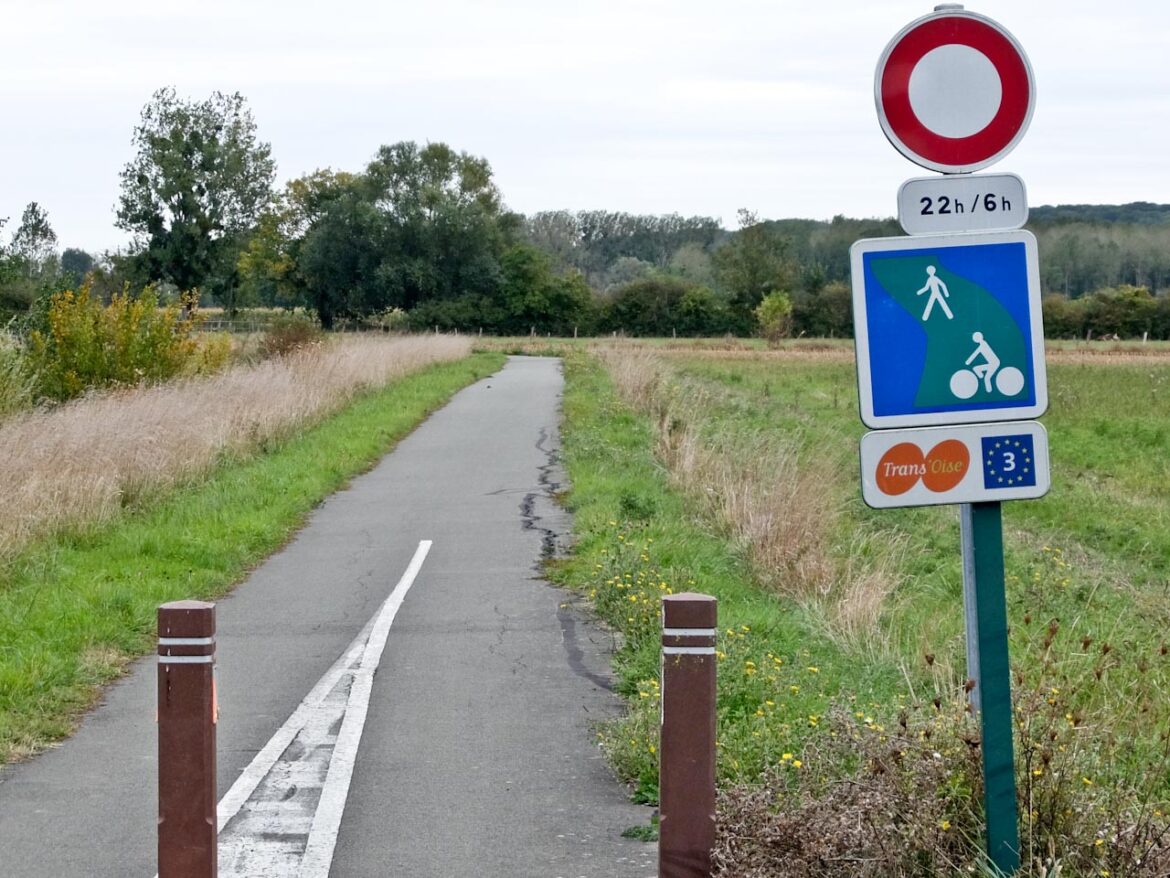
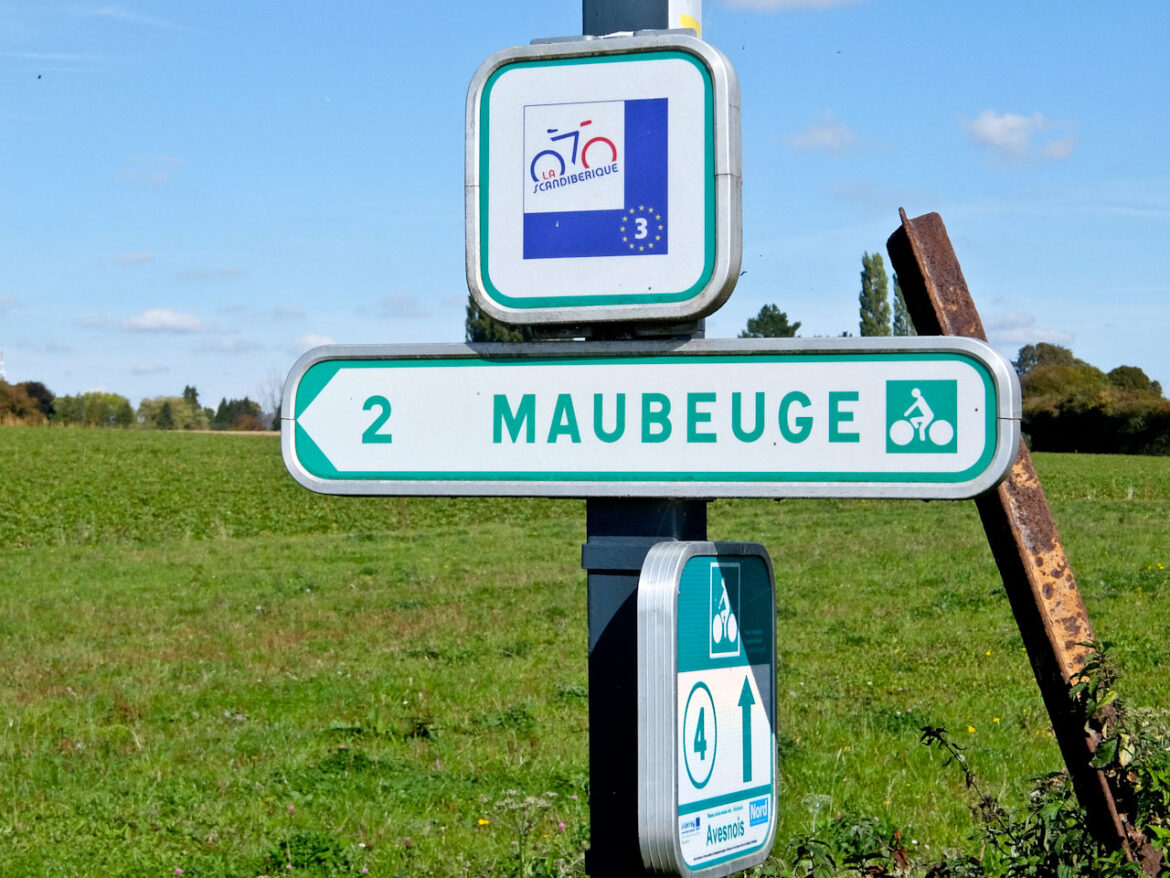
EuroVelo 3 Sign
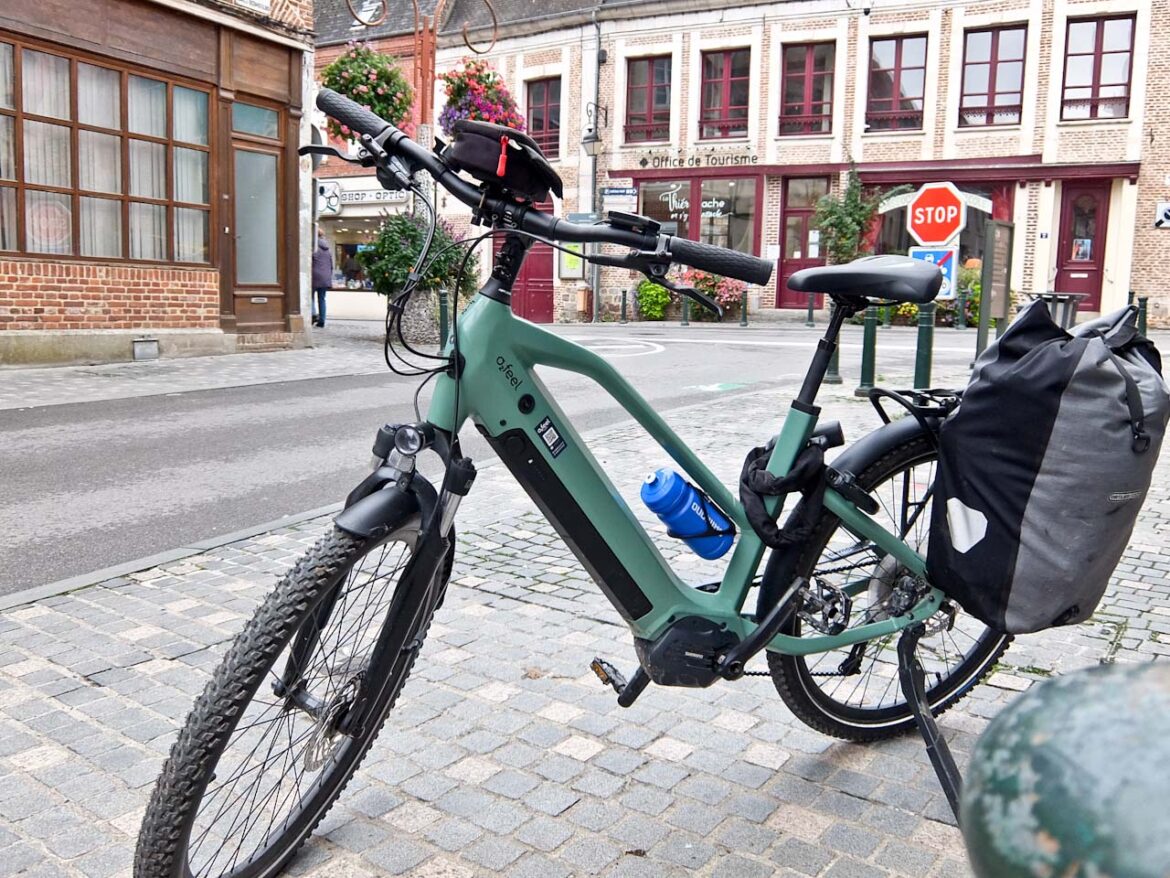
Across seven days, I’m going to ride through forest, farmland, and along river valleys. On the way I’ll explore châteaux, cathedrals, and cobbled squares and move at the pace Europe was built for. Or actually slightly faster because I’ll be riding an E-Bike and get all the help I need from electricity.
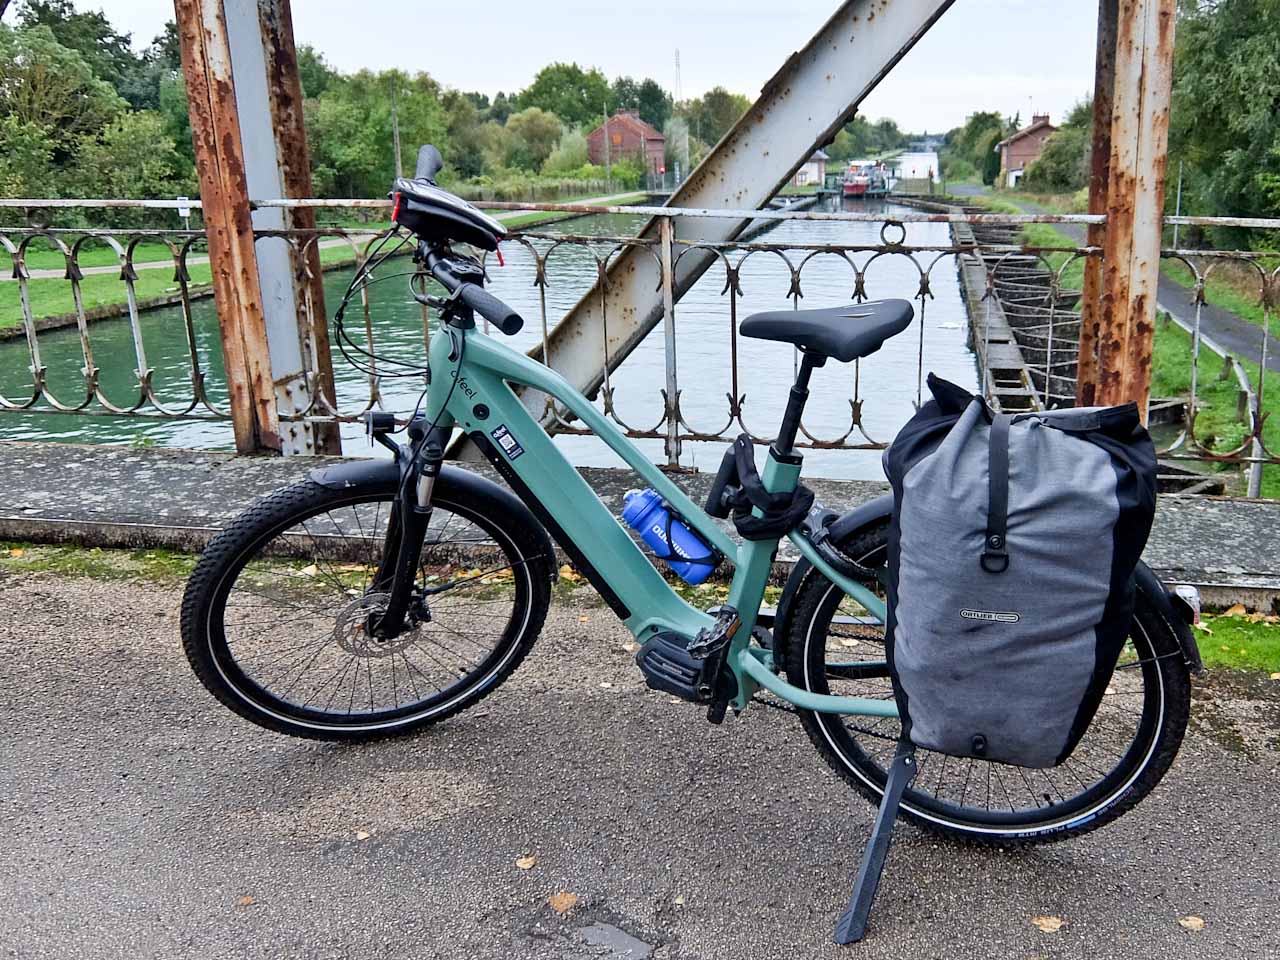
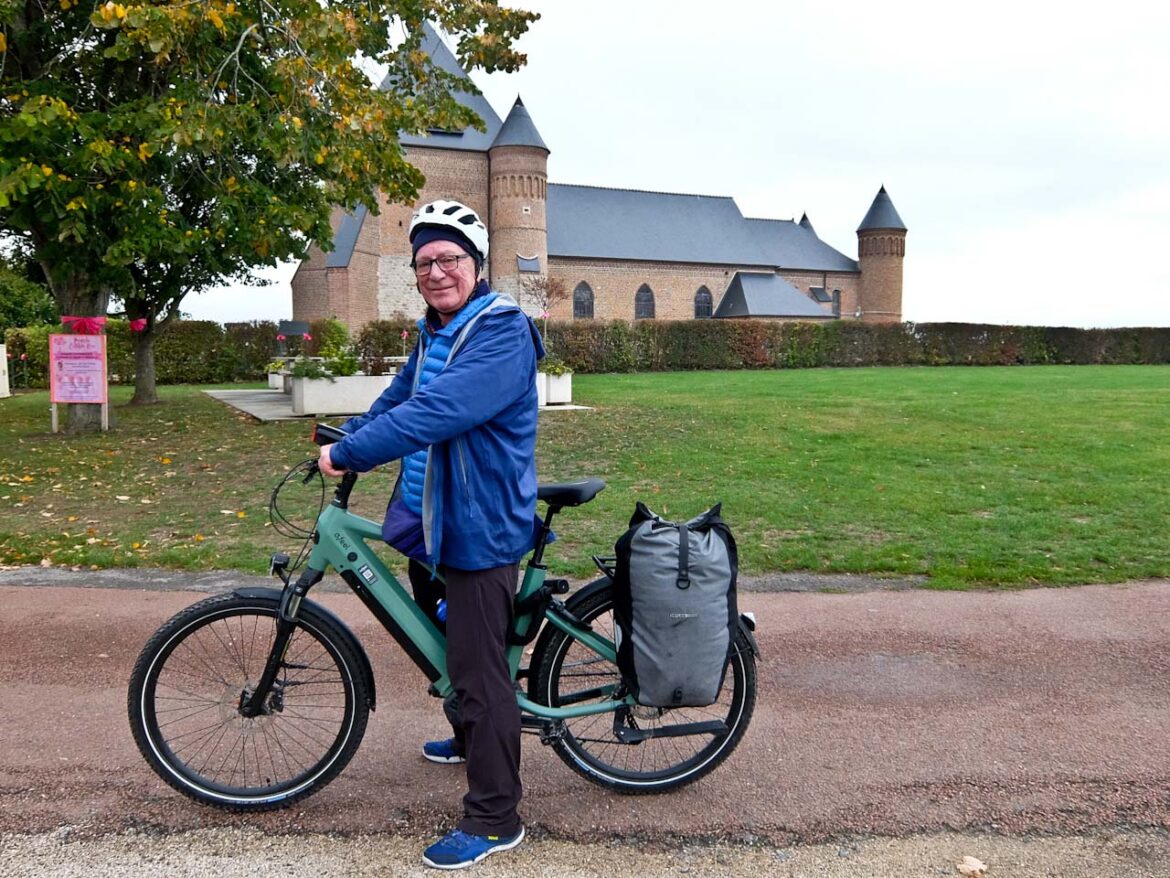
My Bike
Everything I need for seven days will be carried in my panniers, so I’ve whittled down the load to basic essentials. As it’s late September I make sure that I don’t neglect serious waterproofs and padded Lycra shorts are an absolute must.
After taking the Eurostar to Paris and then a 25 minute local train, I arrive at Chantilly station where I get to pick up my bike. It’s a sturdy model with thick wide tyres and comes complete with helmet, lock and two spare inner tubes. There’s also some simple tools and, of course, the indispensable charger.
Chantilly is a good place to start my adventure and I’ve time to visit the historic Château, home to the Musée Condé and its exquisite 18th-century gardens by Le Nôtre. I also can’t miss the famous crème Chantilly at the château café.
Day 1 – Chantilly to Compiègne 60km
The day is fine, but a little grey, and start through pine and oak woods on quiet lanes and forest paths. My first stop is at Senlis, one of France’s best-preserved medieval towns, with the cobbled streets a bit of a challenge for my bike. I enter through the Roman ramparts into narrow alleys lined with half-timbered houses and visit the 12th century Gothic Cathedral.
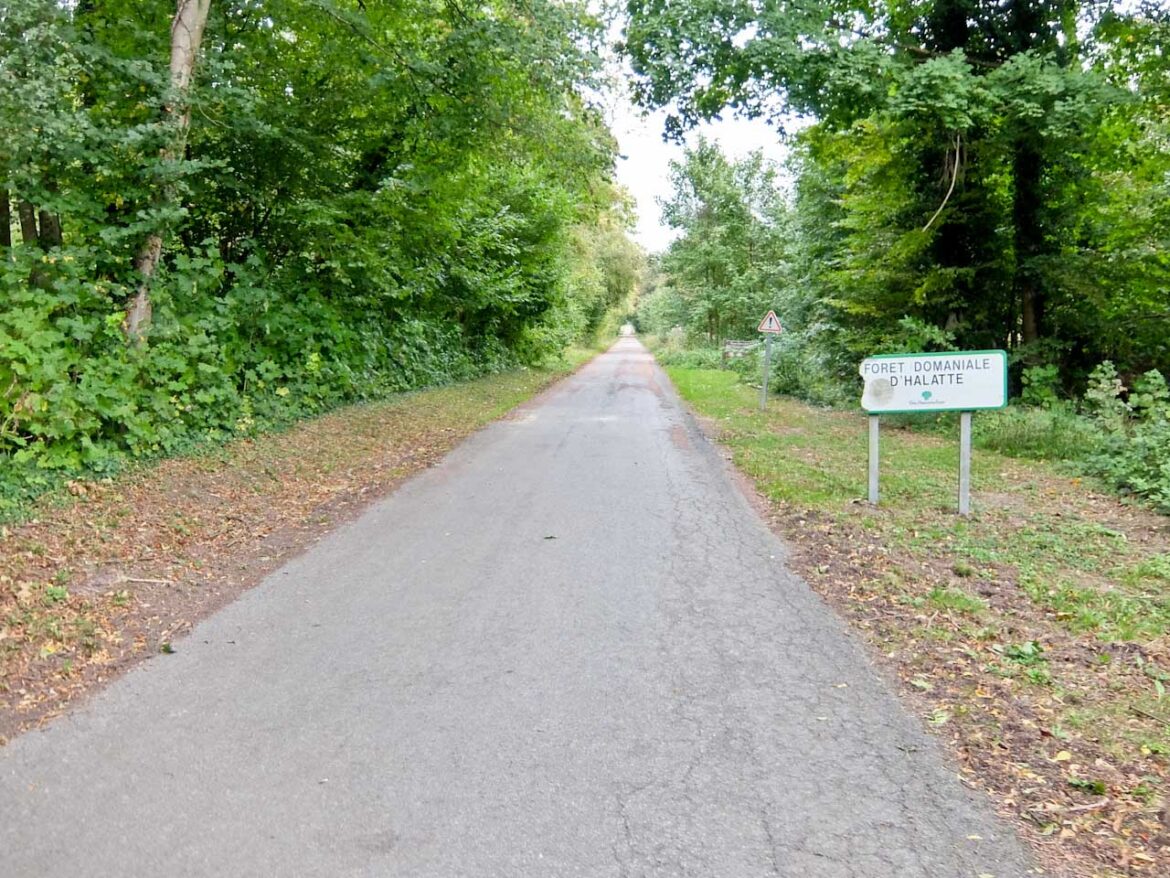
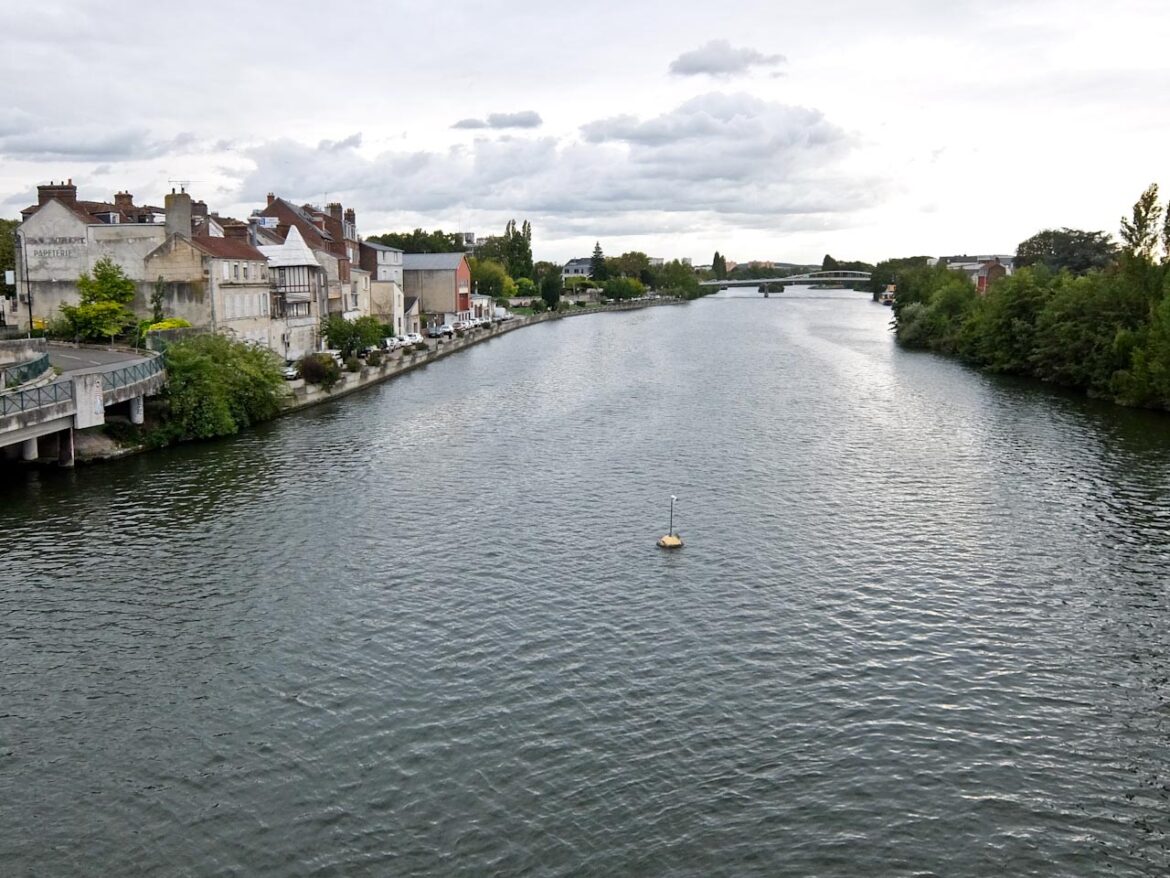
From here, I’m engulfed in greenery in the vast Forêt d’Halatte before descending towards the Oise valley. Pont Sainte Maxence is a compact riverside town with Roman origins, and I stop for an excellent lunch. There’s another 25km on riverside cycle ways before I reach Compiègne. The majestic Château here was once home to Napoleon III and the WW1 armistice was signed in a clearing nearby.
Day 2 – Compiègne to Chaumy 50km
The forecast is not good and I set off in pouring rain along the Oise towpath towards the Chiry-Ourscamp Cistercian abbey. There’s a community of around 30 monks here and I’m met by the abbot who shelters me with his umbrella as he shows me around the ruins. He’s particularly proud of the restored chapel in what was once the infirmary built in 1220.
Another few km brings me to the town of Noyon, where lunch gives me a chance to dry out a little. Before leaving. I visit the oldest cathedral in northern France, dating from 1145 – nearly 20 years before Notre-Dame de Paris. It’s a masterpiece of early Gothic architecture, and the surrounding historic quarter is one of the best preserved in the Hauts-de-France region. The rain is still falling and I follow the Oise towpath 20km to Ognes, my shelter for the night, just outside Chauny.
Day 3 – Chauny to Guise 60km
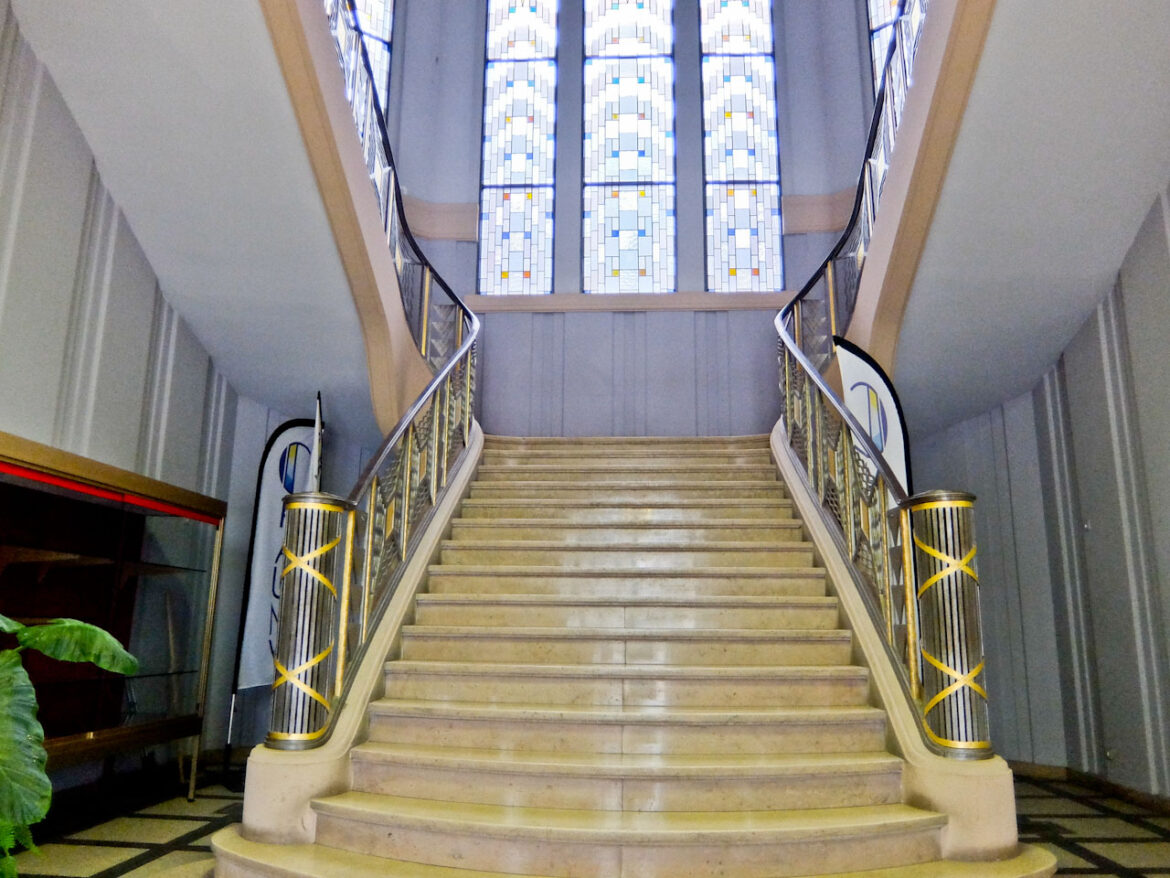
Fortunately the rain has stopped and I cycle ten minutes into Chauny. Most it was destroyed during WW1 but it was rebuilt in the ‘art deco’ style in the 1920’s. You can see this clearly on the buildings’ facades and the most beautiful examples include the interior of the town hall, the fish market and the two churches.
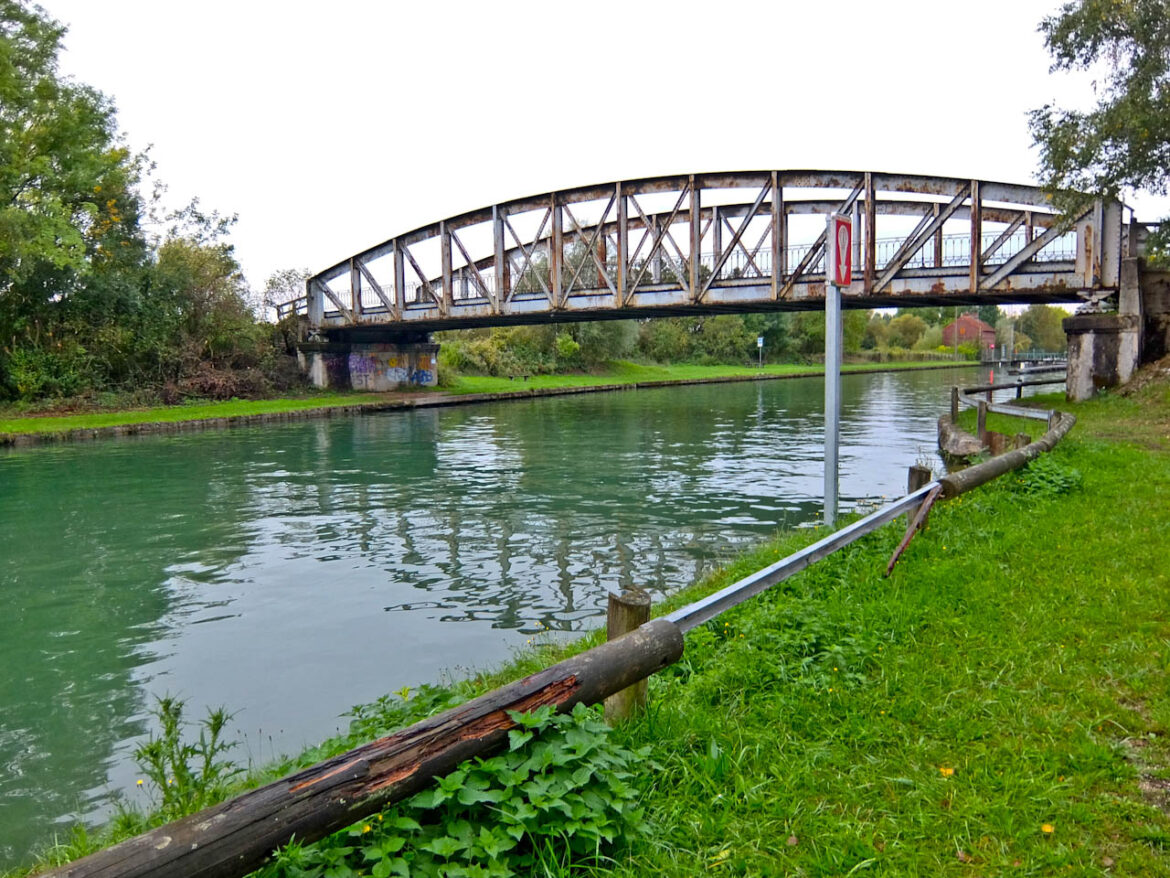
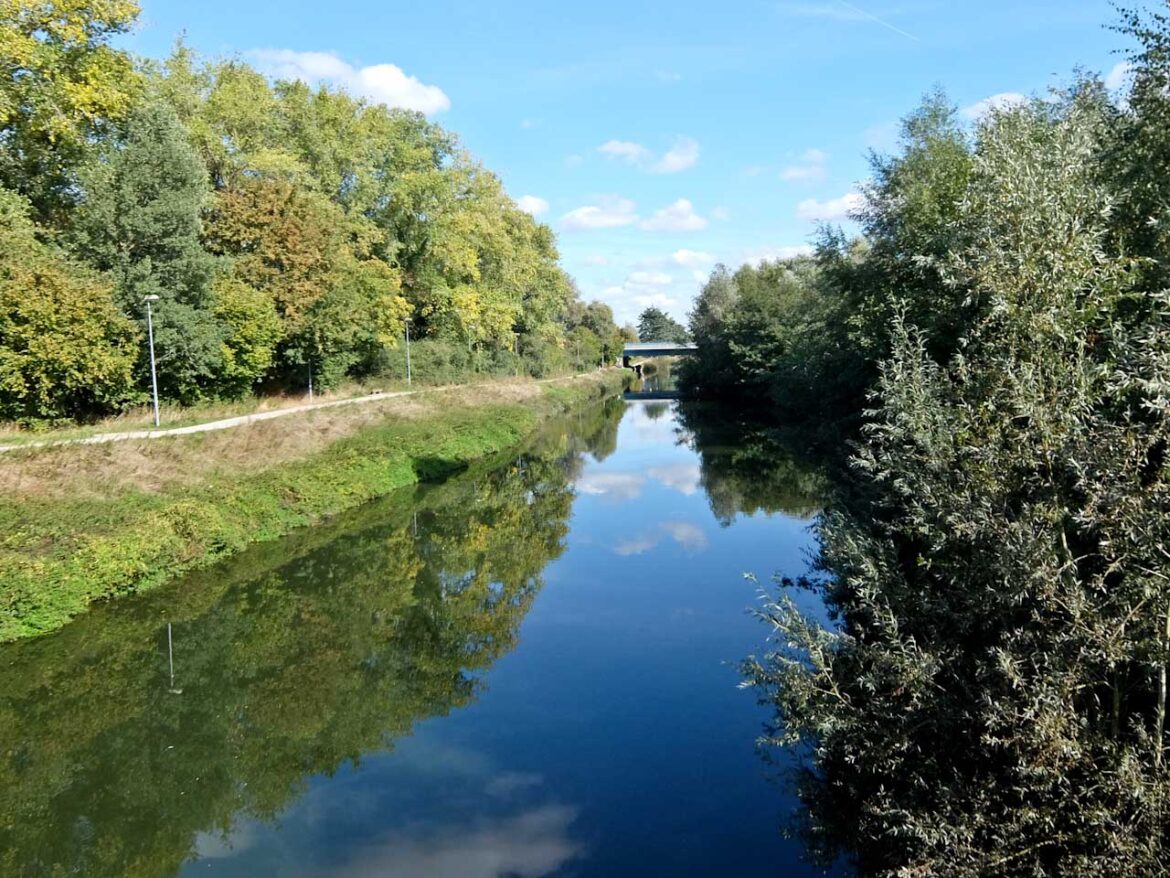
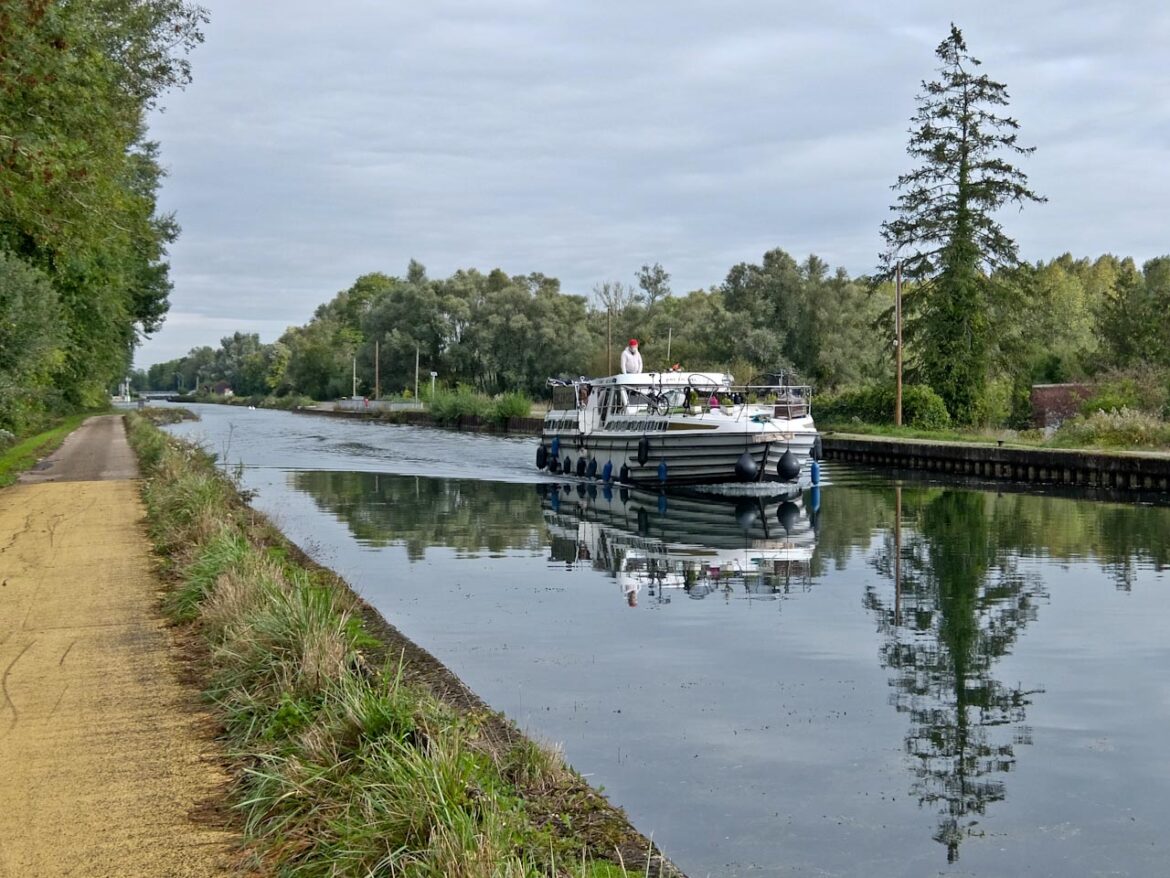
Just outside the town I join the towpath of the Canal de la Sambre à l’Oise. This is pleasant cycling, with locks, bridges, disused mills and even the occasional barge. At Alaincourt is the Maison de Marie-Jeanne more like a time machine than a museum. Marie-Jeanne collected thousands of everyday items, making this a diary of everyday life in the 20th century.
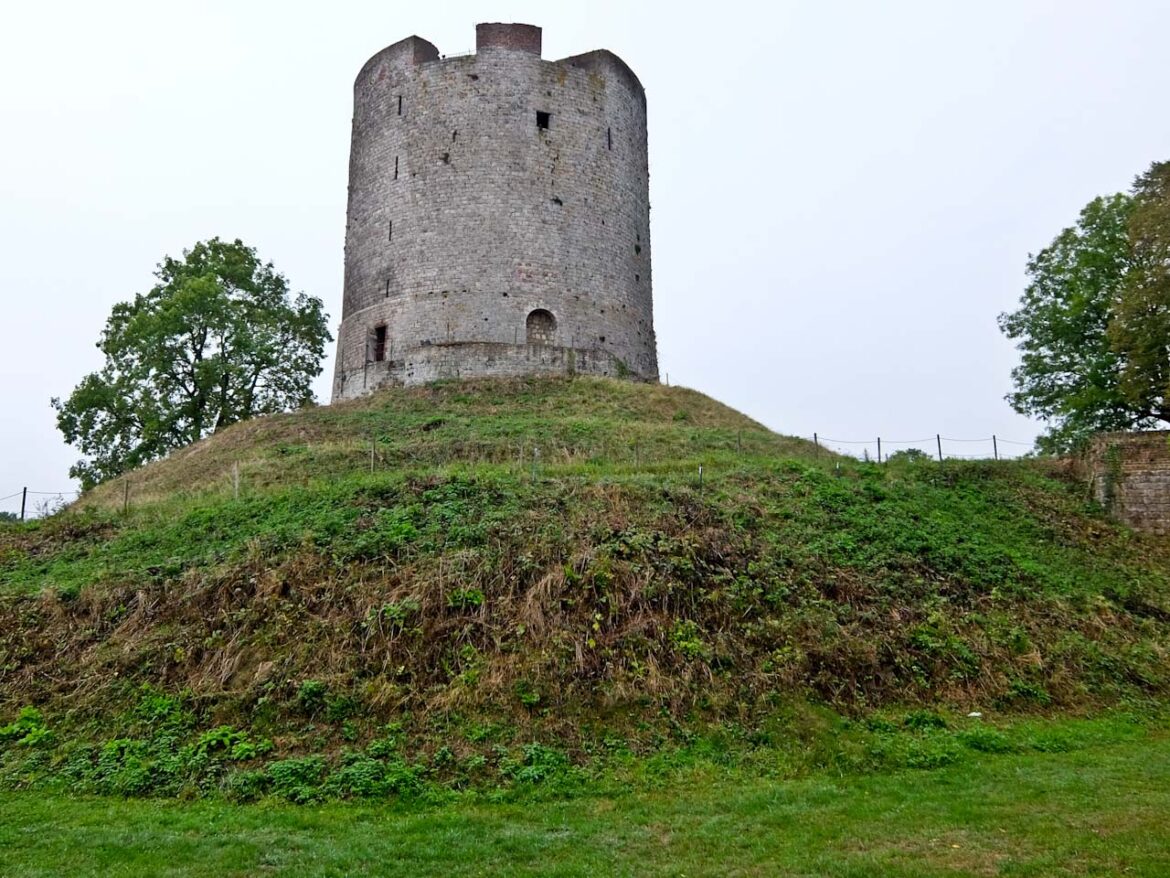
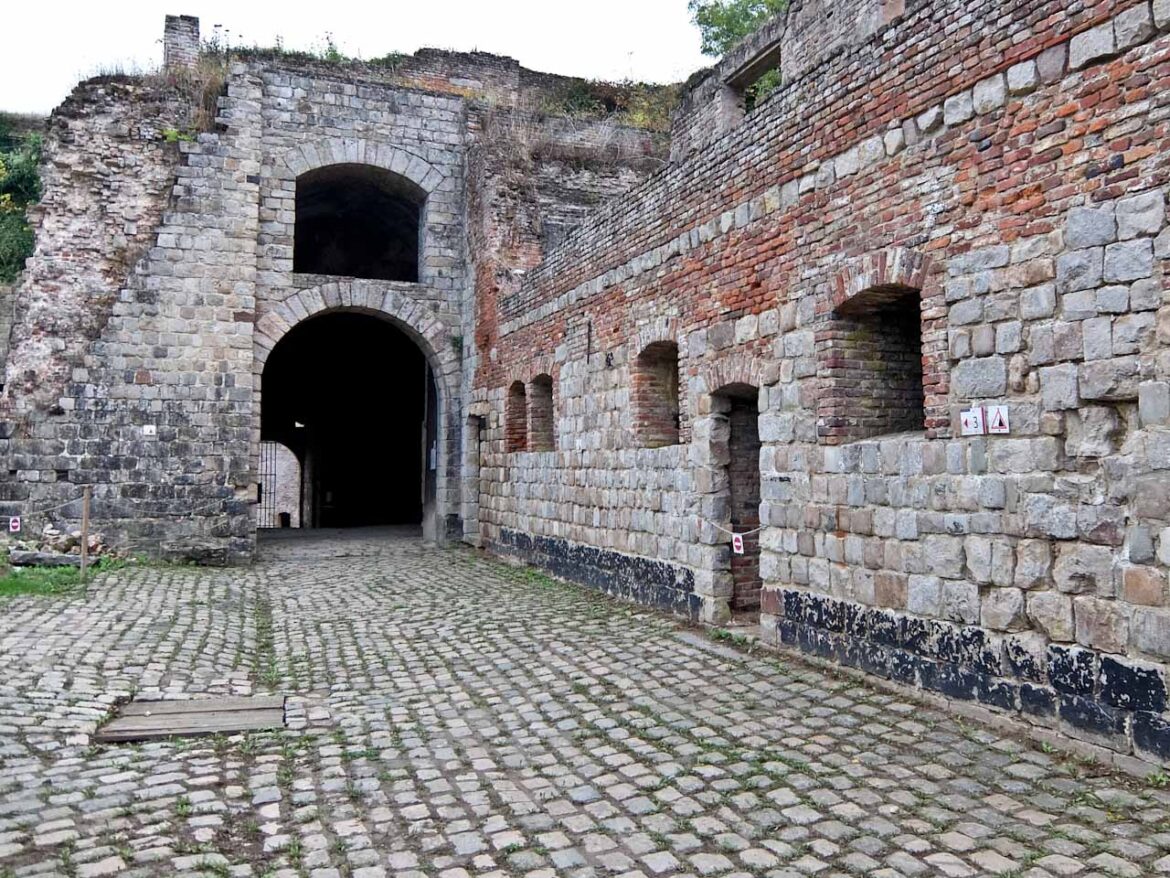
I follow the EV3 northeast through Moy-de-l’Aisne, Vadencourt, and along the Thérain valley into Guise. The imposing Château de Guise is one of the largest fortresses in Northern Europe. Spreading over 17 hectares, once surrounded by more than 1.5km of ramparts and a 4 hectare moat, it was virtually impregnable.
Day 4 – Guise to Fourmies 65km
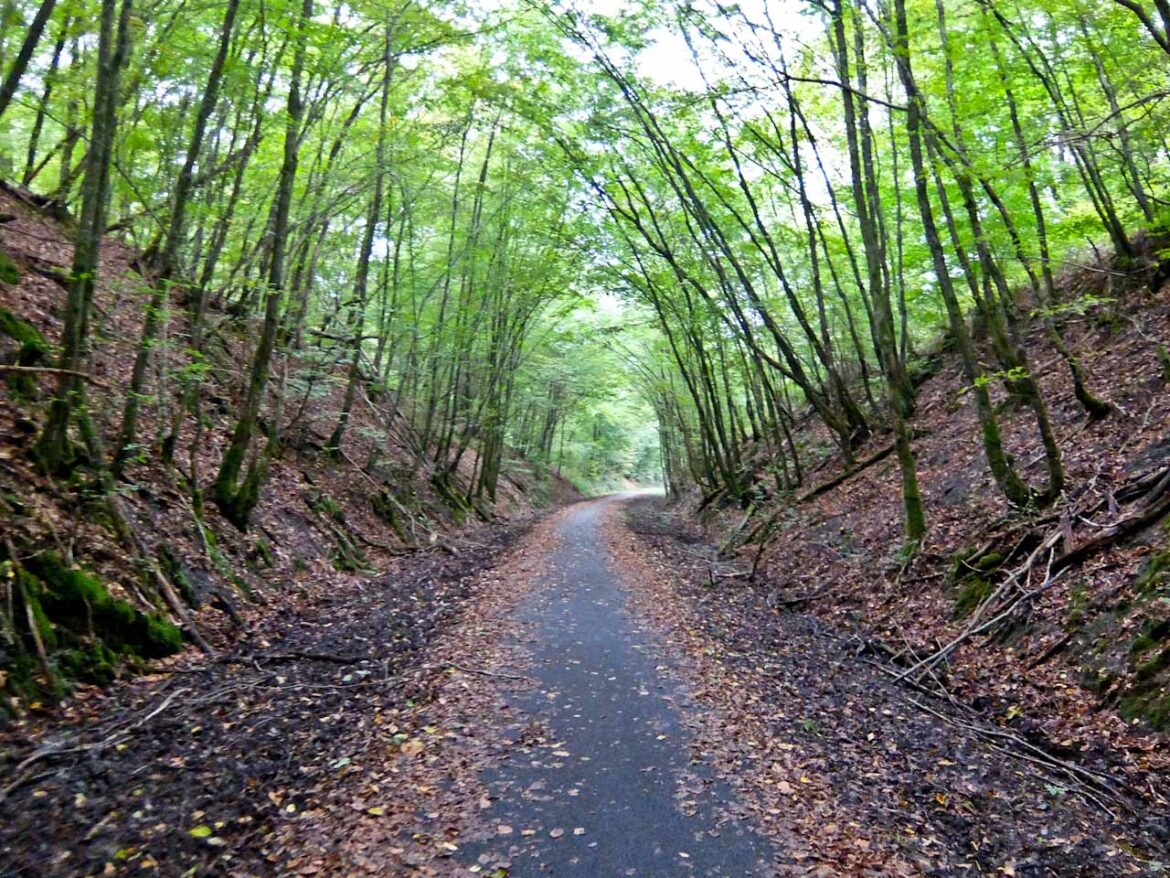
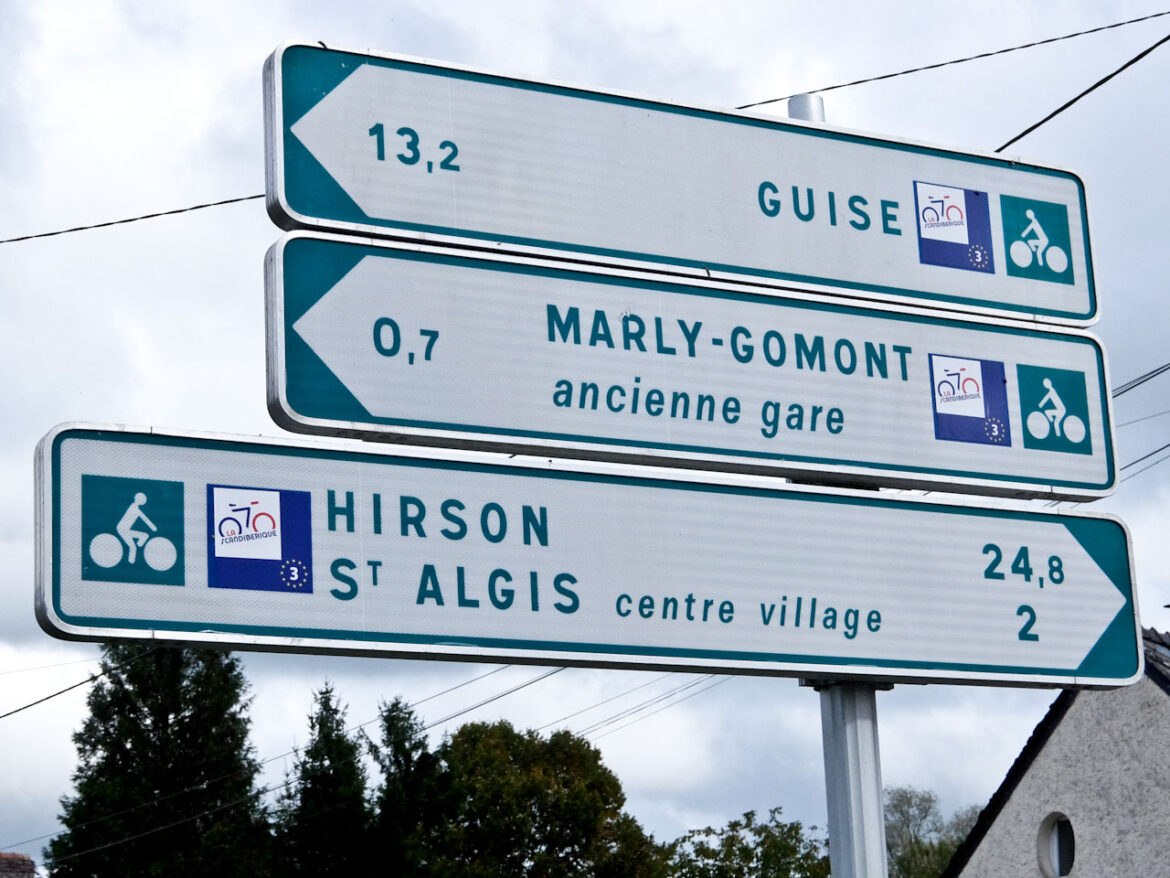
The EV3 continues north following an old railway track in the Oise Valley, through a region that was heavily fought over for centuries. Many churches including Marly-Gomont, Englancourt and Beaurain were fortified by villagers for their own protection.
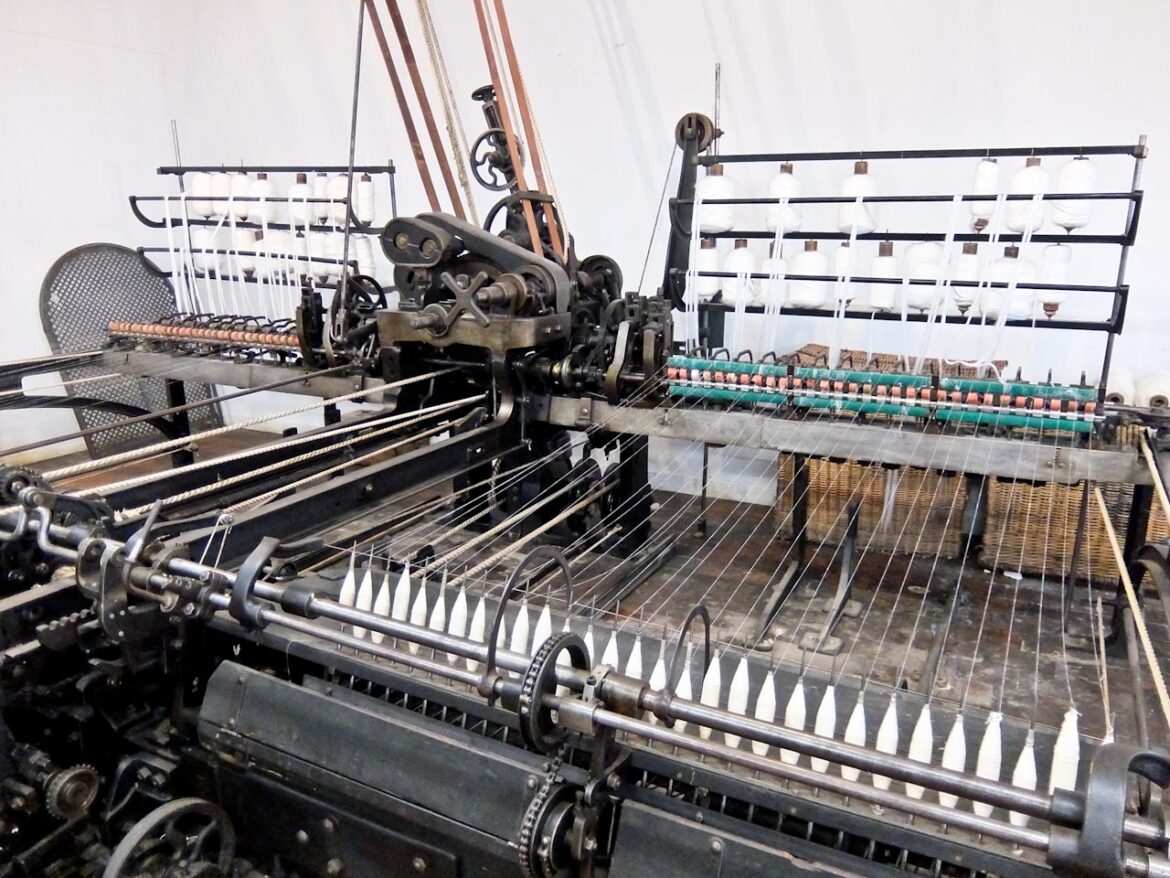
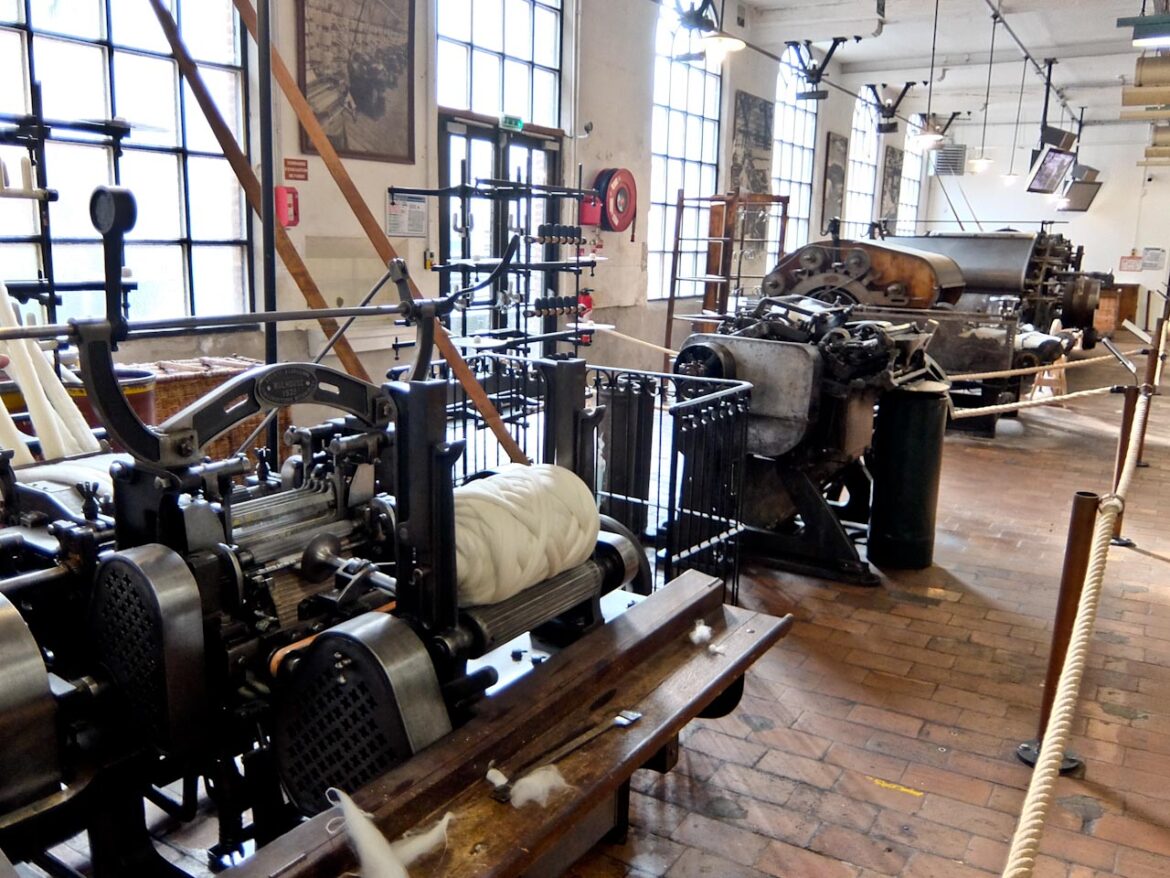
After Hirson there are a few ups and downs through the forest, a sign that the Ardennes are close. Fourmies is pleasant town, once the 19th century world capital of worsted wool. They’ve preserved the former spinning mill and the Musée du Textile et de la Vie Sociale has many of its machines still in working order.
Day 5 – Fourmies to Liessies 24km
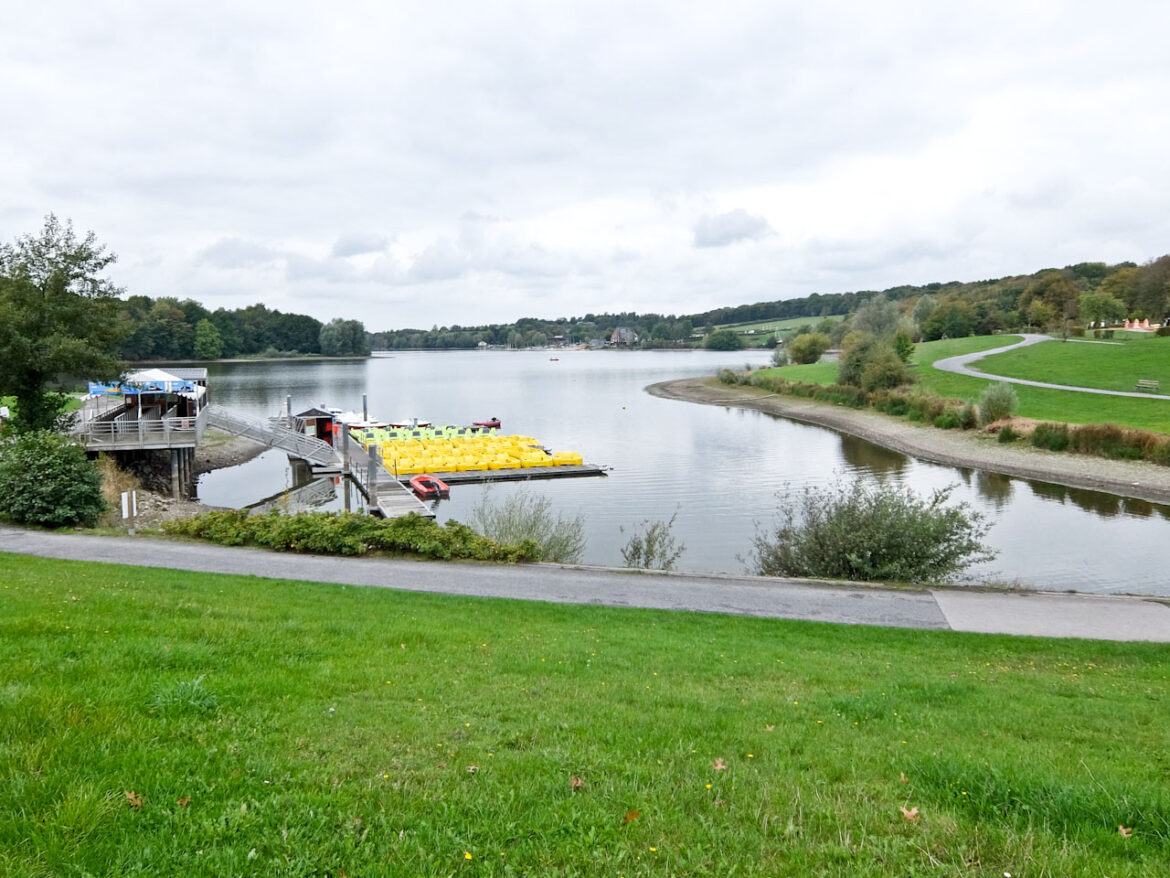
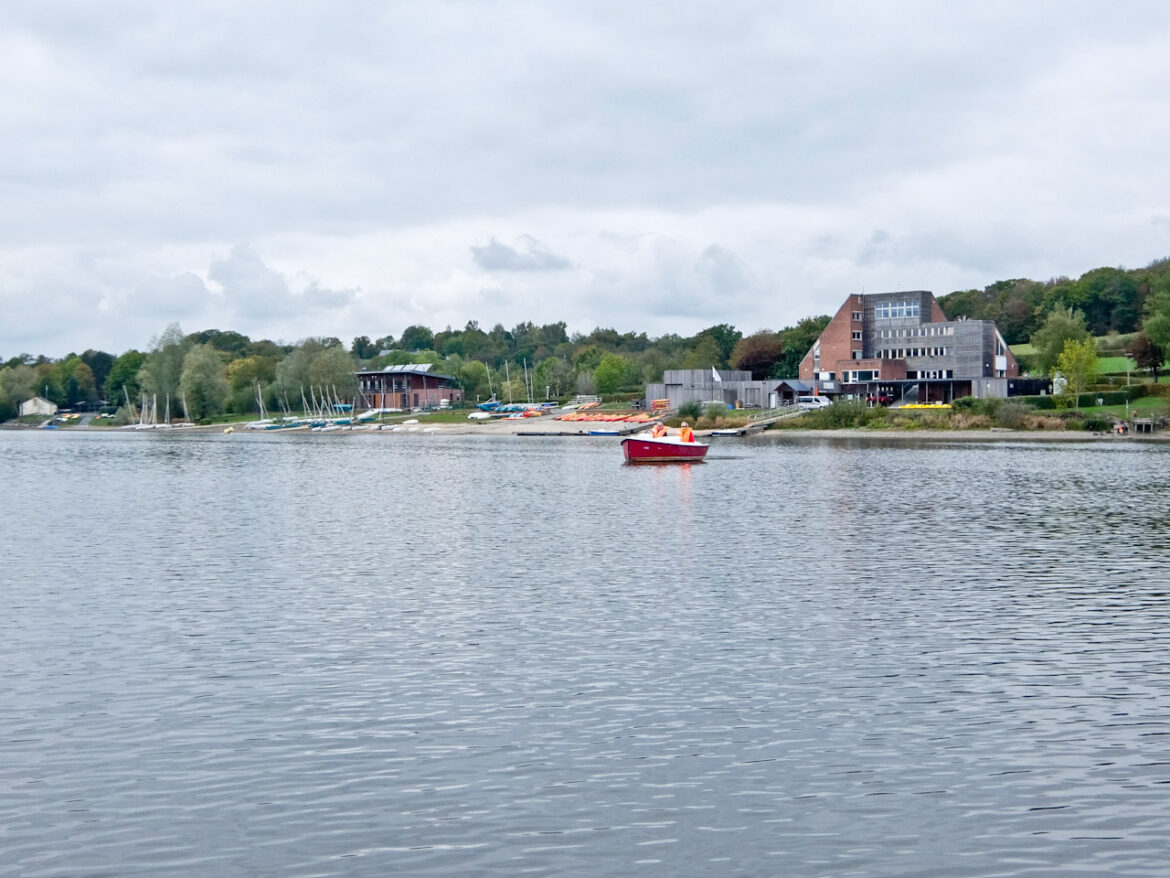
It’s only 16km along the Voie Verte de l’Avesnois, an old railway line, to Liessies. The big attraction here is the ValJoly Resort, structured around the largest lake north of Paris surrounded by forest. There’s a wide range of outdoor activities, including horse riding, sailing, mountain biking and an indoor pool area. I settle for a gentle boat ride around the lake.
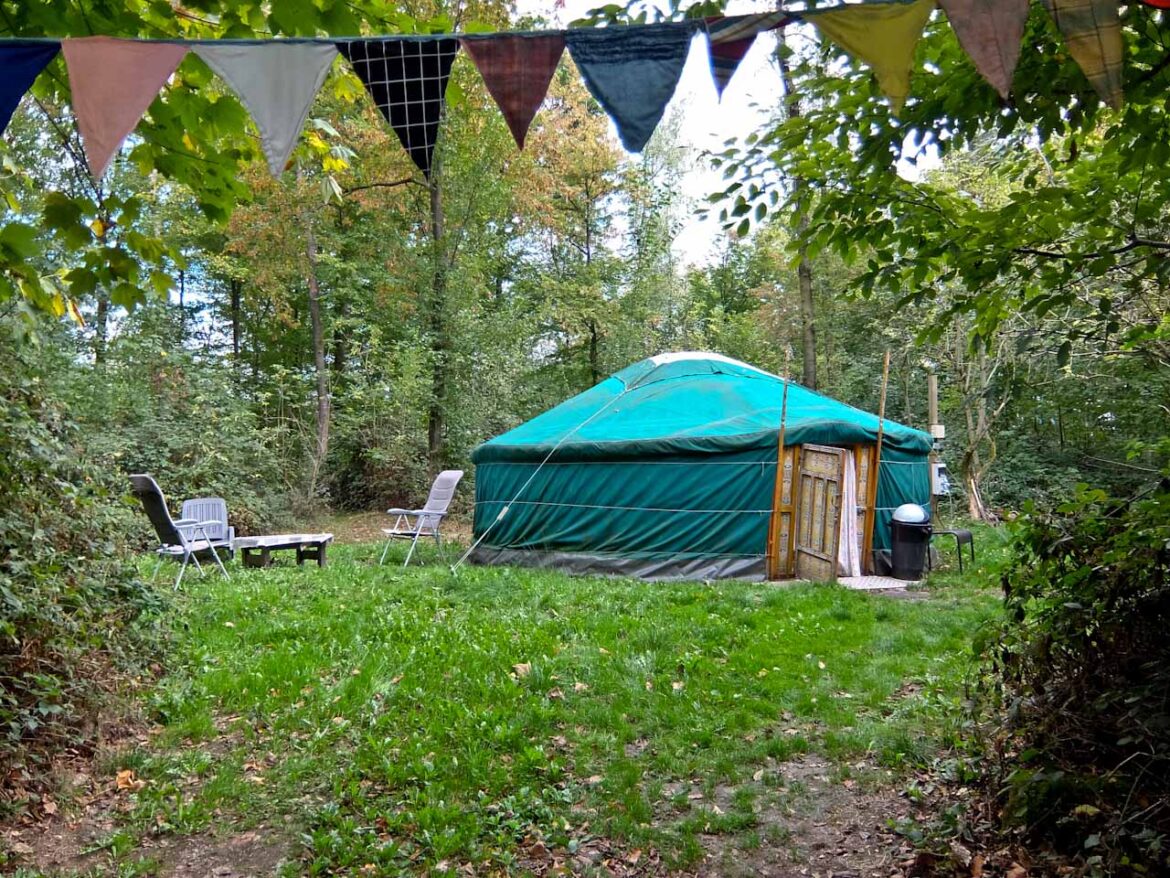
Although there’s plenty of accommodation at ValJoly, I settle for something altogether more rustic. Just a few kilometres away, Git’Avensois Camping offers me my own Yurt in the heart of the Avesnois Regional Park. It’s a bit late in the season for this, as there’s no heating, but the kind lady owner offers me a heartening stew and a bottle of red wine.
Day 6- Liessies to Thuin 59km
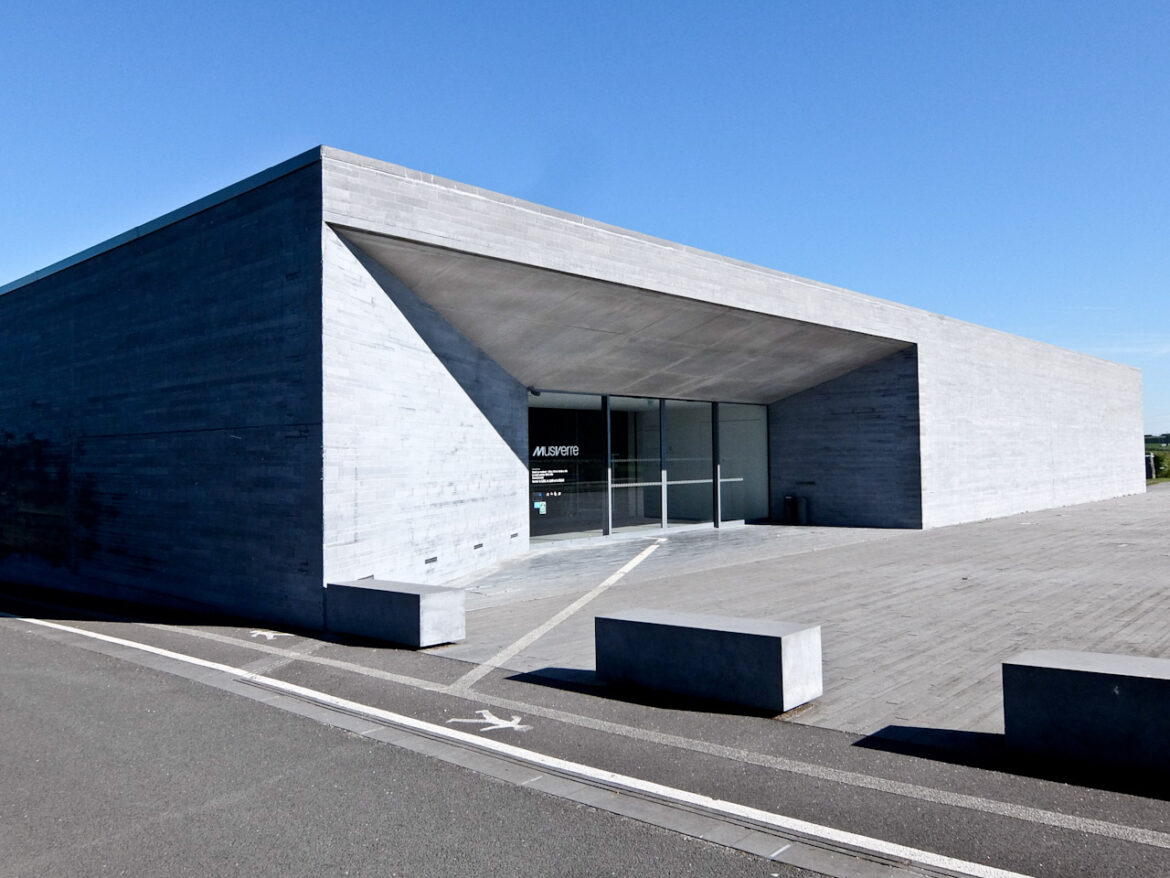
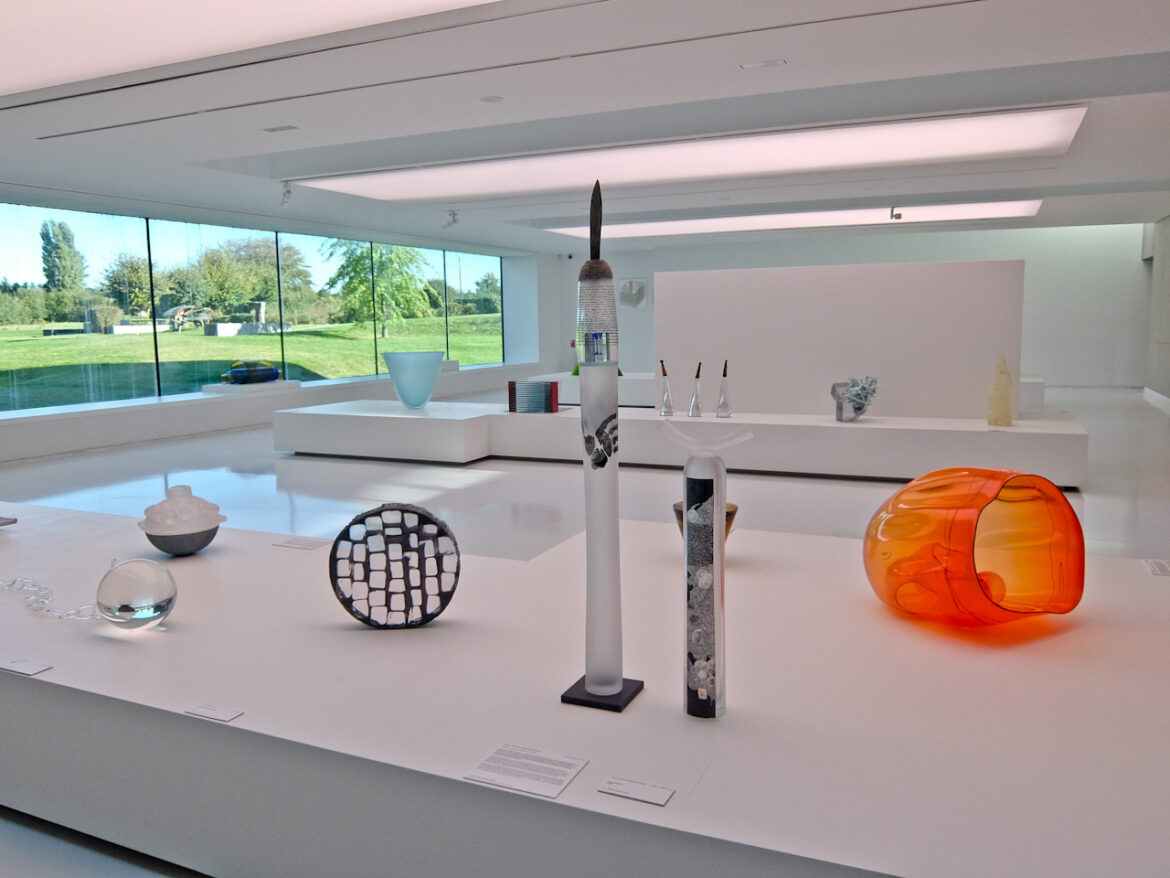
After my forest adventure, I set out cross country to Sars-Potteries. Once a thriving glass making town, the futuristic MusVerre has one of most important collections of contemporary glass art in Europe. Over more than 1000 m² of exhibition space, the tour takes visitors on a dynamic journey from local glassmaking techniques to international contemporary works.
I rejoin the Voie Verte for the 16km to Mauberge, a fortress city close to the Belgium border designed by military engineer Vauban. It was extensively damaged during two world wars but there are still remnants of its military past, including the ramparts, the Mons Gate, and the barracks. From here, I follow the towpath of the Canal de Sambre for 30km, crossing into Belgium between Jeumont and Erquelinnes.
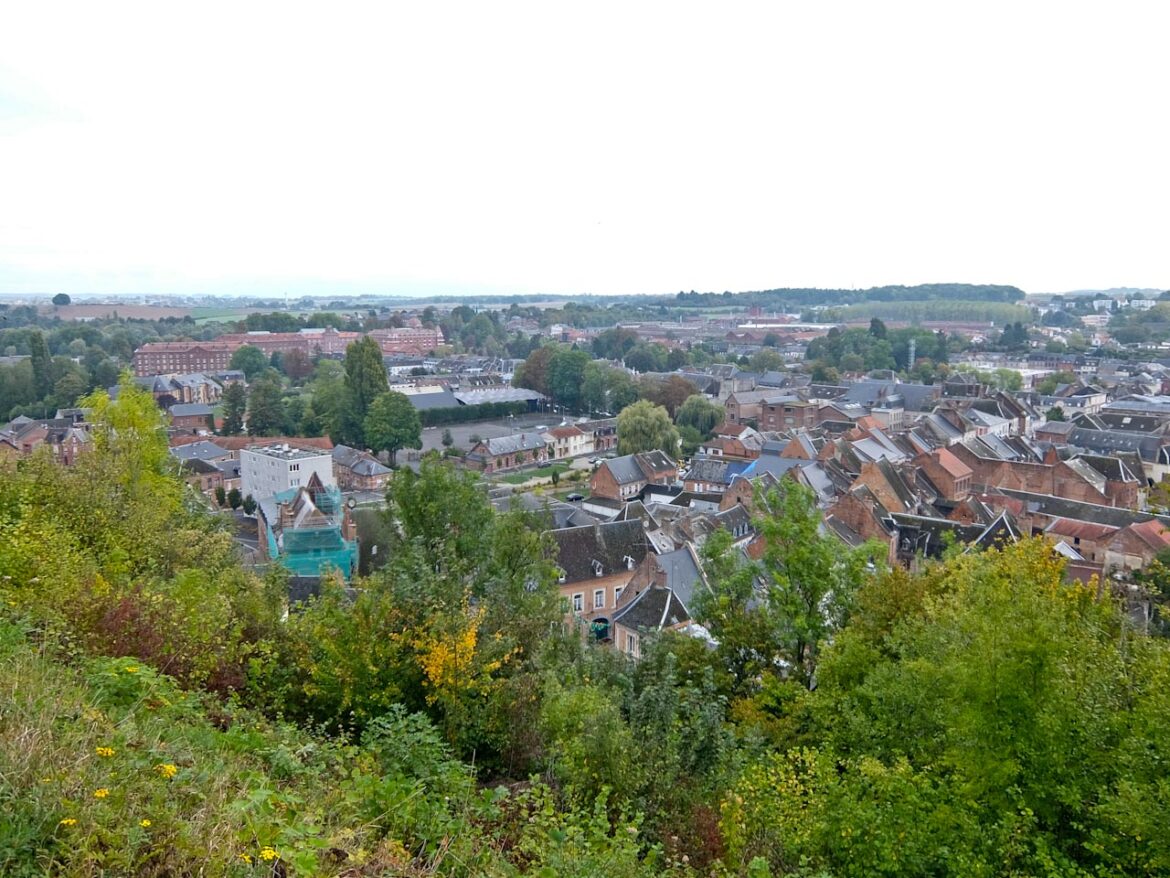
This is the final stretch of my journey and one of the most pleasant, At Thuin, I leave the river and climb up to the medieval city. The hilltop belfry, listed on UNESCO, overlooks the valley, while terraced gardens cascade down the ancient ramparts. There’s more to see here including a Tramway Museum, the boatmen’s quarter and its ecomuseum, but for me this is the end of the road.
I’ve enjoyed my trip across Northern France and the EuroVelo is well signed and for the most part fairly flat. That makes for pleasant cycling through the most scenic area in the county along abandoned railway lines and canal towpaths. There’s also a rich history to explore with ancient abbeys, forts and castles, in old and new towns. Best of all, the food is excellent.
Factfile
GO: Eurostar to Paris or from Lille and then local trains.
Ch’tis Voyages à Vélo rents bikes and offers self-guided tours.
INFO: La Scandibérique has details of all stages of EuroVelo 3 with maps. Regions:
Aisne: www.jaimelaisne.com
Oise: www.oisetourisme.com
Nord: www.evasion.lenord.fr
Pays des Lacs: www.cm-tourisme.be
STAY: Chantilly – Hotel Chantilly
Compiègne – Alfred Hotel
Ognes – Le Charme d’Ognes
Guise – Gîte du Familistère
Fourmies – Chateau de la Marliere
Liesses – Camping Git’Avenois
Thuin – Le Relais de la Haute Sambre
EAT: Chantilly – La Villa
Pont Sainte Maxence – l’Art d’Oise
Compiègne – le Bistrot des Arts
Noyon – Les 3 Compères
Guise – Taverne du Château
Marly-Gomont – Estaminet La Halle
Fourmies – Chateau de la Marliere
Liesses – La Bergerie
Sars-Poterie – Le Pave de Sars
Thuin – Les Caves de la Source
The post Guide to Cycling EuroVelo 3: Northern France to Belgium appeared first on The Travel Magazine.


