Since the sudden demise of Eastern Airways and the subsequent loss of the flight from Gatwick Airport to Newquay in Cornwall, some good news has emerged for regular travellers on that route.
Cornwall Council has agreed a contract with Skybus, and as of 23 November, Skybus will resume service on this route, initially with a single daily flight.
The route is operated under a Public Service Obligation, which sees Cornwall Council and the Department for Transport provide financial support if required to ensure the service is maintained.
The company says that from 14 February 2026, a second service will be added on weekdays, offering a choice of morning or afternoon flights. One-way fares start at £80.00 which includes 15kg of checked baggage.
Amy Smith, managing director of Cornwall Airport Newquay, said:
“We’re delighted that Skybus, our longest-serving airline partner, will be taking over the vital London Gatwick service later this month.
“We know just how important a regular, reliable service between Newquay and London is for our passengers and we look forward to working with Skybus to deliver just that going forward.”
Jonathan Hinkles, Managing Director of Skybus, said:
“We are thrilled to launch this new service between Cornwall and London Gatwick. It is not just about making travel easier for passengers; it’s about creating opportunities – for businesses, for tourism, and for the local communities we serve.
“As a Cornish company with more than 40 years of aviation experience, we understand how crucial dependable air links are for our region and are proud to step up and operate this vital route. Our focus is on rebuilding confidence and offering reliability, and we look forward to providing passengers with the service they deserve.
“None of us underestimate the challenge ahead to build the Newquay-Gatwick route to be a thriving cornerstone of the local economy once more. We’re wholly confident that we can achieve this through Skybus’ record for reliability and service.”
Skybus currently flies between the Isles of Scilly and Cornwall and Exeter and has acquired a larger plane for the London route. This new route for Skybus also paves the way for new connections between London and the Isles of Scilly from early 2026.
Since 1st November, the day the US government shut down, over 13,000 essential air traffic controllers have been working without pay. With no date in sight, some have understandably been forced to take other jobs or not turn up for work.
The Federal Aviation Administration (FAA) says flyers will face cancelled flights and disruptions on domestic flights. International flights are exempt from the cuts. Flights from the UK to the US are currently running as usual, and Virgin Atlantic and BA both report good service. However, last week saw 90-minute delays at Orlando airport, a hub for Brits looking forward to a Disney holiday.
Yesterday (Thursday, 6 November) US transportation secretary Sean Duffy announced that up to 10 per cent of air travel will be cut at 40 major airports. The cancellations could affect between 3,500 and 4,000 internal flights per day.
According to the BBC, low-budget carrier Frontier Airlines has warned customers to buy tickets at other airlines as a contingency plan.
What does UK Foreign Office (FCDO) advise?
The UK Foreign Office (FCDO) says on its website:
“There could be travel disruptions, including flight delays and longer queue times at some airports, due to the current US federal government shutdown.
“Check for messaging from your travel provider or airline and follow their guidance. There may also be restrictions on access to some federally-managed tourist attractions. Please check the relevant websites in advance.”
FAA says it’s cutting thousands of flights at these 40 airports.
Rouen, the capital of Normandy, is a city where every cobblestone whispers history. Just 135 kilometres northwest of Paris, it enchants visitors with its medieval streets, soaring Gothic spires, and its aura of timeless elegance. Every autumn the gastronomy festival, Rouen à Table! turns the city into a gourmet paradise.
Rouen
Rouen
Rouen
Rouen is the only French city recognized by UNESCO in the “Creative City” category for gastronomy. This recognition reflects the city’s commitment to showcasing local producers, supporting short supply chains, and opening French gastronomy to international creativity.
Rouen
Rouen
For its second edition, the event Rouen à Table! is a must-visit festival for gastronomy enthusiasts, blending local tradition, culinary innovation, and festive ambiance. It promises five days of culinary discoveries, tastings, workshops, and unique gastronomic experiences, including the Fête du Ventre, or “Festival of the Stomach.”
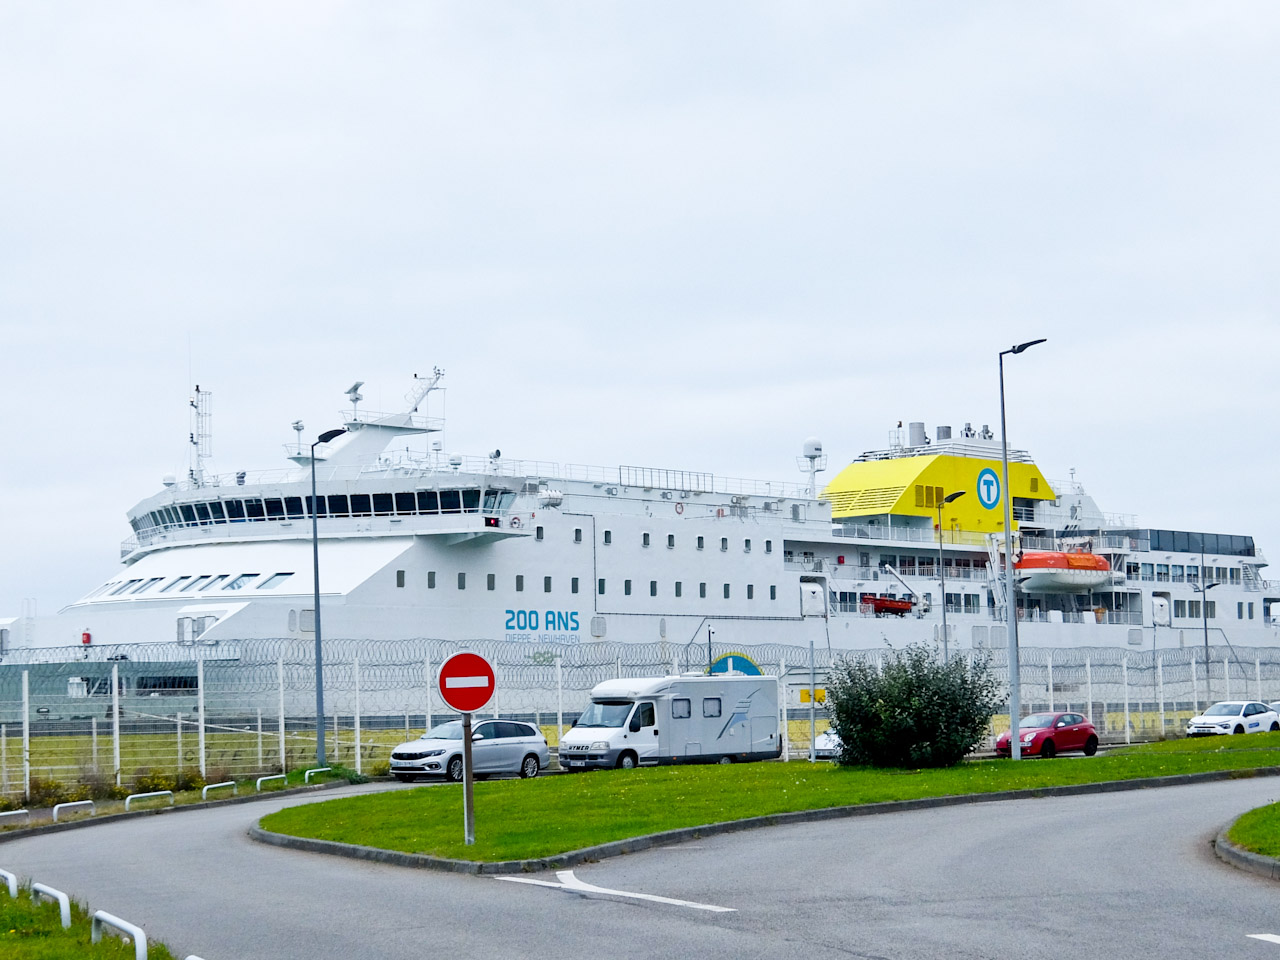
DFDS Ferry
With no airport close by, one of the most convenient and sustainable ways of getting there from London is by ferry and train. It’s two hours to Newhaven, then four hours on the DFDS ferry to Dieppe and then another hour by train to Rouen. I spend the night in Dieppe and sample one of their glorious platters of Fruits de Mer
Rouen
I arrive in Rouen on a Saturday lunchtime with the festival in full swing. The city is transformed into a vast open air dining room with irresistible aromas of freshly baked bread, roasting coffee, and crisp apple cider. The old market quarter, Place de la Pucelle, and surrounding streets are filled by more than 150 artisan food and drink producers.
Rouen
Rouen
Rouen
The stalls overflow with cheeses, cider, charcuterie, seafood, honey, pastries, and bread still warm from the oven. Locals mingle with tourists, tasting slices of apple tart, sampling oysters from the coast, and chatting with the farmers who make it all possible.
Rouen
Rouen
Street performers, folk musicians, and chefs demonstrating their dishes add to the carnival atmosphere. The Fête du Ventre embodies what makes Rouen special: authenticity, generosity, and the joy of sharing food in good company. It’s a sensory overload in the best possible way.
Battle of Chefs
Battle of Chefs
Battle of Chefs
Battle of Chefs
One of the most anticipated events of Rouen à Table! is the Battle of the Chefs, an exhilarating live cooking competition that turns the festival square into a culinary arena. In a tent, in front of the cathedral, two Chefs, from the UNESCO Creative Cities network, face off using key local ingredients – Normandy cider, scallops, pears, and cheese.
Battle of Chefs
Battle of Chefs
Battle of Chefs
I watch Swiss Michael Fessler and Mexican Alex Mendez compete with their dishes of scallops and sliced pear or red onion and avocado. A panel of judges and the audience get to taste each one and cast their vote. Then it’s the turn of Spain’s Isabel Álvarez versus Benin’s Diana-Marlyse Johnson to dish up a completely different take on the local ingredients. It’s part performance, part masterclass and wholly delicious.
Battle of Chefs
Battle of Chefs
Battle of Chefs
Mocktail Workshop
Not everything at Rouen à Table! revolves around wine or cider. The festival’s Mocktail Workshop offers a refreshing alternative for families, teens, and the sober-curious. Chef Damien, alias Damien Duquesne, hosts a hands-on session where we create our own versions of tonic, cola and lemonade. He supplies all the ingredients, including spices, fresh herbs and local fruits and we get to work.
Mocktail Workshop
Mocktail Workshop
He teaches us how to make our own sugar syrup and then flavour it with whatever we fancy. After honing our flavours, we get stoppered bottles so we can take our mocktails home. And what better place for apprentice mixology than in the building opposite Rouen Cathedral, where Claude Monet painted his famous masterpieces. I’m not sure my homemade cordial can compete.
Mocktail Workshop
Mocktail Workshop
Dinner with Four Hands
Dinner with 4 Hands
Dinner with 4 Hands
In the evening, Normandy Chef Éric Autin welcomes Chef Michaël Fessler, co-founder of Fud Läb in Switzerland, to his restaurant l’Incontournable. Together they create a “dinner with four hands”, taking it in turns to dish up six courses. I have a table with a ringside view of the two chefs in action and, in the true spirit of the festival, all is harmony in the kitchen. That makes for a memorable feast.
Dinner with 4 Hands
Dinner with 4 Hands
Dinner with 4 Hands
In an era of fast food and fleeting trends, Rouen à Table! stands for something deeper. It celebrates the people behind the plates – artisan producers, chefs, and farmers who keep culinary heritage alive while embracing the creativity of the future.
Rouen
Rouen
Rouen
The Battle of the Chefs brings international flair; the Mocktail Workshop makes the festival inclusive; and the timeless Fête du Ventre grounds it in tradition. Together, they make Rouen not just a destination, but a taste experience unlike any other in France.
Factfile:
GO:DFDS Ferries operate daily from Newhaven to Dieppe and take cars as well as foot passengers.