Madonna di Campiglio – Ski Resort and Perfect Summer Destination in Italy
It is no wonder the majestic Dolomites have been listed as a UNESCO World Heritage site. In particular, the spectacular Brenta Dolomites that encircle Madonna di Campiglio. Traditionally, this mountain resort in the Trentino region of Italy was renowned as a skier’s haven.
However, recent years have seen it develop into the ideal destination for a summer holiday.
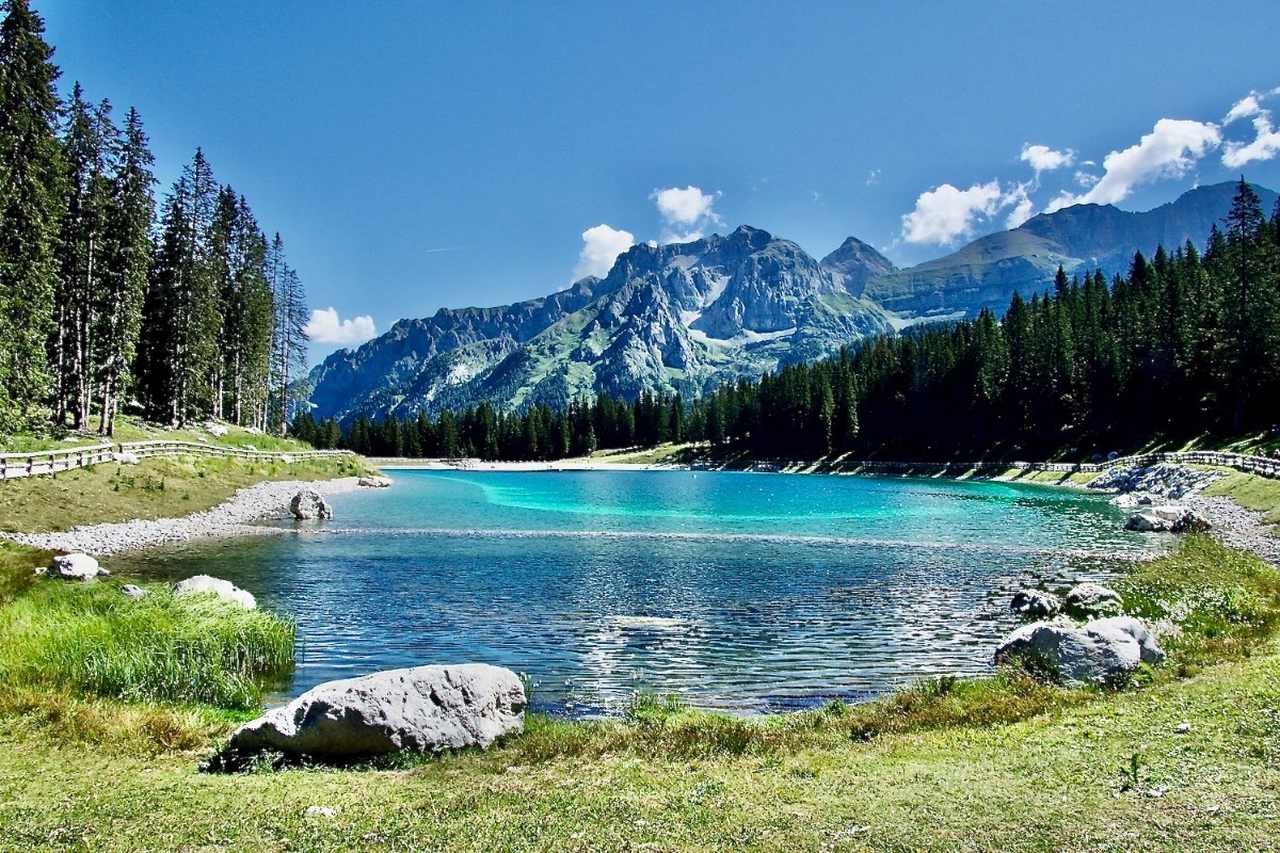
Lago Montagnoli in Madonna di Campiglio, Italy
Who Would Enjoy a Stay in Madonna di Campiglio?
A simple answer would be everyone, from families to solo travellers, walkers to wanderers, spa lovers to sun seekers, rock climbers to thrill seekers, and cyclists at all levels. Golfers will also enjoy the nine-hole golf course here. During the summer months, the majestic grey peaks tower above green, flower-speckled alpine meadows. Four cabin lifts carry visitors, their dogs and their bikes to the peaks of Cinque Laghi, Pradalago, Spinale and Grosté.
Each area features easy walks, hiking trails, sun terraces and a mountain restaurant. Easy, well-signposted paths are suitable for those who enjoy a stroll admiring the dramatic scenery and beautiful wild flowers. The adventurous can tackle the more difficult via ferrata from the top of Grosté. Just being in the mountains is a pleasure, taking in the stunning scenery before enjoying a leisurely drink or a local dish or two in one of the mountain restaurants. This region is famous for its apple strudel and hearty meat dishes combined with polenta (a corn mash). For the children, there is the Montagnoli Adventure Playground close to Montagnoli Lake on Spinale.
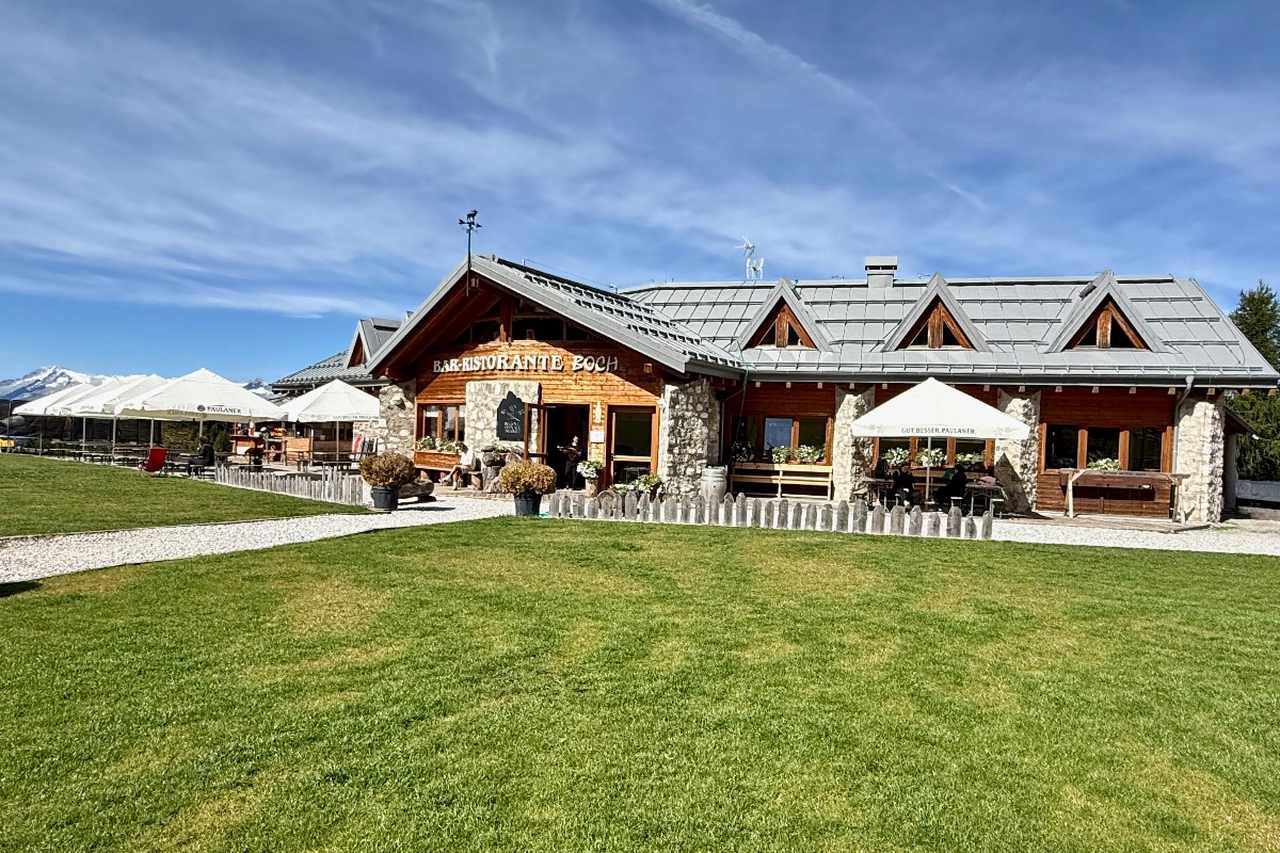
Ristorante Boch at the Mid-Station of Grostè in Madonna di Campiglio
Lakes and waterfalls are a feature of the valley that is home to Madonna di Campiglio. The town surrounds a small natural lake filled with trout in the summer, and a great place to fish. There are shuttle bus services to some of the popular beauty spots, including the waterfalls at Vallesinella. They also run to the car park at Patascoss and the start of an accessible walkway designed for wheelchairs and push chairs.
This walkway snakes through the woods to an enchanting lake, Lago Nambino. Other activities in the valley include forest bathing, a natural Kneipp and wellness days in the spa hotels that are popular here. Weekly artisan markets and outdoor concerts also feature in a weekly programme during the summer.
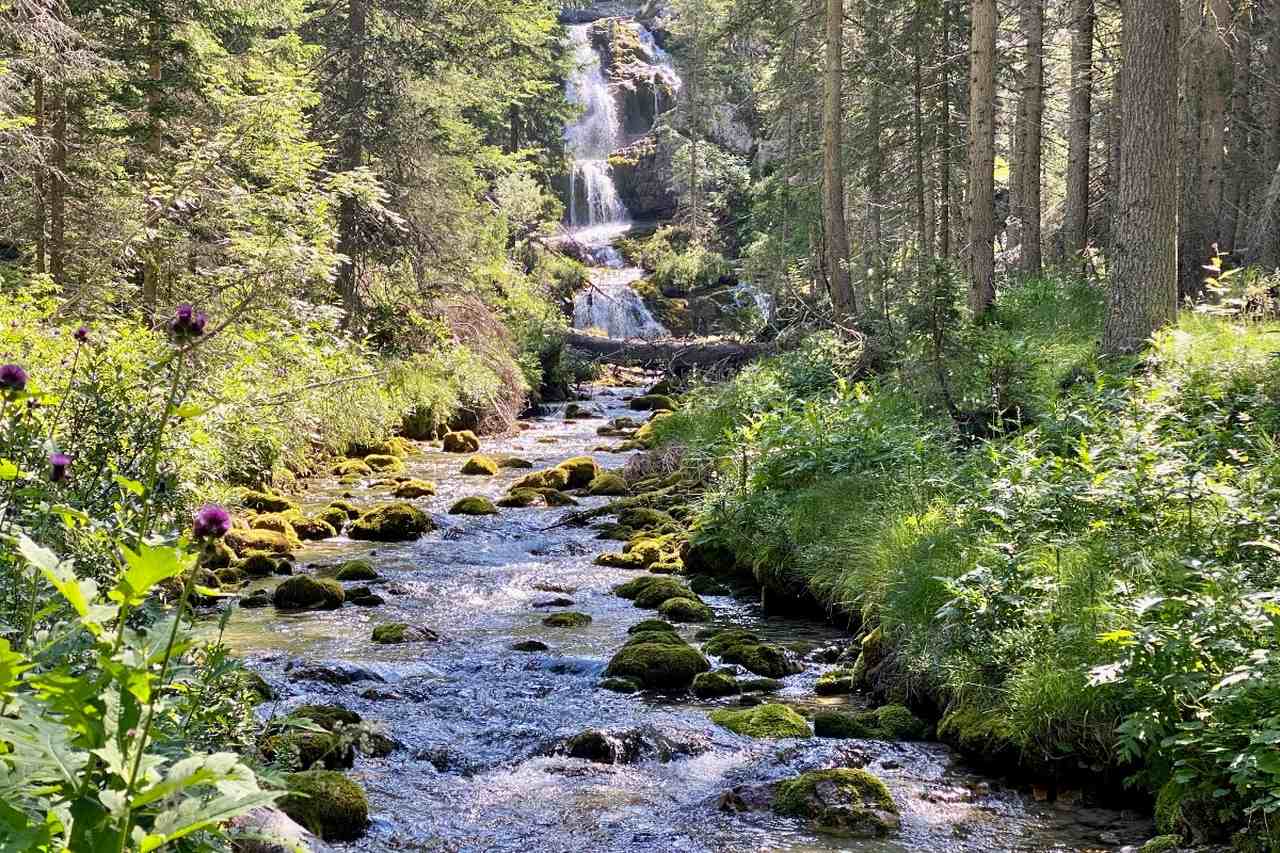
Vallesinella in Madonna di Campiglio
The advent of the electric bike has made cycling in mountainous regions such as Madonna di Campiglio feasible for cyclists of all standards. There are several bicycle hire shops in the town offering a good selection of bikes suitable for families wishing to explore on two wheels. Regional and local public transportation caters for those who prefer to bring their own bikes with them.
There are designated carriages on the mainline train to Trento, the regional capital and the mountain train to nearby Malé. The bicibuses haul a container specially designed to convey bikes from the train station to Madonna di Campiglio. For those who prefer to take the paths down the mountain, the cabin lifts can be used to get to the top. Special trails have been designated as bike trails; otherwise, many of the well-maintained paths that criss-cross the mountains are suitable for both walkers and cyclists.
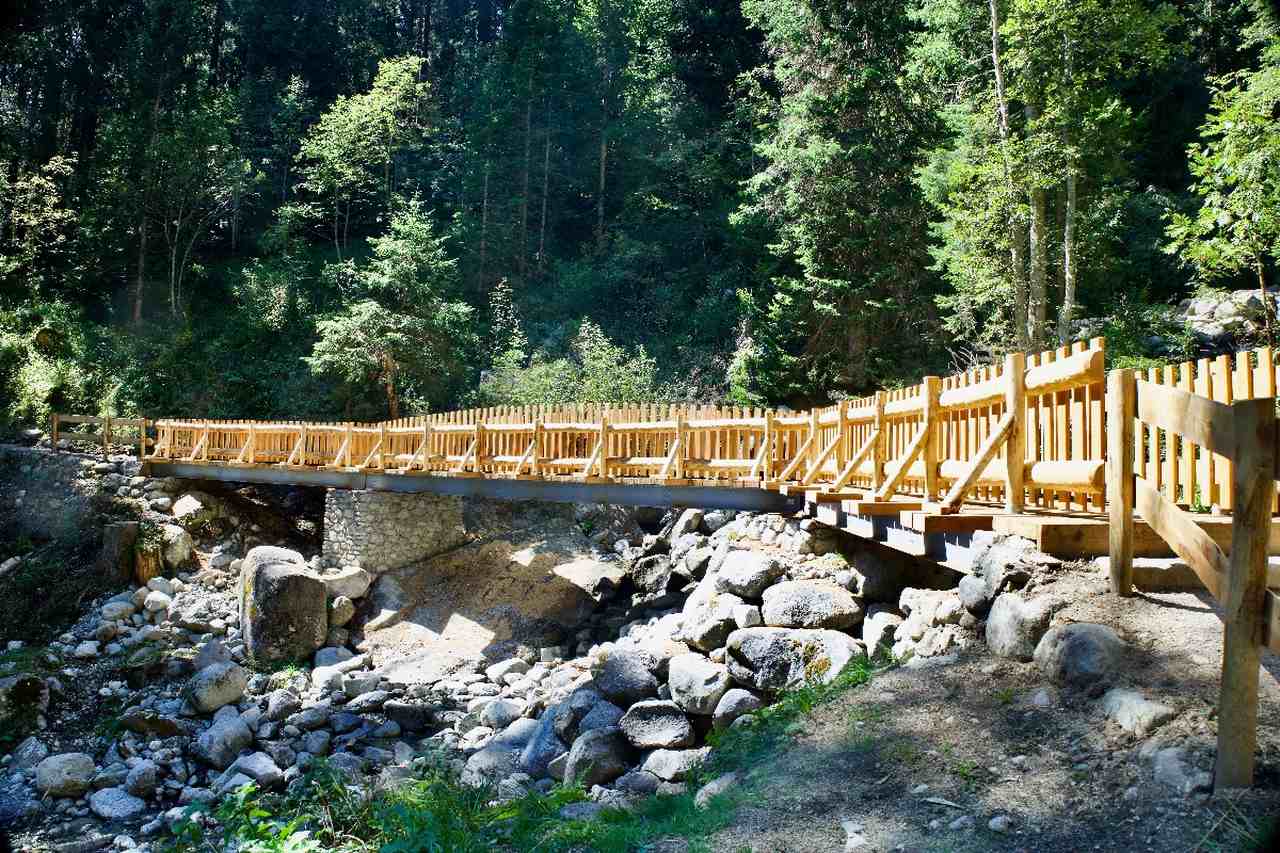
A Bridge on the Giro di Campiglio for Walkers and Cyclists in Madonna di Campiglio
How to Make the Best of a Stay in Madonna di Campiglio
Most of the hotels in Madonna di Campiglio offer their guests the Trentino Guest Card. Once the booking is confirmed the app version this card can be downloaded. This app is called Mio Trentino and is very easy to use. Not only is it useful in resort but it is also helpful while plans are being made for a stay in Madonna di Campiglio. Most useful is the free pass for journeys on local buses. Pinzolo, the next town down the mountain is worth a visit as this busy, very Italian town also offers a programme of entertainments each week. A not-to-be missed event here is the unique Giovenche razza Rendena at the end of summer. During this week Pinzolo celebrates the Rendena cow, the local breed of cow that grazes the mountains above the town. The celebrations conclude with the crowning of the cow queen – best of the breed.
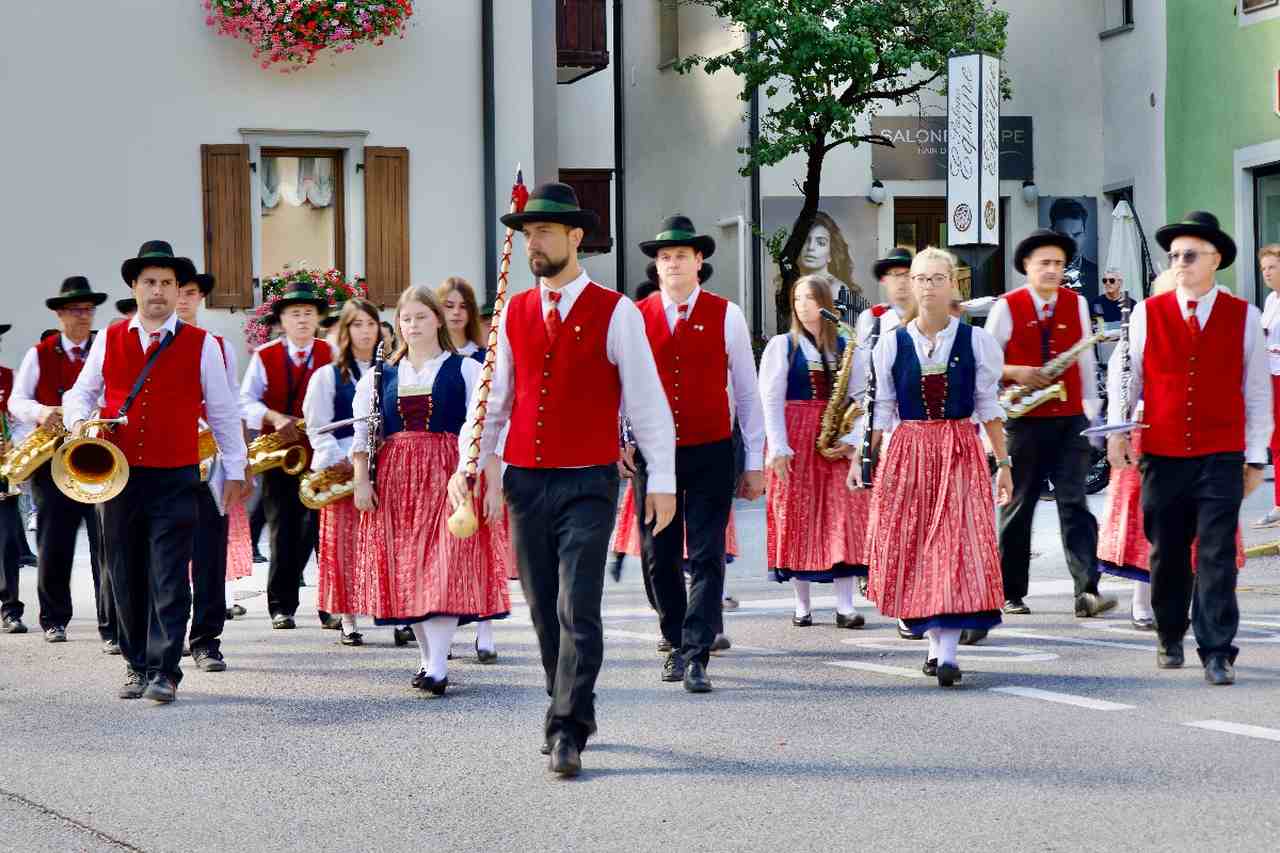
A Local Band Parading through Pinzolo
The Guest Card also has many other advantages including recommendations regarding events and activities available and a means of booking tickets and services such as the shuttle buses. Free or discounted access to major museums, castles and natural parks in the region are also on offer via the Guest Card.
There are also discounts for participating facilities and it is a booking facility for other services such as guided tours and guided walks.
Offers available through this card are added to every year. It can also be augmented by the purchase of the Dolomeet Passion, which extends the offer on the Guest Card to include unlimited access to the cabin lifts in Madonna di Campiglio and Pinzolo. Very useful if guests want to take part in an evening event held on the mountains which include dining in one of the mountain restaurants while watching the sun set. A perfect ending to a perfect day in the mountains of Madonna di Campiglio.
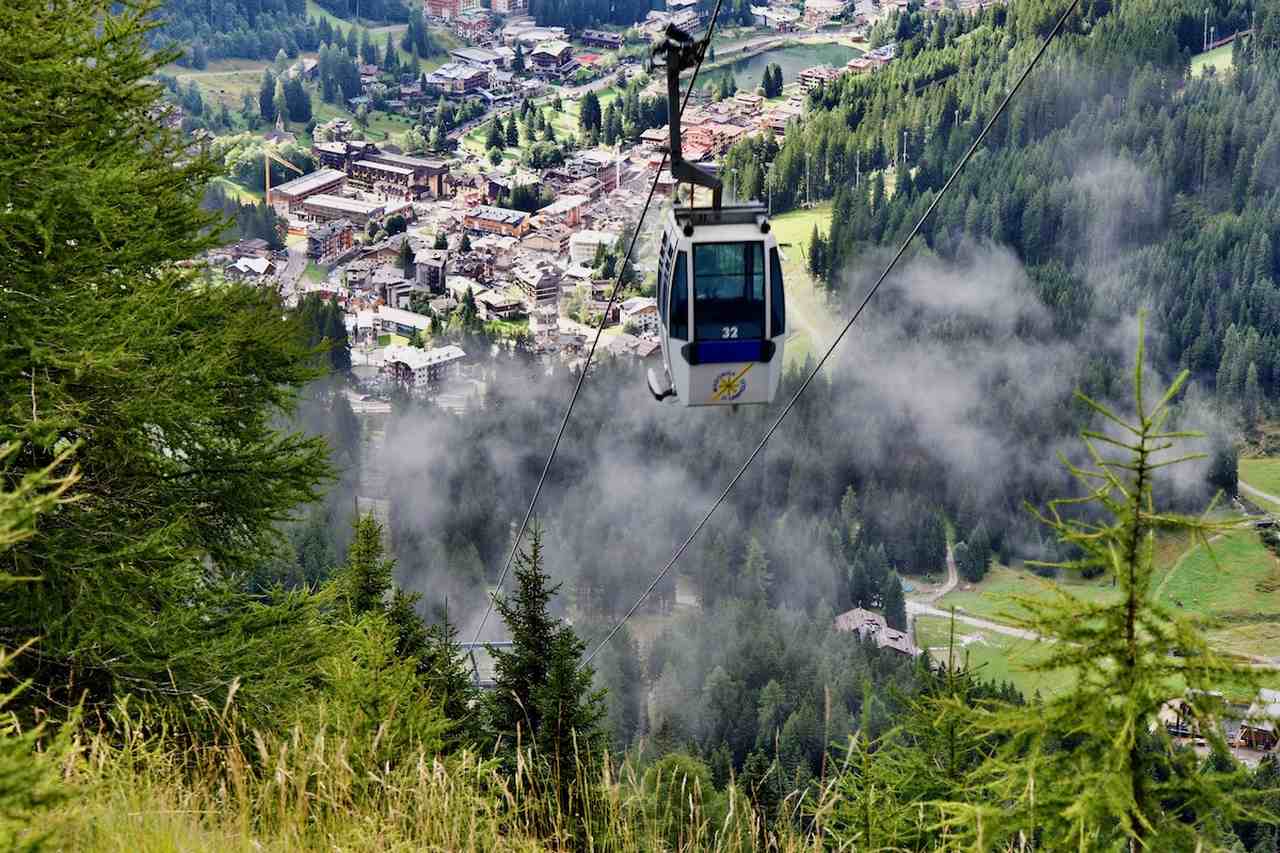
A CabinLift on Pradalago in Madonaa di Campiglio
Click here for more information about accommodation, events and the Guest cards in Madonna di Campiglio.
Get there: Nearby airports are Verona, Milan and Innsbruck
You may also like:
The post Madonna di Campiglio – Ski Resort and Perfect Summer Destination in Italy appeared first on The Travel Magazine.


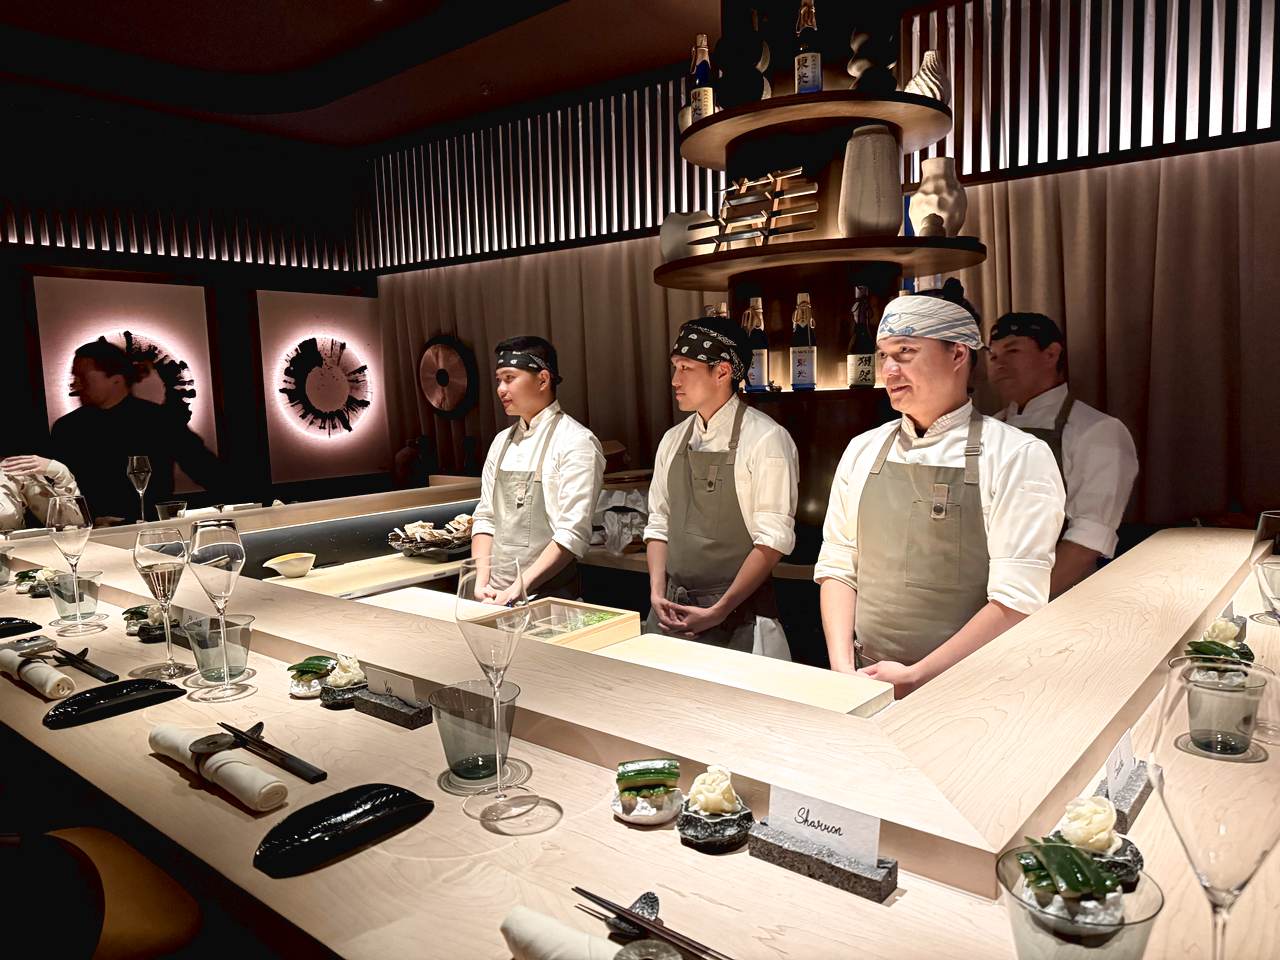

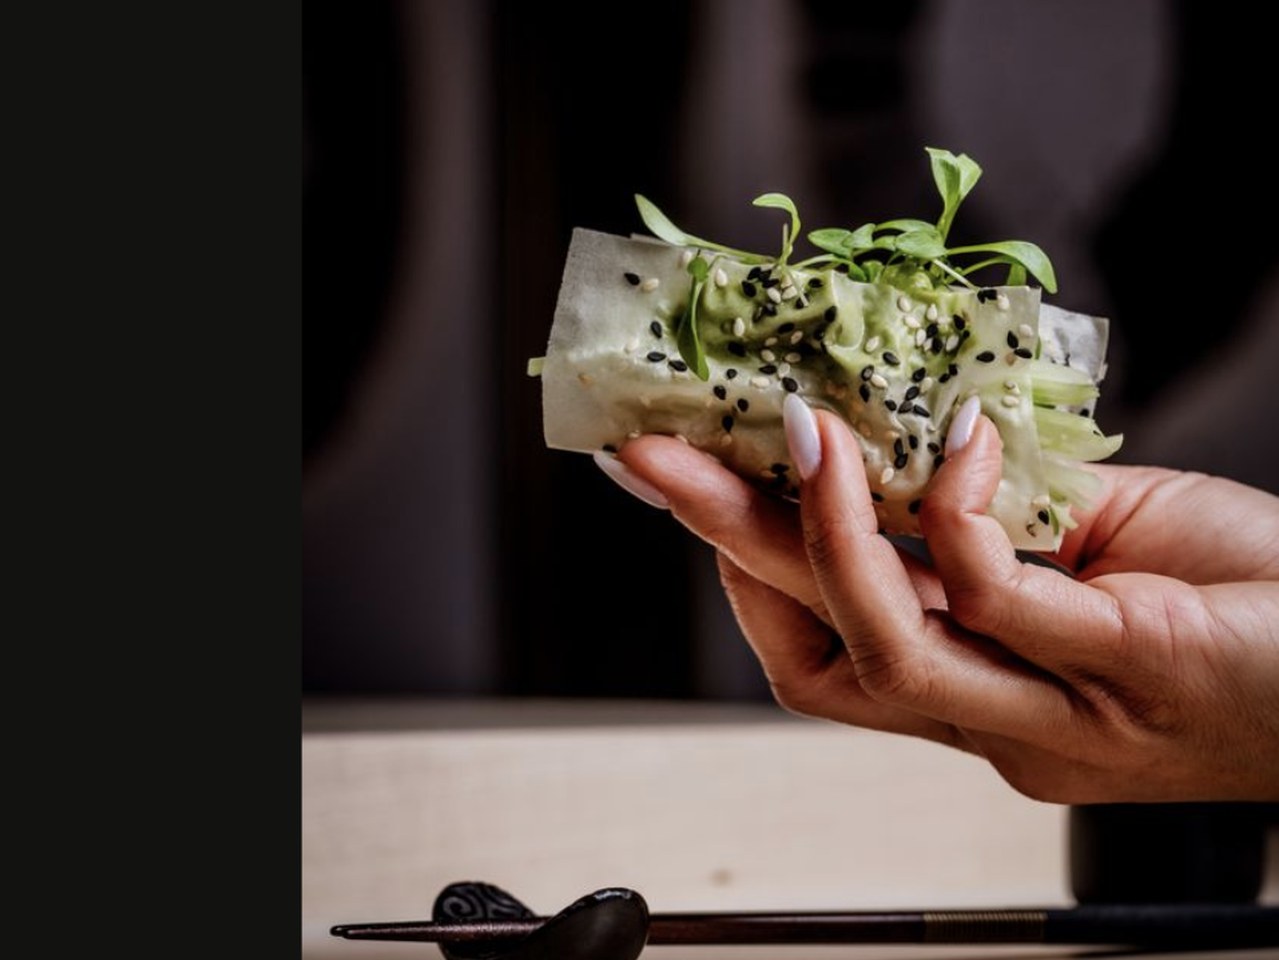
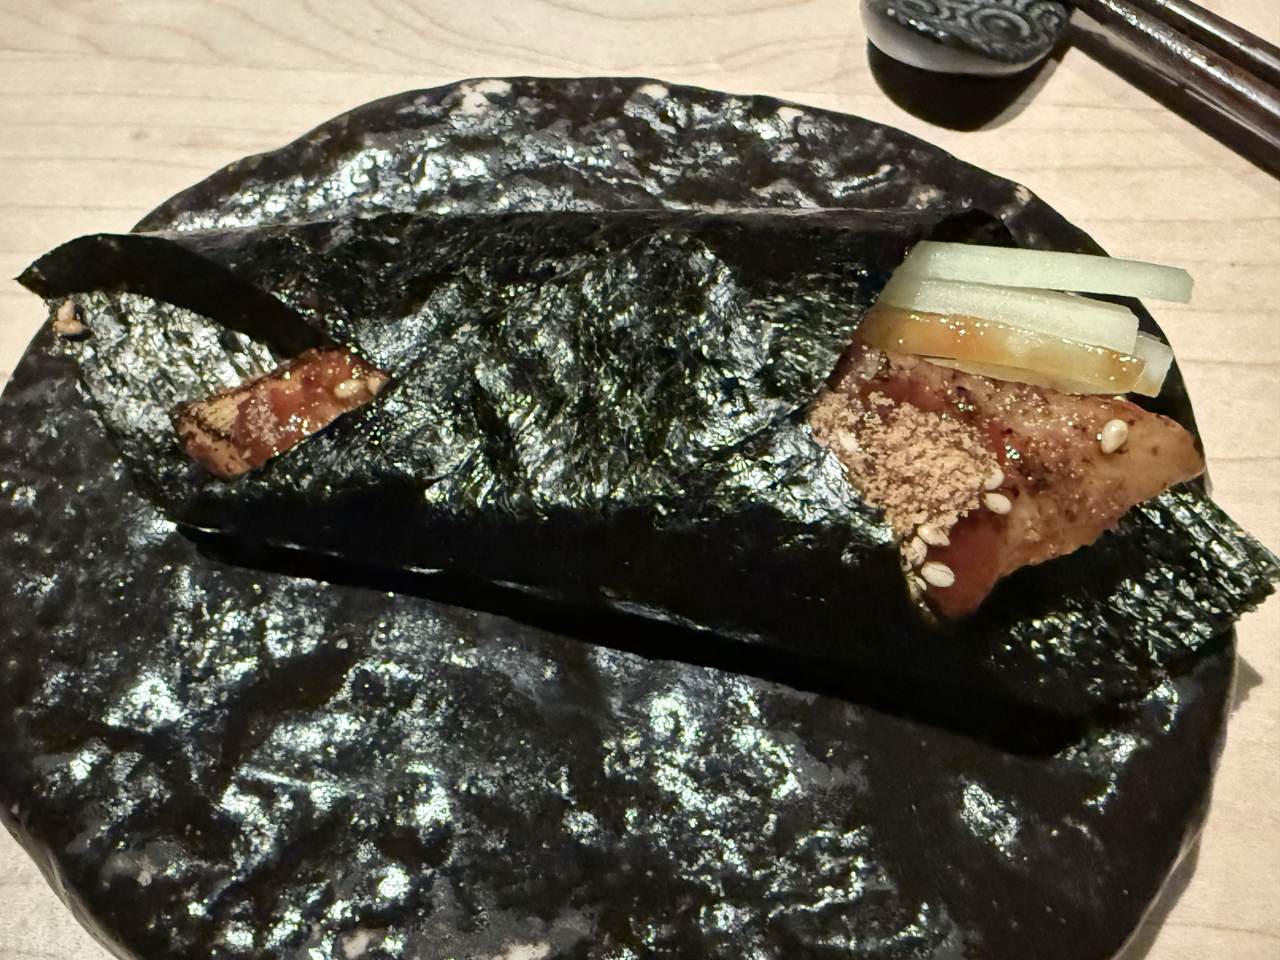
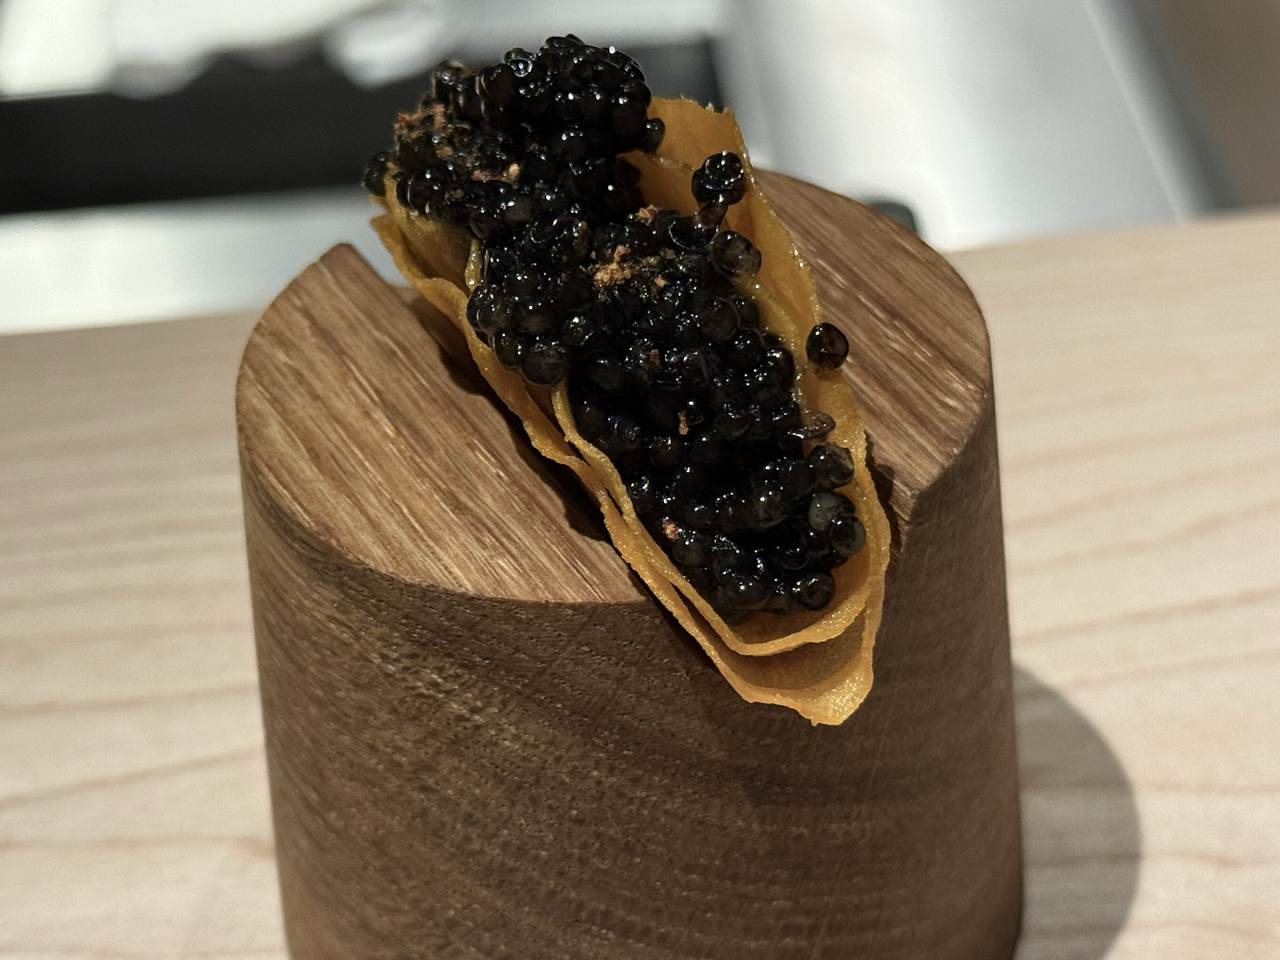 The show was ever-changing, and out came the BBQ Unagi Handroll. This was fresh water eel, Miso Gochujang, cucumber, baby asparagus, sesame, buboarare, and dehydrated Miso in a wrap.