Guide to Summer in St Anton am Arlberg, Tyrol, Austria
In the heart of the Tyrolean Alps, St. Anton am Arlberg is a legendary winter playground. Known as the birthplace of modern alpine skiing, this alpine gem combines steep terrain, sweeping landscapes, and vibrant nightlife.
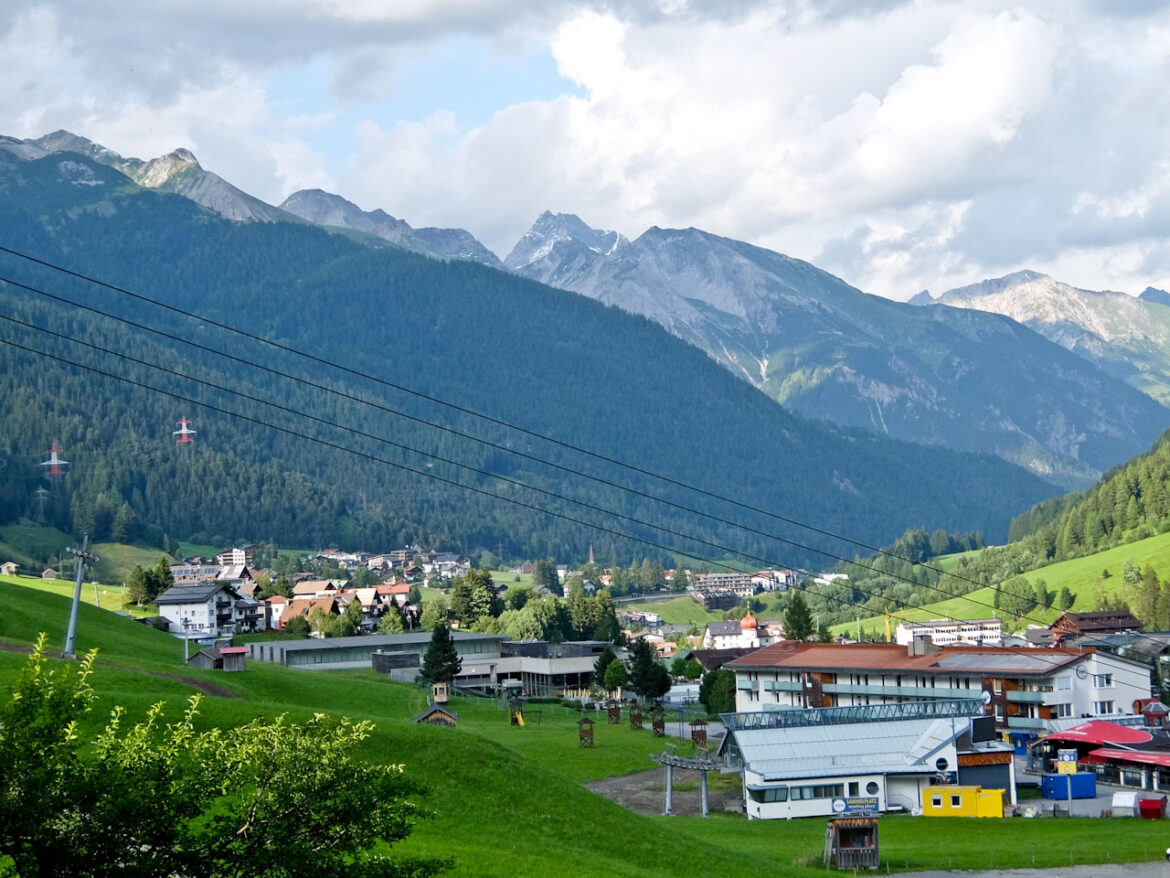
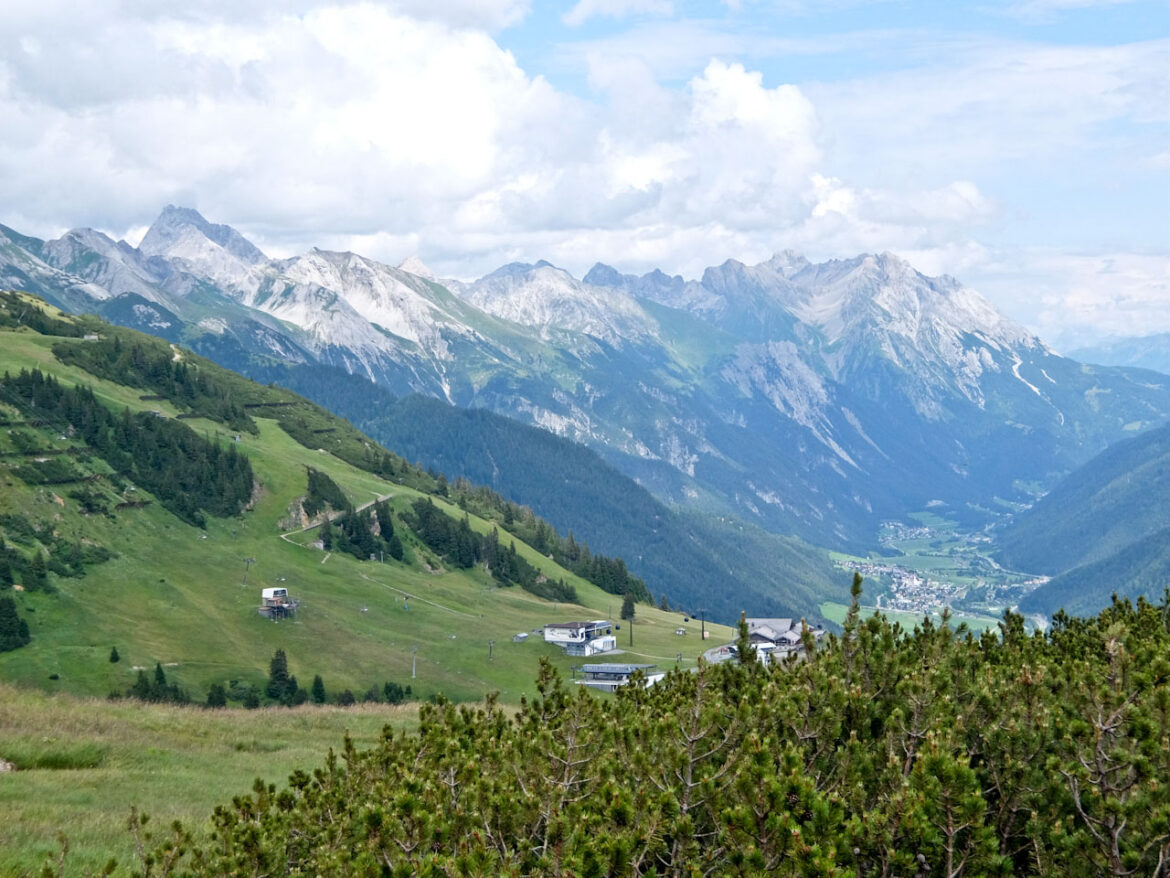
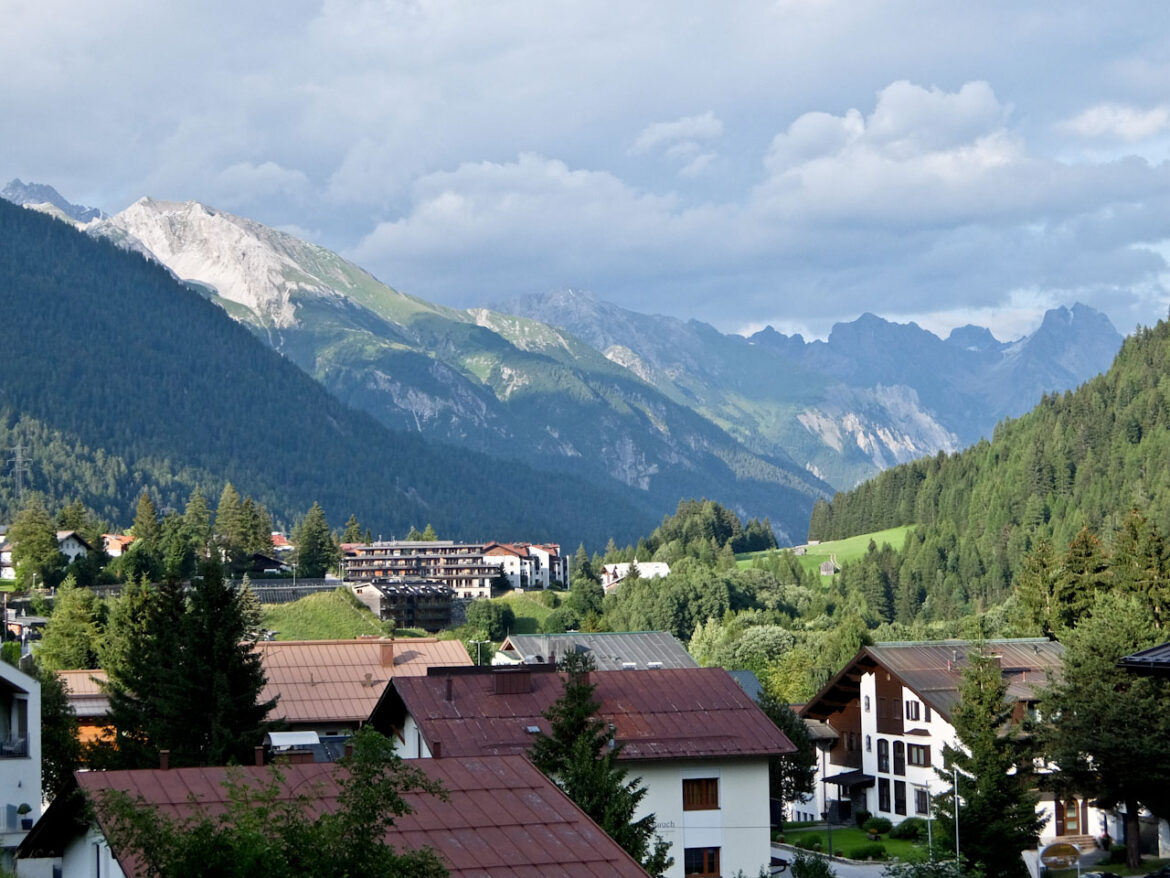
But as the snow melts and the pistes give way to lush alpine meadows, the village transforms into one of Europe’s most under-the-radar summer paradises. By late May or early June, what was previously a world of white is now painted with every shade of green imaginable. Jagged peaks frame panoramic vistas of rolling pastures, pine forests, and steep alpine ridgelines.
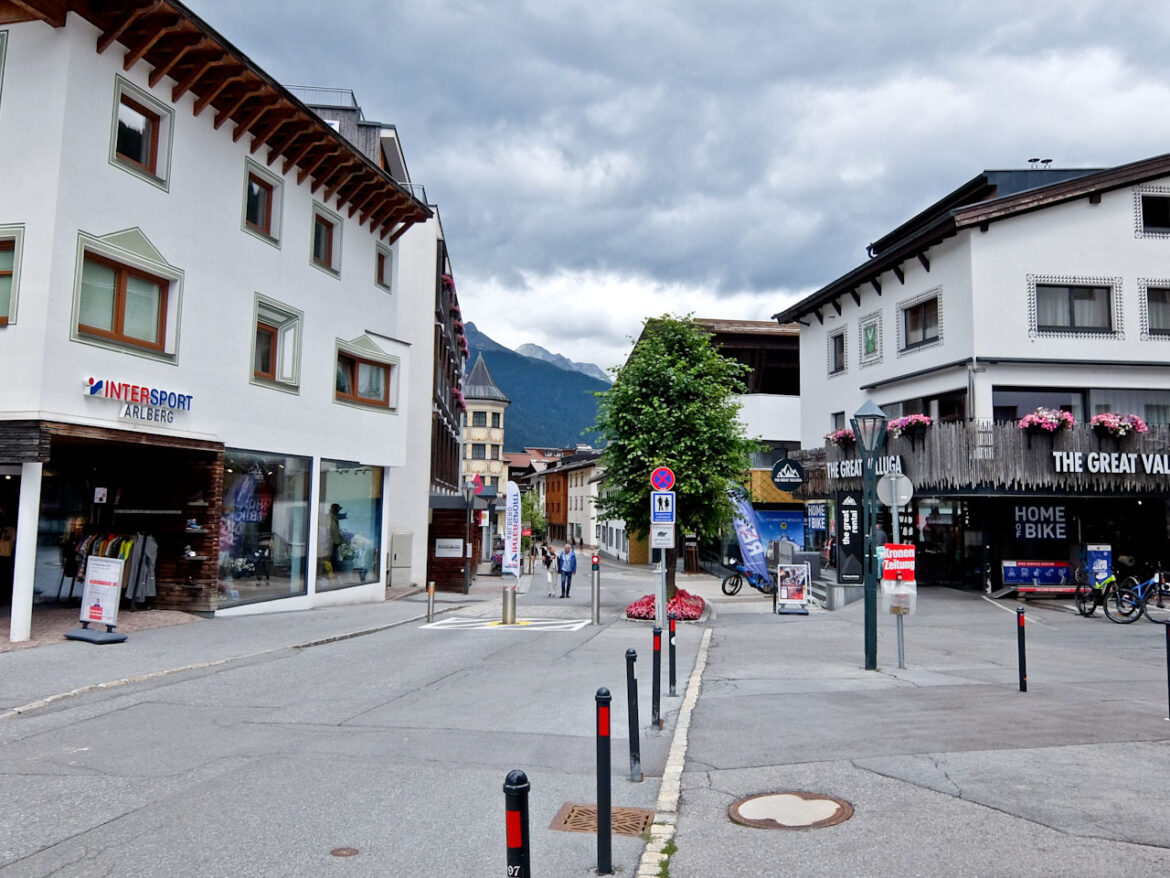
And what’s also delightful in St Anton is the peace and quiet. The main street is pedestrianised so there are no cars, and the railway line has been moved to the lower part of the village. Walking becomes a pleasure with easy access to the Ski lifts and gentle trails into the Verwall Valley and Lake Verwallsee, surrounded by picnic spots and wooden footbridges.
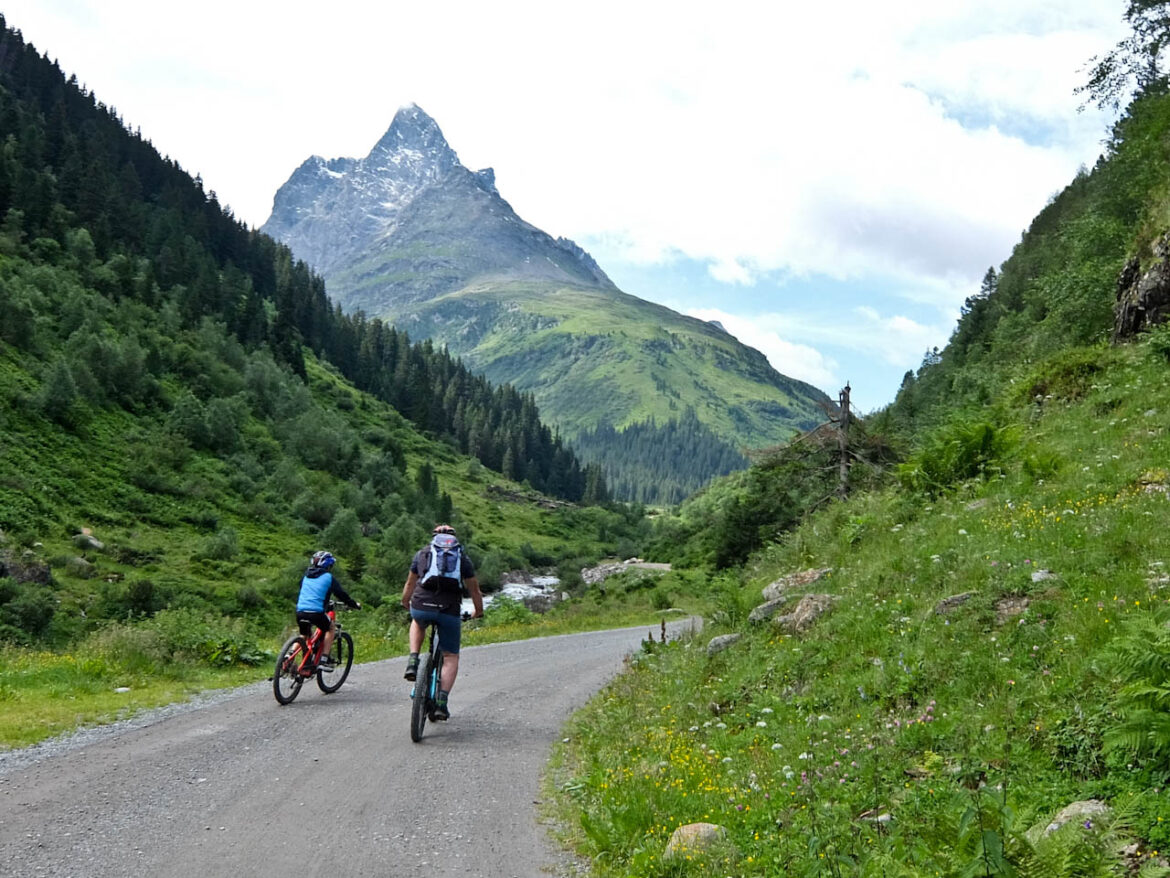
Further afield are nearly 400km of marked hiking trails, alpine huts and bivouac stops across the valleys, high meadows and rolling ridges, There are also around 220km of well-signed E Biking & Mountain Biking trails, from gentle valley routes to steep ascent rides. Summer begins here.
Cable Car to Valluga Viewing Platform
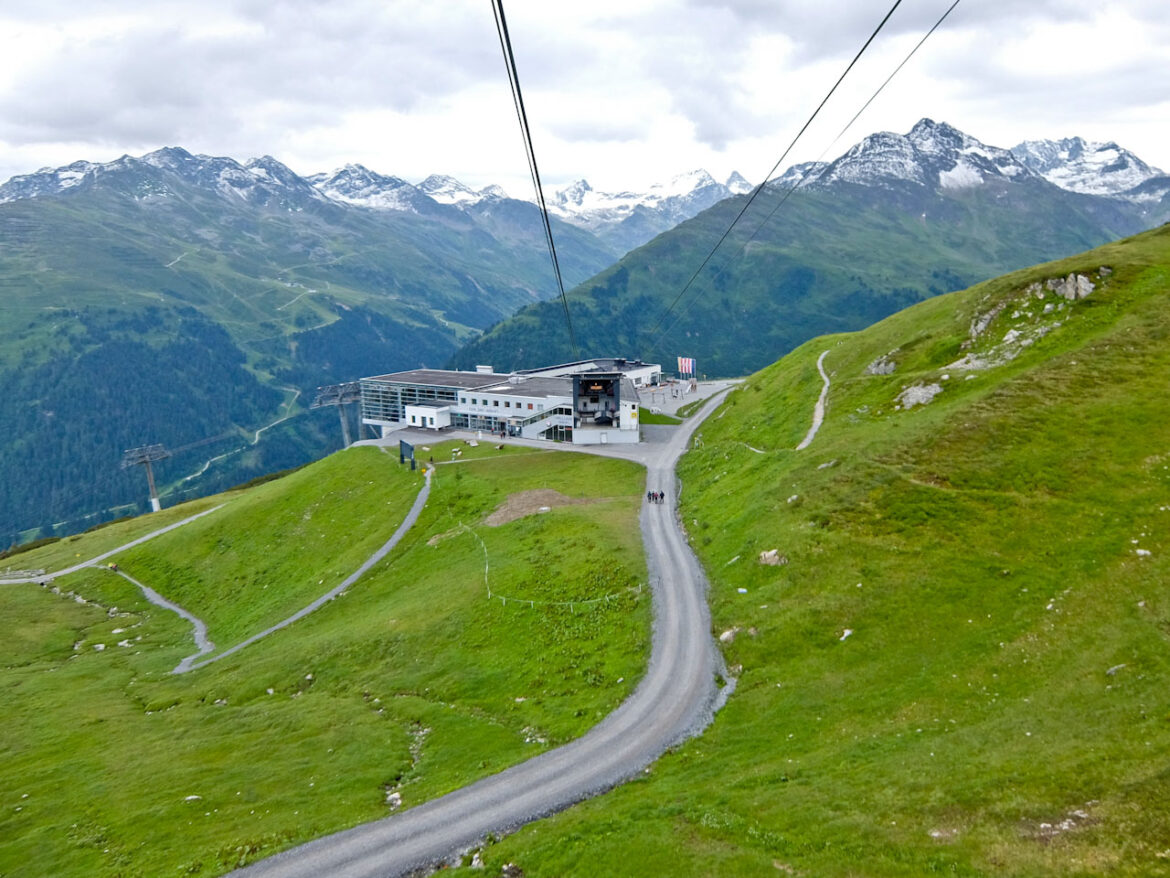
An easy introduction is to take a 2.5km ride on the Galzigbhan, the cable car up Galzig Mountain to a height of 2086m. It’s actually an important historical landmark in itself. The original opened in 1937 and was one of the first in Austria. This new one, with innovative ‘funitel’ technology dates from 2006.
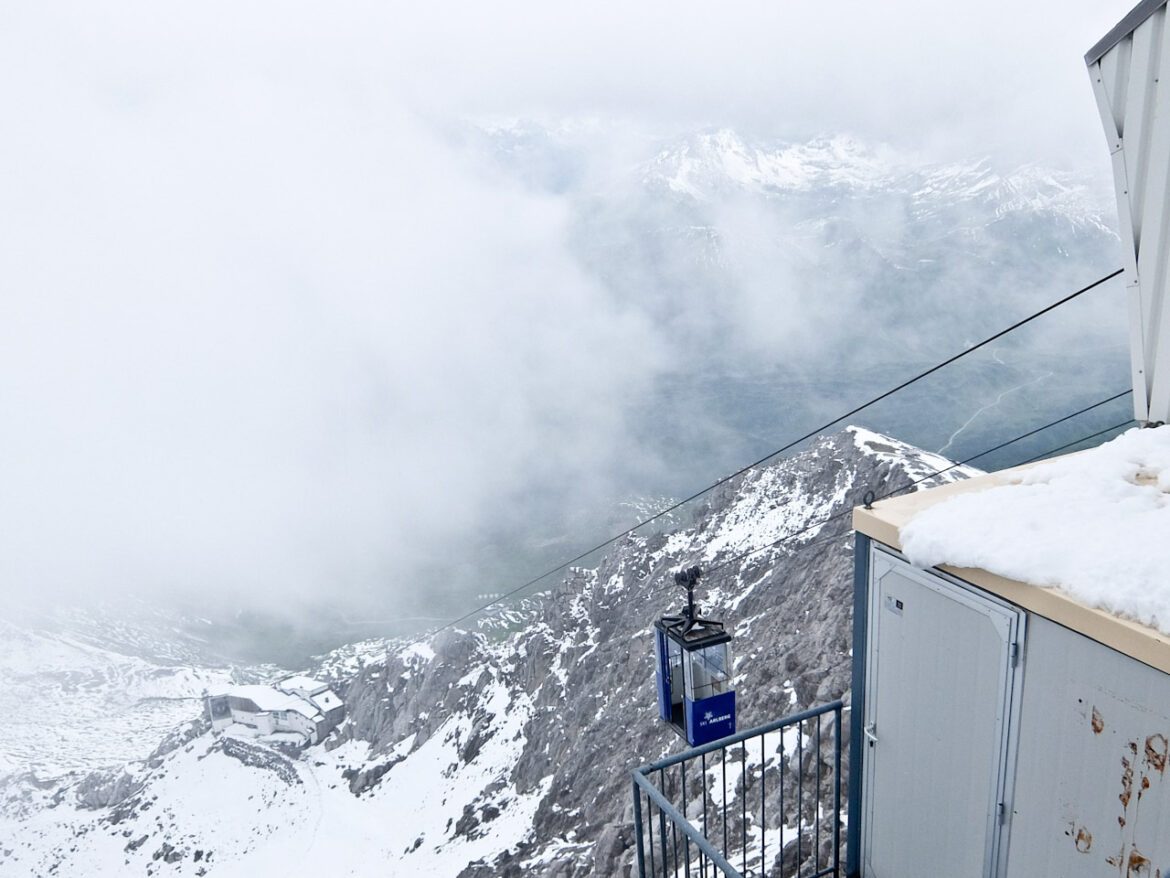
When I get to the upper station, I take another cable car. This is the Vallugabahn, leading to the top of the Valluga Mountain. There are actually two sections: the first is the longest, at about 3 km, with an altitude gain of around 600m. There are dramatic views of the surrounding jagged snow mountains on this stretch.
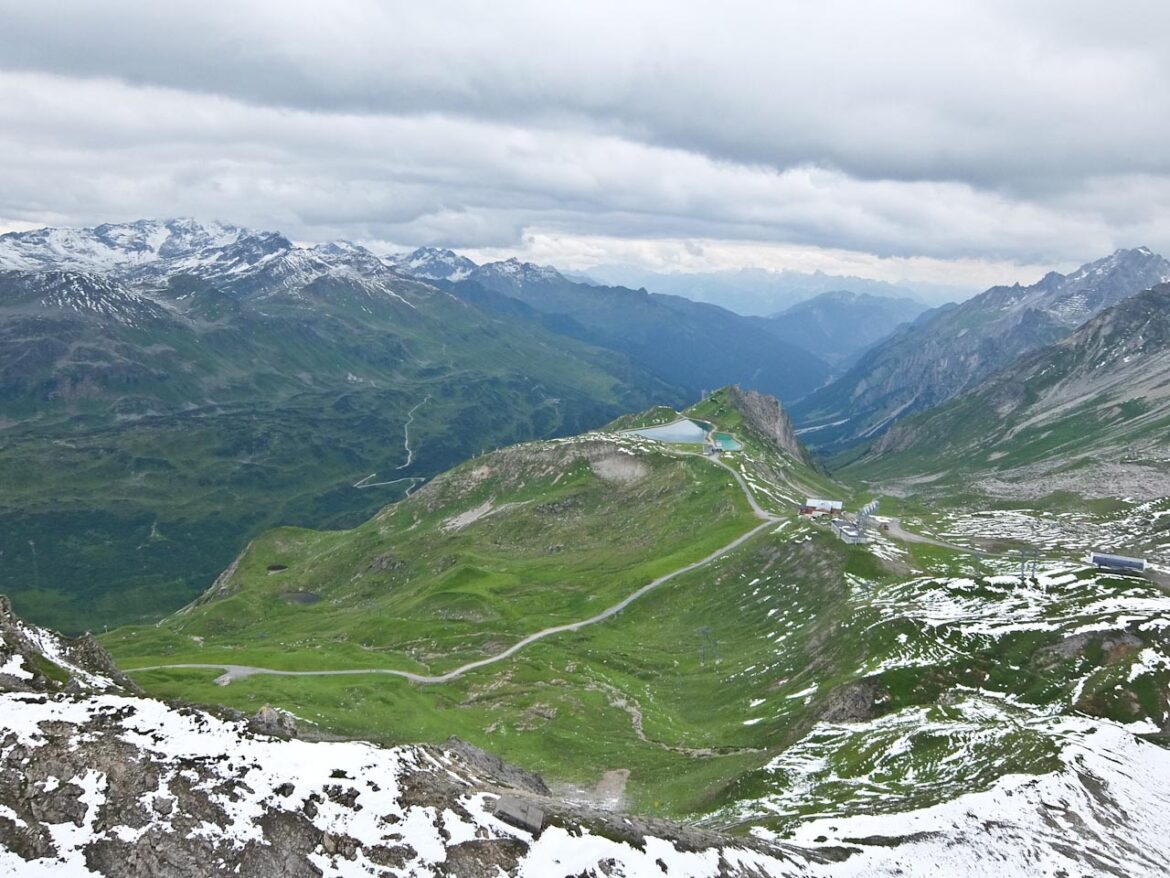
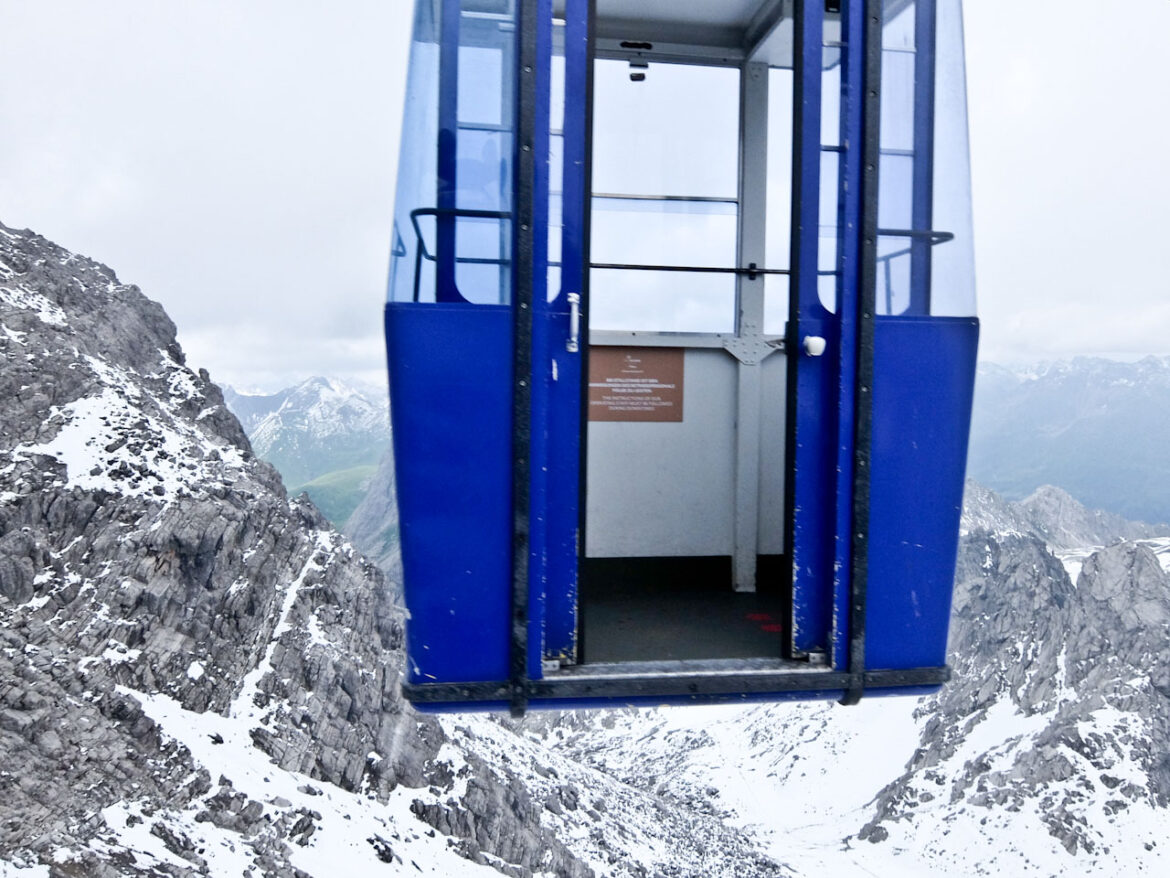
Next I change to the second section which runs an extra 368m up the mountain, gaining just 167m to its true peak. The cabins are tiny, but that makes the ride even more exhilarating. I’m soon in the cloud and, below, the ground is covered in snow with rocky sections peeking out from the white blanket.
At the top, there’s a viewing platform where, on a clear day, there are 360-degree panoramas of the surrounding mountains. Unfortunately, the clouds are sweeping in, but there are enough momentary glimpses to make the trip worthwhile.
Hiking Mutspuren
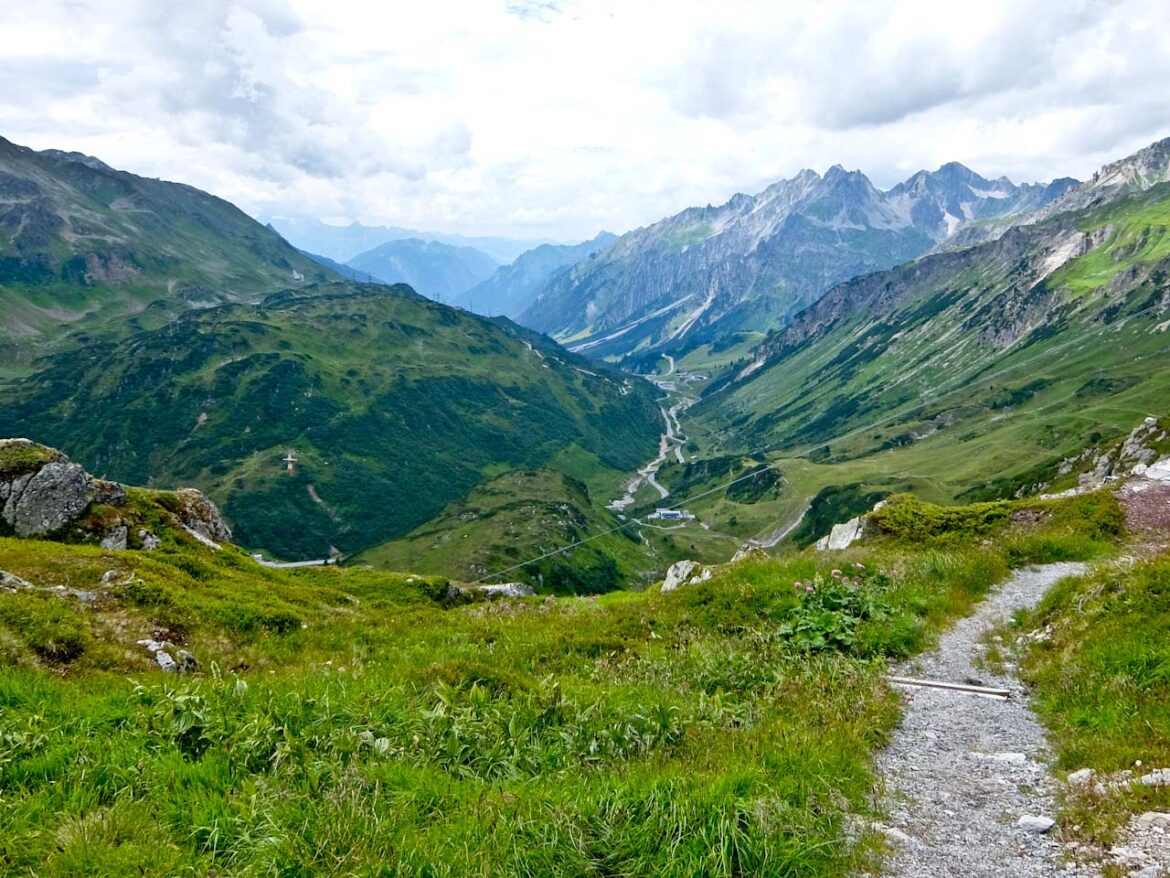
On the way back down I get out at the Galzigbahn station and follow the Mutspuren signs. This hiking route is around 5km and does a loop around the Galzig Mountain with minimal change of elevation.
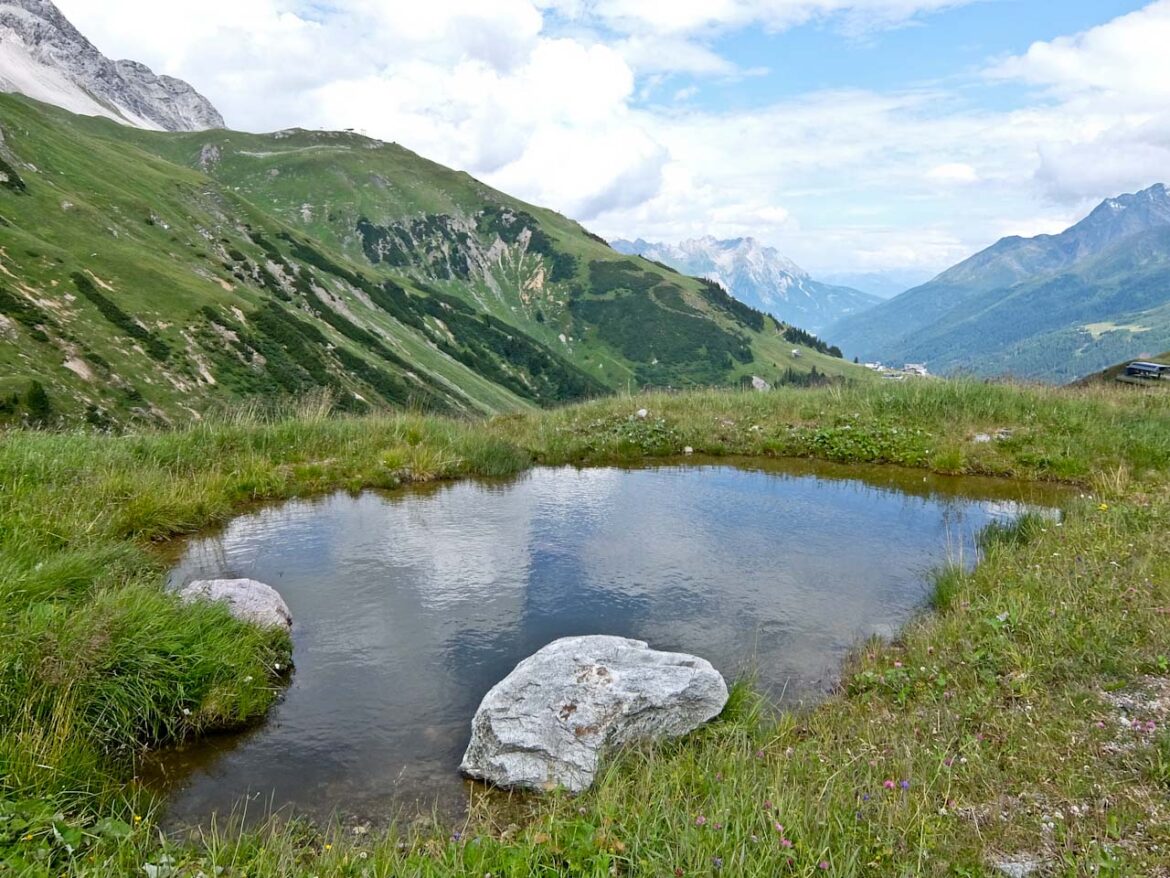
I’m now out of the mist and, along the way, there are stunning views of the valley and further up to the higher mountains. The trail descends past tiny lakes to a small reservoir before climbing gradually back up to the station.
It’s a particularly good activity for families because the first 2.2km have various interactive installations specially designed for kids. Here they can learn more about the Arlberg region and further down there are water games by the reservoir.
E-Biking to Konstanzer Hut and Hike to Langsee
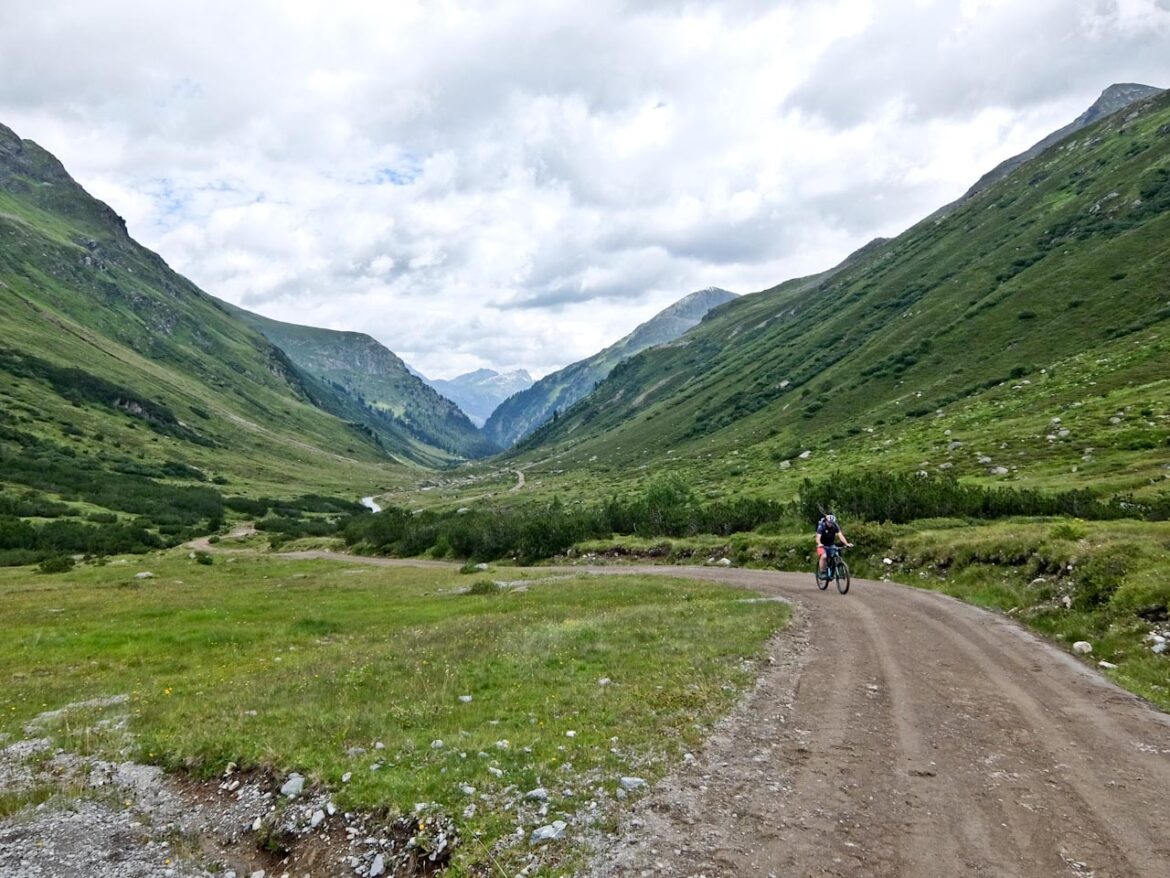
The perfect summer activity is to cycle as high as you can and then carry on foot. I hire my E-bike in St Anton and the trail follows the river for much of the way on surfaced paths. It goes through the forest then, as it climbs, there are sweeping views across the valley and up to the nearby peaks.
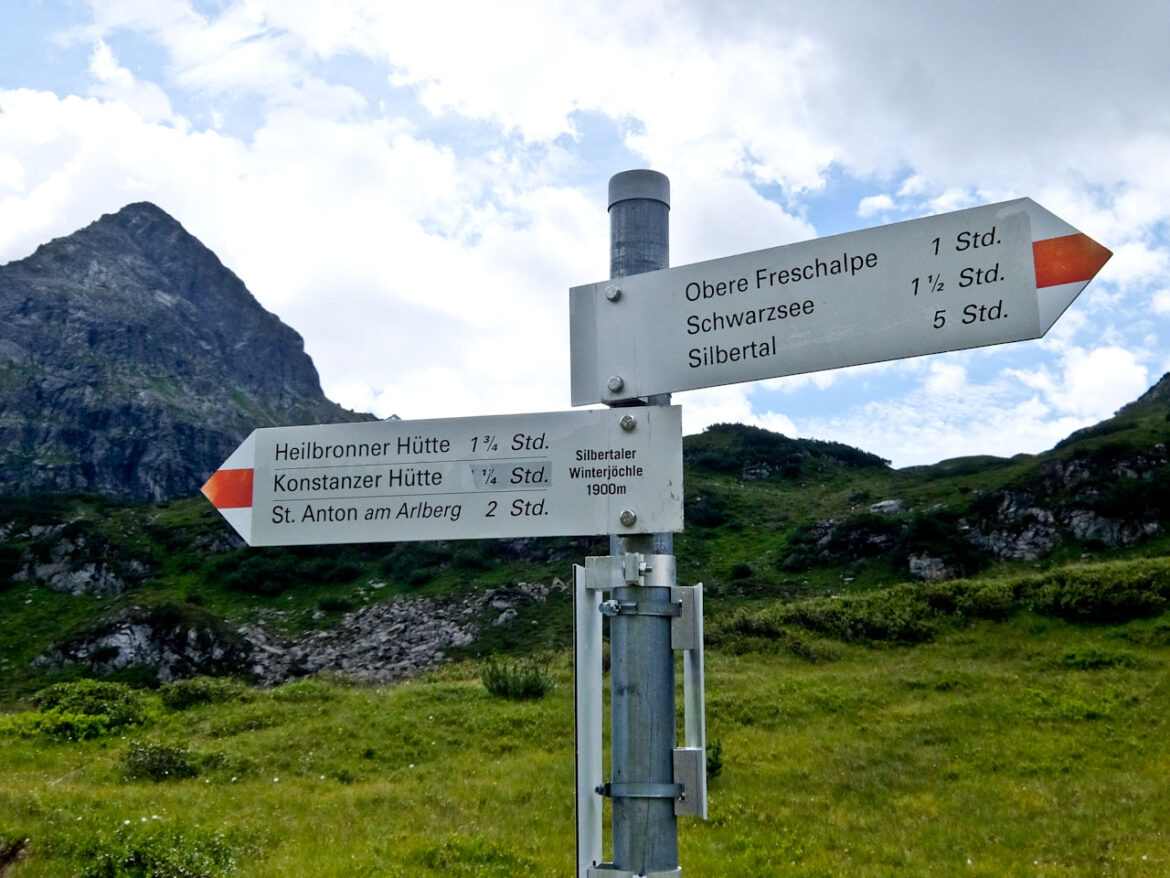
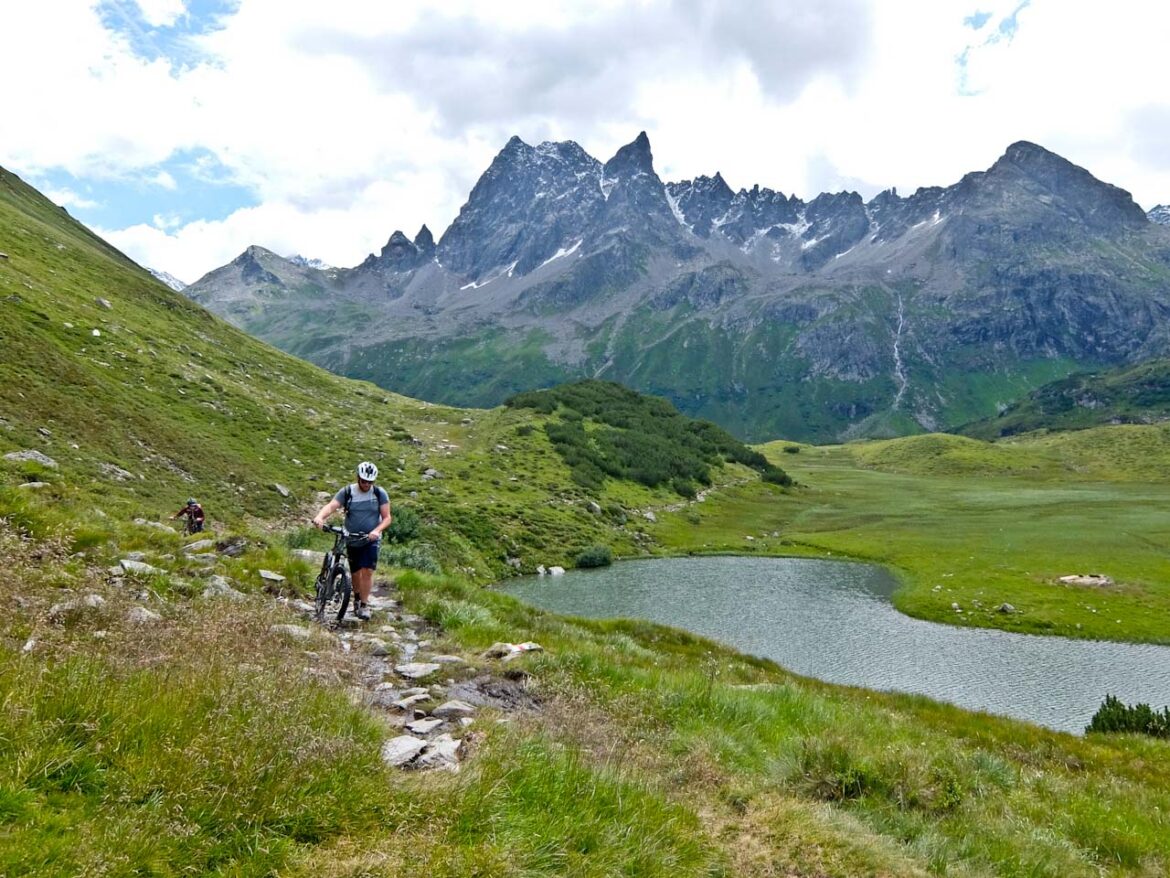
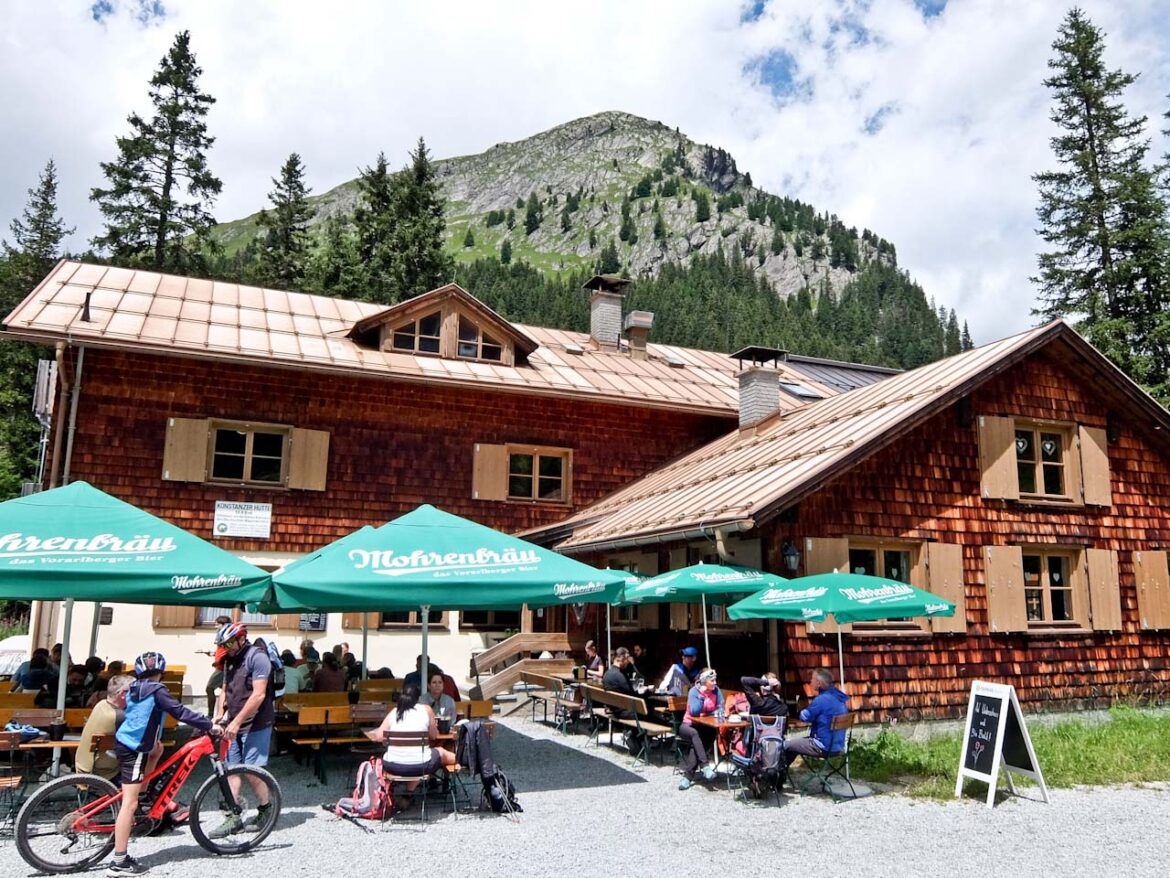
There are a few steep sections and I’m grateful for the electrical assist as I reach the Konstanzer Hütte at 1,688m. Refreshments are in order before setting out for the shimmering Langsee (1,937m), a lakeside gem high above the valley floor. You can hike this section, but I carry on cycling into the Schönverwall valley and climb gradually towards the Silbertaler Winterjöchl.
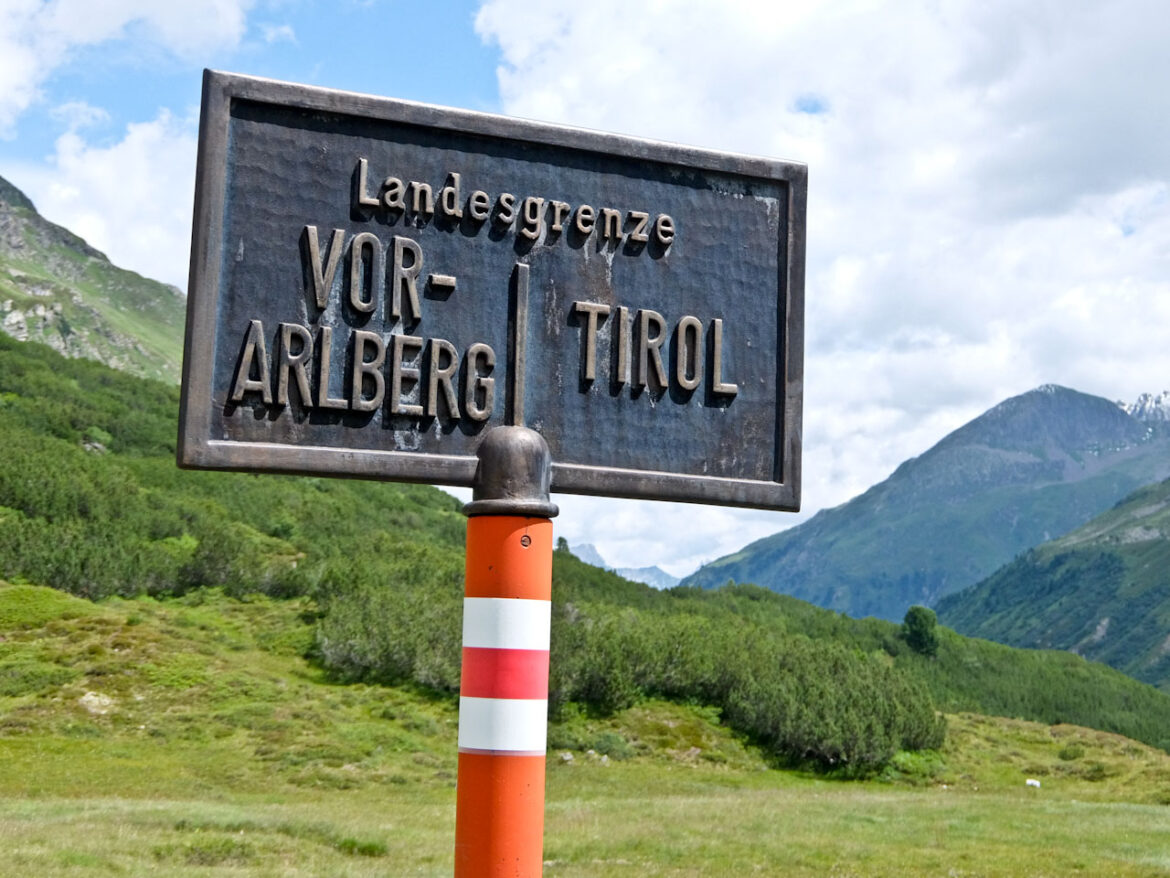
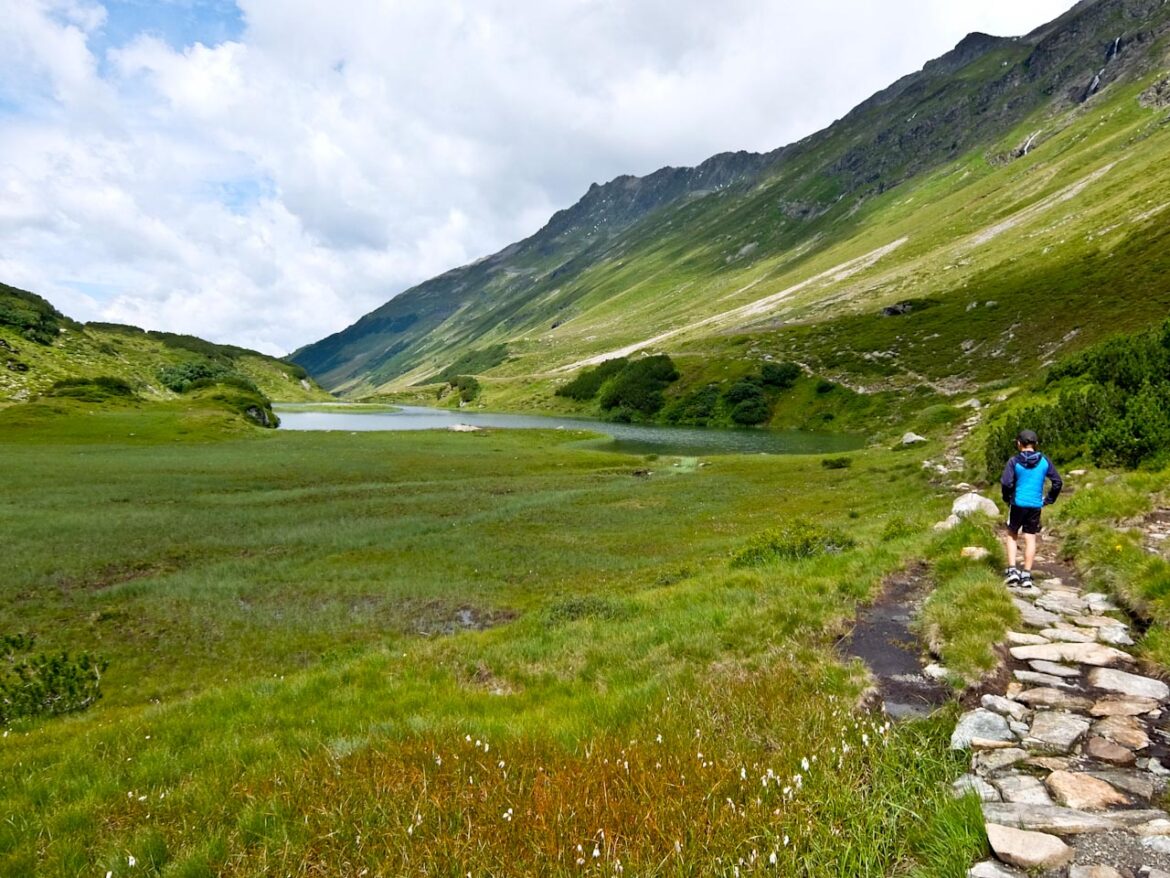
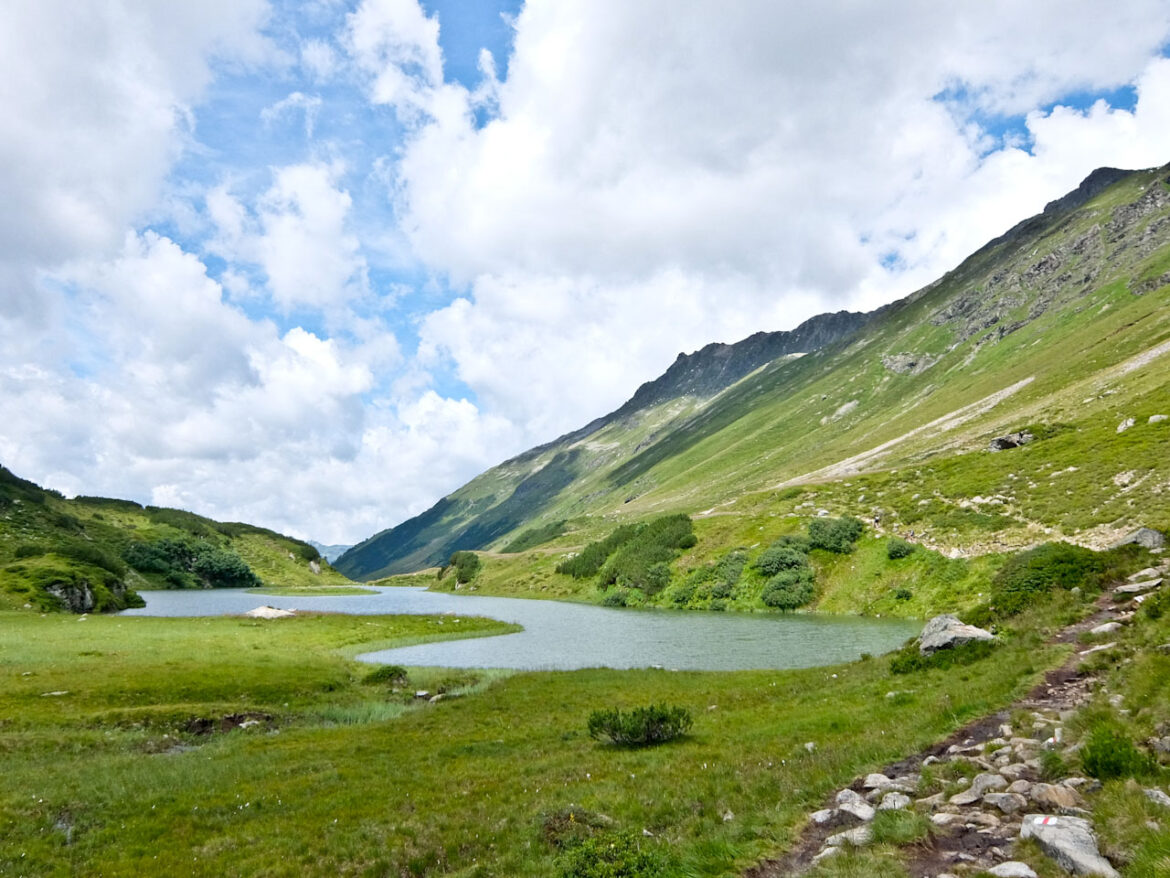
At the Tyrol-Vorarlberg boundary, it’s difficult to go further on two wheels so I park the bike and continue on foot After around 300 minutes, I reach a crest, then drop down to the Langsee – its crystal clear waters reflecting the sky and jagged mountains. The return journey is much easier, particularly the downhill stretch to the Konstanzer Hütte. Lunch is traditional alpine dumpling, perfect filling fare after a morning of strenous activity.
St Anton Museum
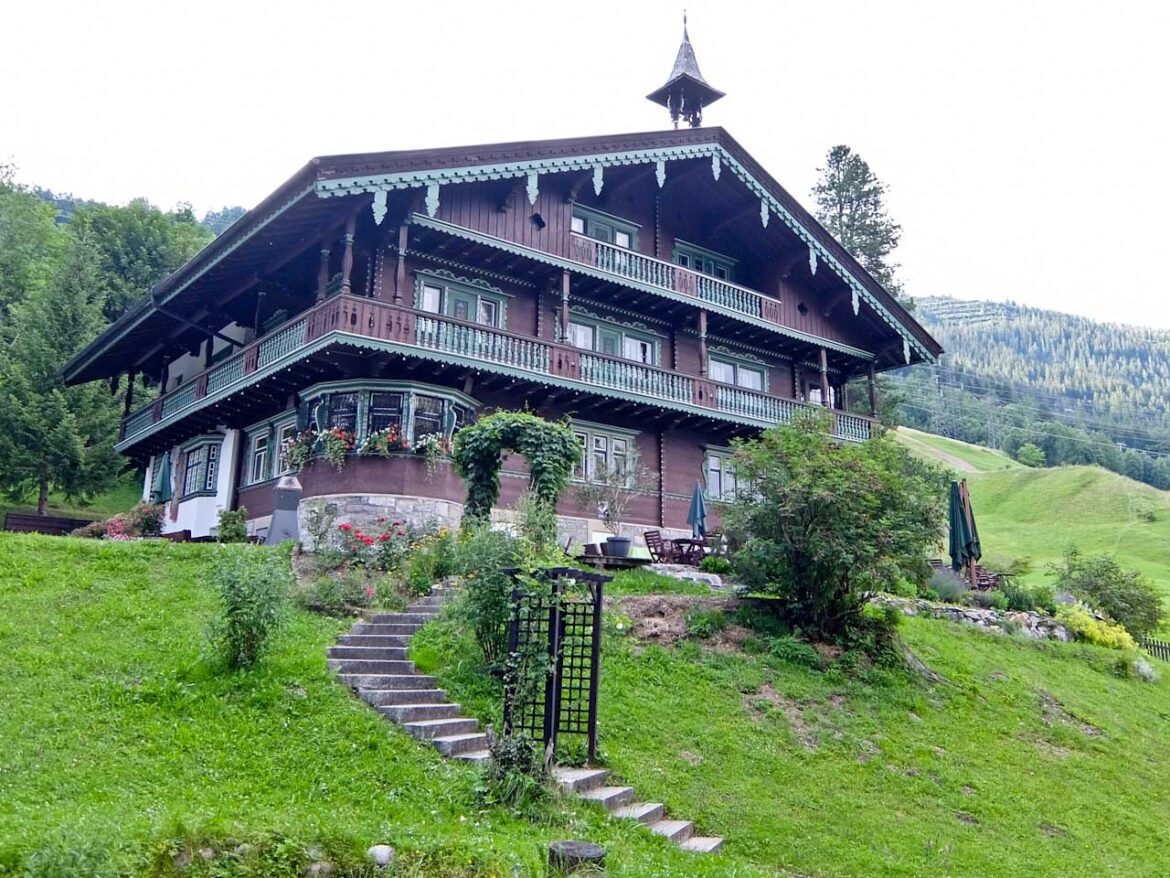
The St. Anton Ski & Local Heritage Museum occupies the elegant Villa Trier, a century-old Art Nouveau mansion perched above the heart of the village. Originally built around 1910–1912 for German industrialist Bernhard Trier, the refined Tyrolean architecture was designed by Hanns Kornberger.
The museum opened in the early 1980s and seven exhibition rooms on the upper floor guide you through history and ski heritage in thematic order. It’s a richly detailed journey through the region’s transformation from a remote mountain village to a world-class ski destination.
Originally a small settlement on the medieval salt route crossing the Arlberg Pass, St Anton came alive when the railway was opened by Emperor Franz Josef in !884. Skiing was introduced by a Norwegian engineer, working on tunnelling and championed by pioneer Hannes Schneider. The Arlberg Kandahar, the first international race, was held 1928 and, as they say, the rest is history.
Factfile
GO: EasyJet flies from London Gatwick to Innsbruck.
The Gatwick Express is the fastest way to the airport from central London.
There’s a regular train connection from Innsbruck to St Anton.
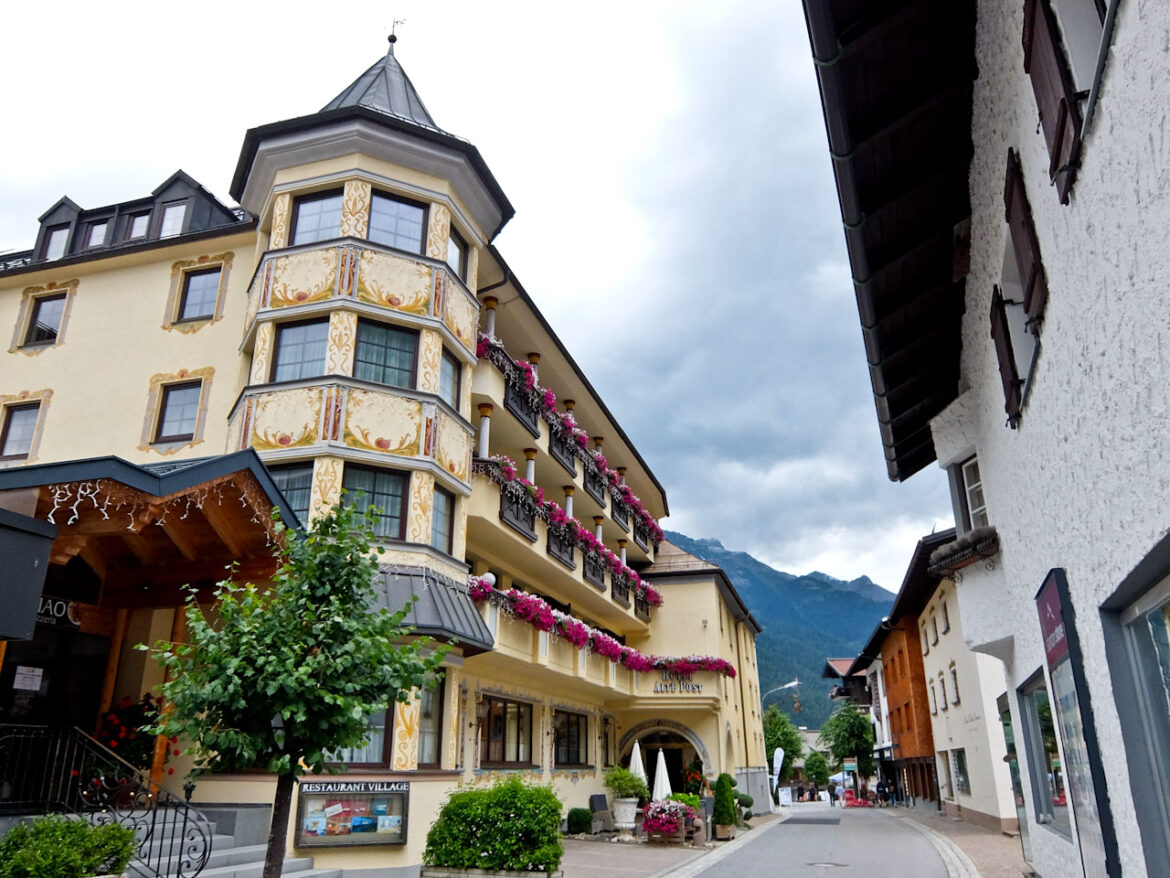
STAY: Spa Hotel Alte Post is right in the centre and has excellent food.
INFO: St Anton am Arlberg has information about the town.
Tirol has information about the region.
Austria Tourism has information about the country.
The post Guide to Summer in St Anton am Arlberg, Tyrol, Austria appeared first on The Travel Magazine.


