Sri Lanka – Central Province and North Western Province
Sri Lanka is an emerging destination, and now is the perfect time to visit and experience the country’s authentic essence. With luxury 4-star accommodation, smiling people, and low prices, I couldn’t wait to explore the country.
I joined a group visiting some of the country’s lesser-known areas in the Central Province and North Western Province. The country has learnt to conserve water through man-made reservoirs, and as we drove through the countryside, everywhere was lush and green. Tall coconut trees vie with smaller pineapple ones, interspersed with endless paddy fields. Our guide from Blue Lanka Tours, Dhanushka, Danny to us, told us that the younger people were no longer interested in working in the fields.
It was very common to see stray dogs, monkeys, peacocks, and occasionally, our coach would halt to allow cows to cross the road. It also wasn’t uncommon to see an elephant that had strayed out of a safari park.
Ridee Viharaya
Our first stop was to Ridee Viharaya, a second-century BCE Theravada Buddhist temple in Ridigama, a village in the Kurunegala District of Sri Lanka. The country is 70 per cent Buddhist, and going back centuries, the caves of Ridee Viharaya, which encompass the Silver Temple, incorporate several other temples, many of which feature Buddha statues.
Built on a hill with acres of land, we scrambled up to a plateau where we had wonderful views of the sweeping valley below. After gathering our breath as it was quite hot, we were led down a steep path to a cave. Sitting cross-legged on a cushion, a Buddhist monk dressed in traditional bright orange, gave us exercises on how to meditate.
Lunch, a vegetarian feast, included a menu of food, all grown locally, that not only listed the ingredients —coriander, cumin, fenugreek, and cinnamon —but also explained their health benefits.
Sigiriya, the Lion Rock
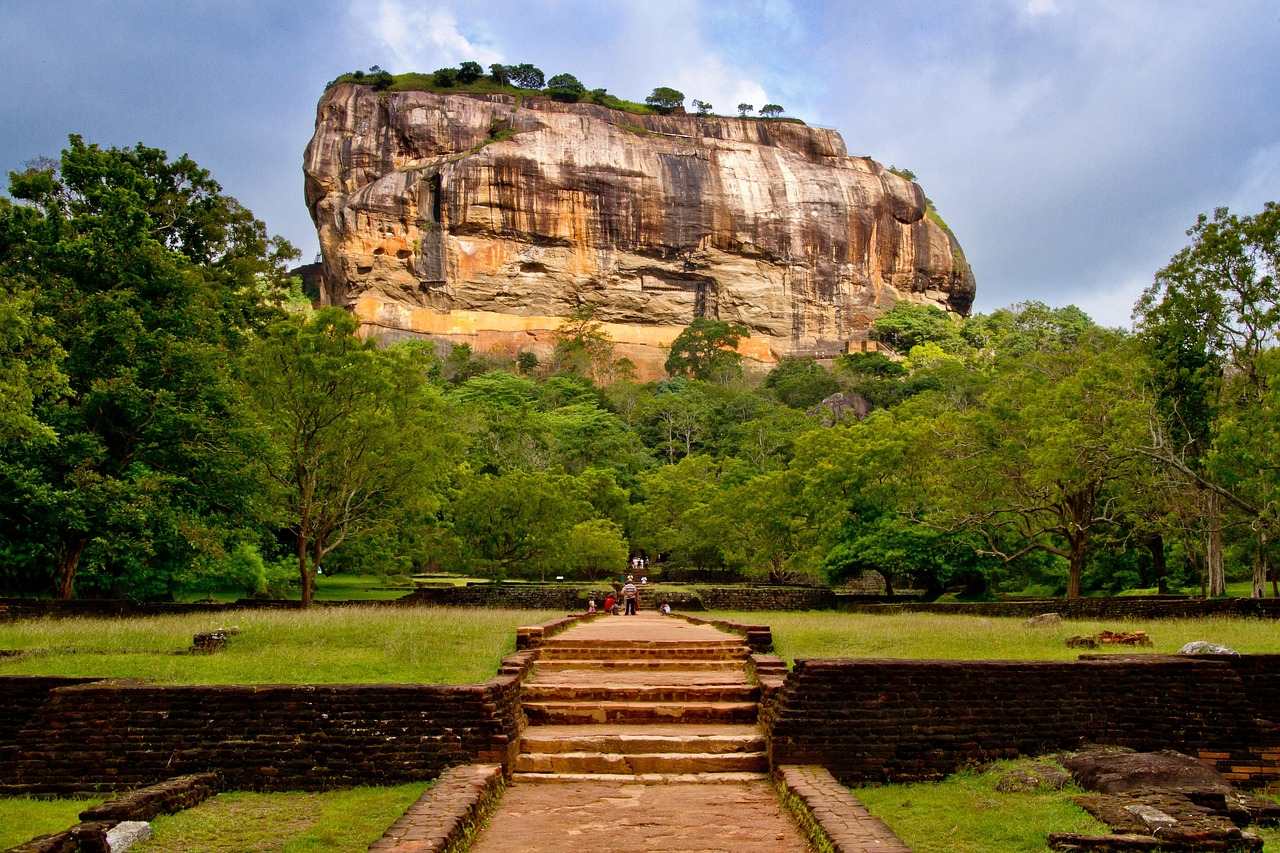
Sigiriya is an ancient rock fortress located in the northern Matale District, near the town of Dambulla in the Central Province. One of eight UNESCO World Heritage Sites, Sigiriya was built by King Kasyapa in the fifth century AD as both a palace and a fort.
The complex, encompassing an enormous column of rock, included his winter palace, with symmetrical water gardens laid out at ground level, and his summer palace, accessible through the mouth of an enormous carved lion, 1,232 steps to the top. Considered one of the best-preserved examples of ancient urban planning, halfway up a sheltered gallery, has frescoes, the ‘Heavenly Maidens’ painted onto the rock face.
Hiriwadunna Village
Hiriwadunna village near the ancient city of Sigiriya, has been preserved to give visitors an idea of how the indigenous people used to live. We were transported to a man-made lake along a bumpy path in a cart drawn by two bullocks.
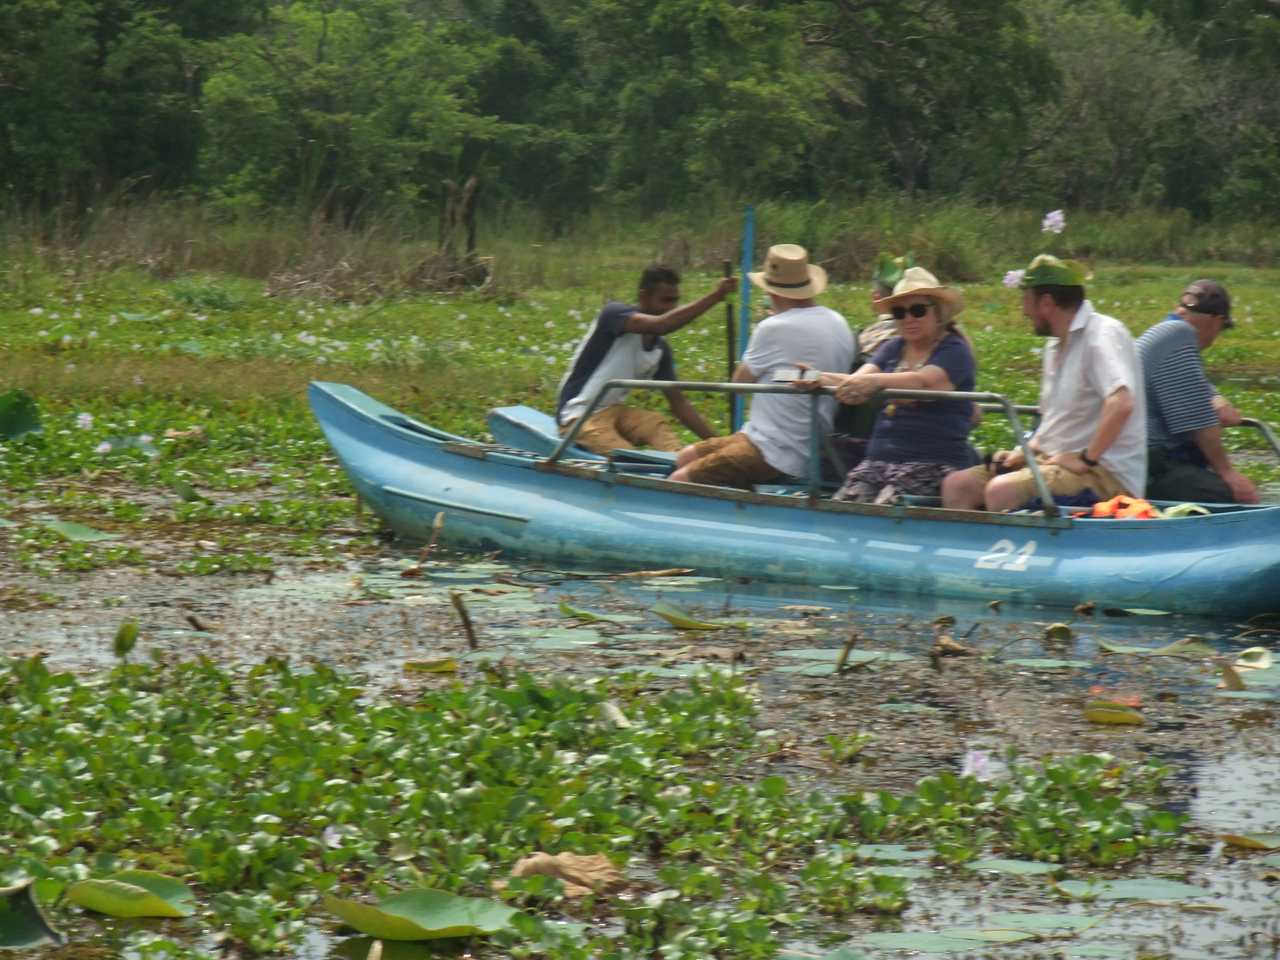
From there, we clambered into banana boats and were paddled, in among water lilies and other fauna, to the other side of the lake. Here in a wooden building, we were cooked a typical meal of several types of rice, spicy chicken, and local vegetables, which included young Jack fruit.
Safari Parks
The country has several safari parks. We visited two. At Hurulu Eco Park in the North Central Province, we travelled in open jeeps, so we were able to stand up while looking for elephants. Slightly ironic as we had passed one on the road before turning into the park.
We saw a variety of birds, including several native chickens, a hawk, deer and peacocks, and were just giving up, when we came across several elephants, one taking great care of its young.
At Wilpattu National Park, the country’s largest safari park spanning across 131 hectares across Puttlam and Anuradhapura. We rode in closed jeeps as the park is home to leopards as well as elephants. It wasn’t until we were about an hour into our excursion that our jeep came to a halt, and the guide pointed at a clump of trees – a leopard. We could just make out something yellow, but it was impossible to be sure. We were very miffed to find later that people in another jeep actually saw the leopard walking along the path in front of them.
Koneswaram Hindu Temple, Trincomalee
Sri Lanka has a small Hindu population, and Koneswaram, a classical medieval Hindu Temple complex, was built for the worship of Lord Shiva around 1580. It is all that remains of what once was a sprawling temple city.
Mannar in Tamil Country
In the north of the country, we visited the Mannar Clinic and Education Centre, where badly treated donkeys are cared for, and where the less humid climate is conducive for them. However, given the many stray dogs we saw along the way, I thought it strange to care for donkeys and disregard the dogs.
Fact file
FLY: Sri Lankan Airlines from Heathrow www.srilankan.com
STAY: Jet Wing Hotels have embraced sustainability using renewable sources. We were given a tour of how they accomplish this together with a look at their farm, which supplies a lot of their food. At Jetwing Lagoon, the hotel’s spa embraces Ayurvedic techniques, a well-being concept learnt from their Indian neighbours, and their foot massage was so relaxing that I nearly fell asleep.
TOUR: The guide was from Blue Lanka Tours www.bluelankatours.com
BEST TIME TO GO: The weather in Sri Lanka, hot and humid, is good year-round, but the island suffers from monsoons; it’s important to choose the right time of year for the part of the country you would like to visit so you don’t get caught out.
Read Best time to visit Sri Lanka
MORE: www.srilanka.travel
Trains from Paddington Station take 15 minutes on the Heathrow Express. www.HeathrowExpress.com
The post Sri Lanka – Central Province and North Western Province appeared first on The Travel Magazine.


