There is a definite romance about the Silk Roads. Even if you have never travelled along this fabled intercontinental route and your Eurasian geography is a little sketchy, names like Samarkand, Damascus, Isfahan, and Xi’an still conjure up mental images of crowded spice markets, heavily laden caravans of camels crossing deserts, and bewelled monuments in oasis cities.
These stereotypes exist for good reason, perpetuated for centuries by artists, poets, and, more recently, filmmakers enamoured with the colours, the energy and the sounds. But whilst most Silk Road cities have been catapulted into the 21st century, with little surviving of their ancient selves, there is one place where time seems to stand still. It is the 2,000-year-old Historic Centre of Bukhara, an extraordinary UNESCO World Heritage Site in Uzbekistan, at the very heart of the Silk Roads.
When I first arrived in Bukhara about 15 years ago, I thought I had stepped into a fairytale. I stayed in a tiny guesthouse in one of the labyrinths of residential lanes which divide the monuments from the modern city. Children played in the streets, elderly relatives and cats kept a watchful eye, and I was frequently the only foreigner around.
Each morning, I would venture out and find something new: another madrassa or minaret, a hammam, a blacksmith’s workshop, or a tea house serving fragrant herbal teas and snacks. In the intervening years, Bukhara has had a glow-up and events like the Bukhara Biennial have brought it to international attention, but it’s still easy enough to walk and find unexpected treasures hidden amongst scenes of everyday life.
Had you arrived in Bukhara with your caravan, dusty and hot after your journey from Merv, Samarkand, or Khiva, your first stop would have to be one of the city’s bathhouses: no one would want you staying in their hostel, or sitting in their tea house, until you were clean! Several of the bathhouses – Turkish-style hammams rather than luxurious spas – have been restored, and it is incredibly atmospheric to visit one, especially late in the evening when the streets are dark and other tourists are at dinner or in bed.
I love the Hammom Kunjak, the ladies-only baths behind the Kalon Mosque, which dates from the 16th century; but the Bozori Kord Hammom, once used by the emir (ruler) and his courtiers, treats both men and women at different times of the day. After the nearly scalding steam, an equally burning ginger and salt scrub, and a massage, I’ve never felt so clean!
All around the Old City are numerous signs of Bukhara’s long commercial history. The Mir-i Arab Madrassa – the only Islamic school in the USSR which remained operational throughout the 20th century – was built with profits from the slave trade; the trading domes and caravanserais are still packed with stalls selling all manner of exotic goods; and the opulent Sitorai Mokhi Khosa (the summer palace) and the Ark Fortress remind us that ruling a Silk Road trading hub and collecting taxes was always a profitable business.
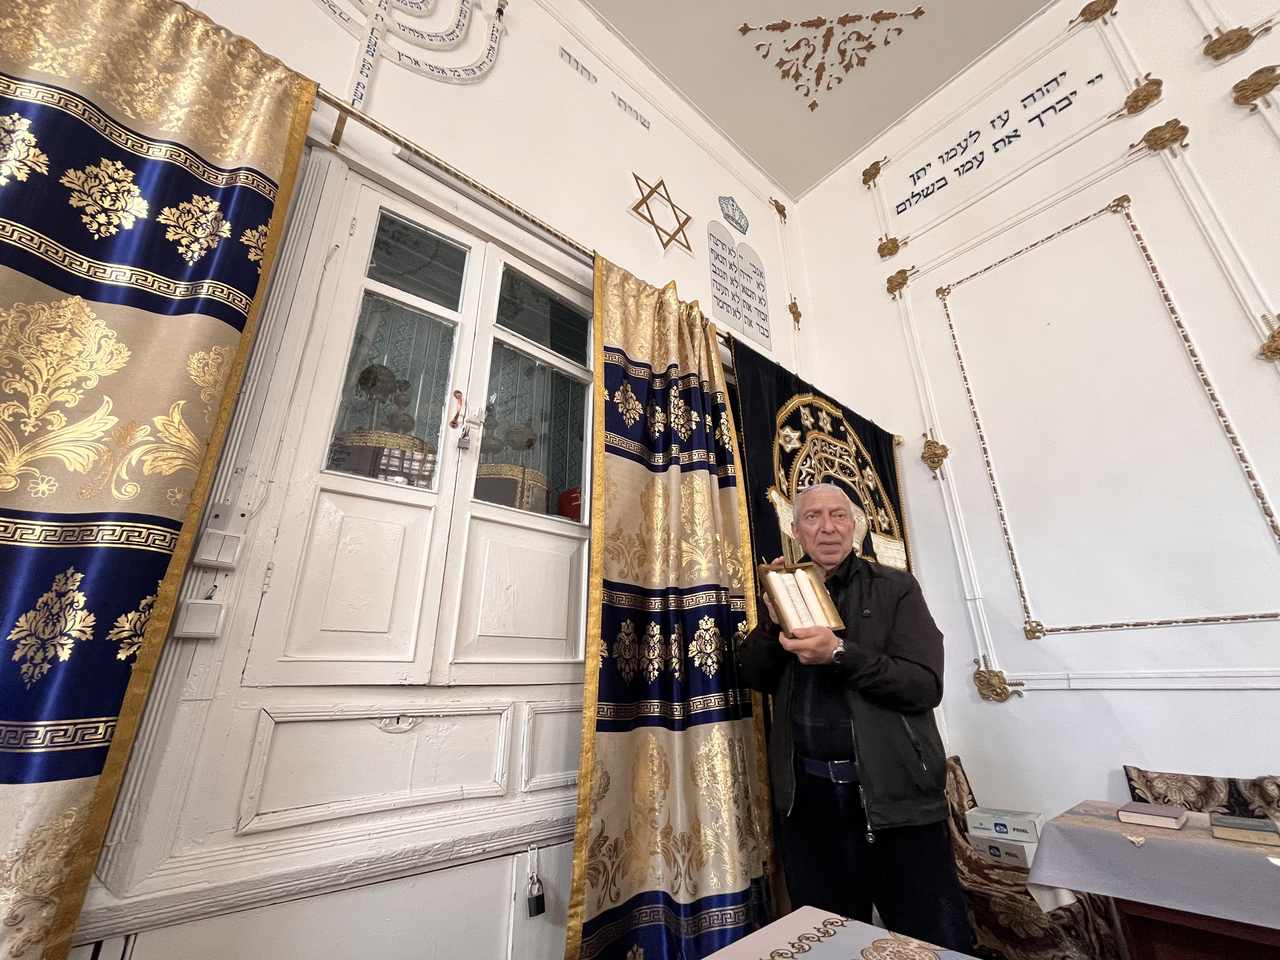
 Individual merchants made good money, too, and many of their houses have now been converted into boutique hotels and private dining rooms. This is particularly true of the 18th and 19th century buildings near Lyabi Hauz, in what was once Bukhara’s Jewish quarter. Bukhara’s Jewish community is one of the oldest in the world, and though most Jewish families emigrated to Israel and the US in the 1990s, there are still two working synagogues which welcome visitors.
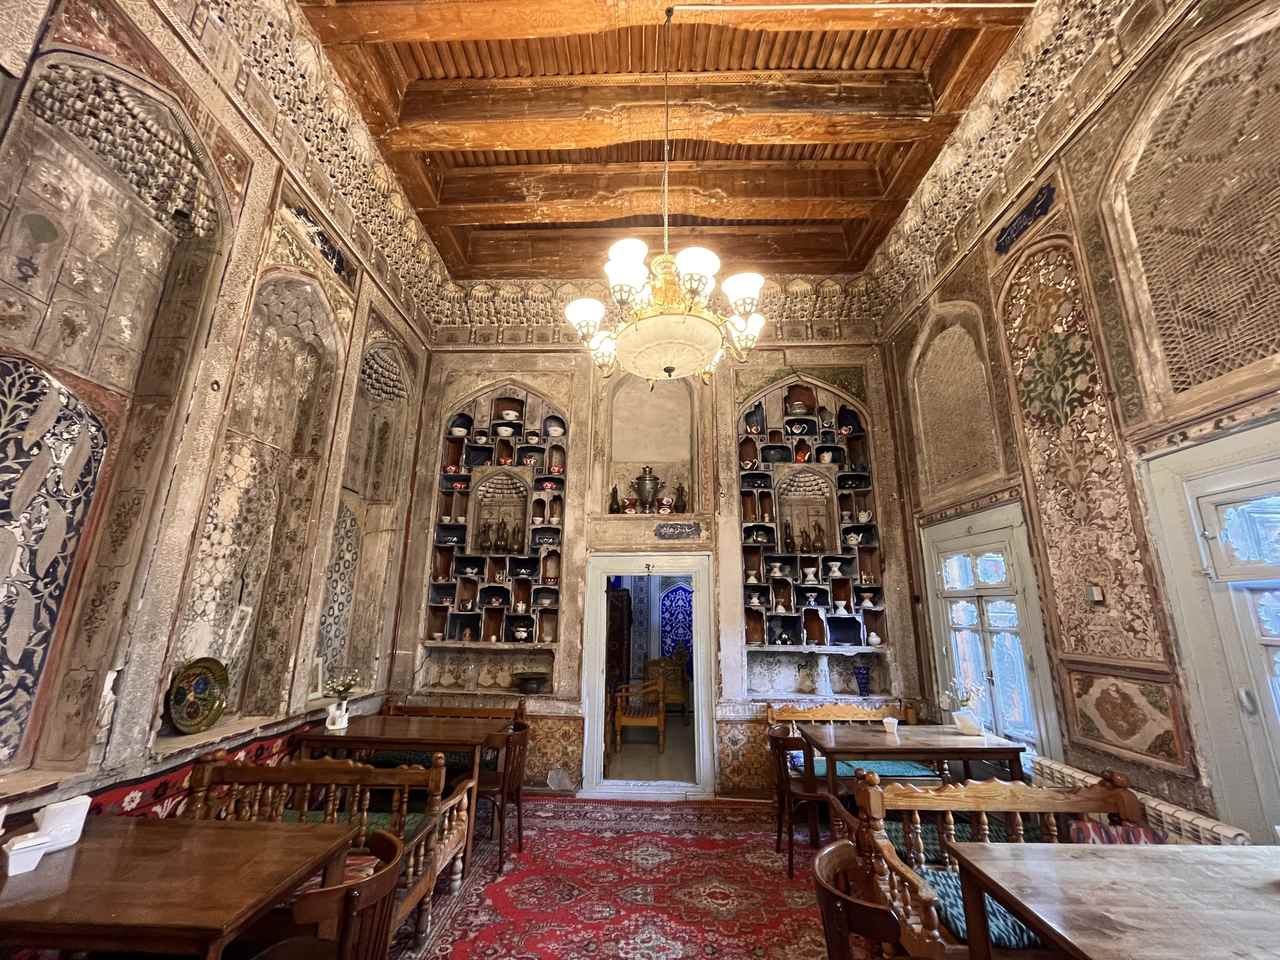
 Amongst all these boutique hotels, there’s a special place in my heart for Komil Boutique Hotel. It is run by the most charming host, Komil Kadirov, in his family home, and it keeps growing as Komil acquires courtyards and buildings from his neighbours. You step from the street through heavy, carved wooden doors into an interior which might as well be an applied arts museum.
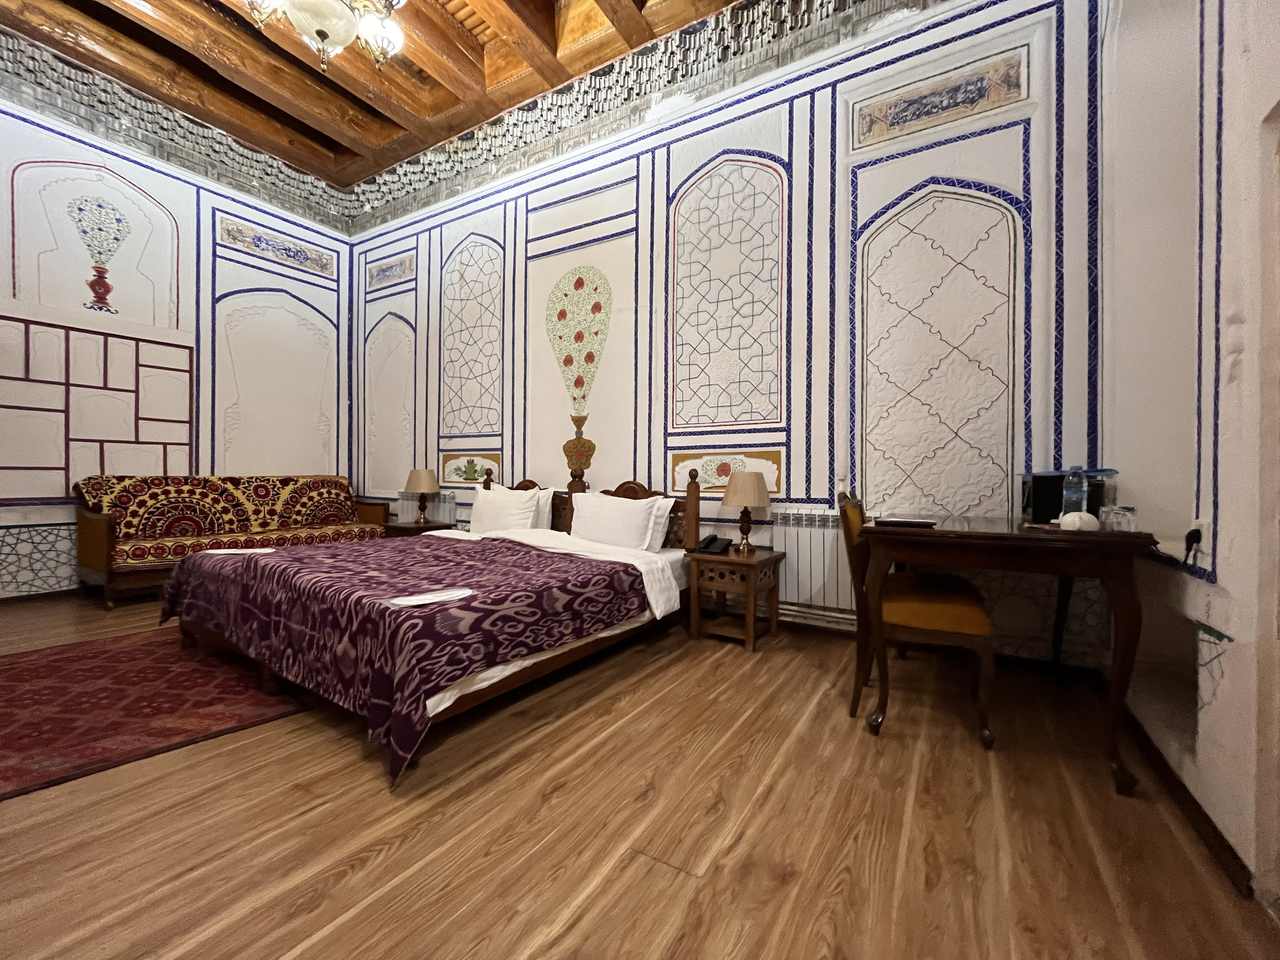
The intricate plasterwork and painting in the 19th century dining room are original; you can sit on a tapchan (wooden day bed) in the courtyard sipping green tea, looking up at the floral murals; and many of the ceramics and textiles have been made by local artisans. The same vernacular architecture and design is carried through to the guestrooms, each of which is different from the last.
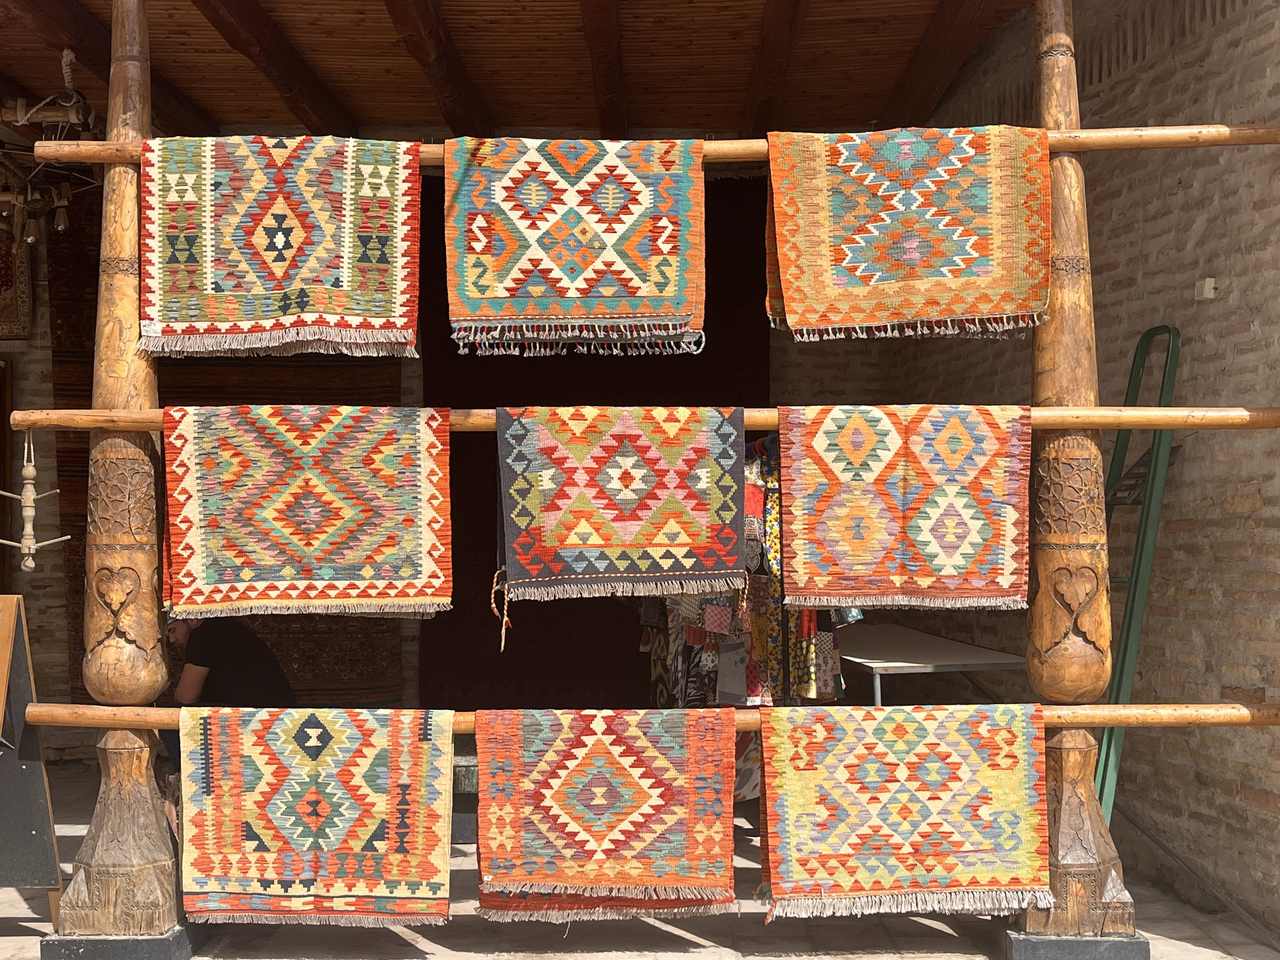 The production and trade of textiles has always been one of the sources of Bukhara’s wealth, and in my opinion the shopping here is still better than anywhere else in Uzbekistan. Pavilon Kalon, an upmarket boutique, showcases fashion and homeware by top Central Asian designers; and Akbar House dazzles with its vintage textiles and is as much a gallery as a shop. When I want to chat and learn as well as buy, however, I visit Mirzo Atmuratov who has his stall in a cell inside the Abdulazizkhan Madrassa, a half-decorated monument which was never finished because its patron died during its construction. Mirzo comes from a family of hatmakers and produces the most gorgeous skullcaps from upcycled embroideries and cottons. He also buys and repairs antique chapans (coats), suzanis (embroideries), and panels of ikat silks and goes to great lengths to explain how they were made, the different regional styles, and how best to conserve and display them. Whether you intend to buy something or not, you get a free masterclass!
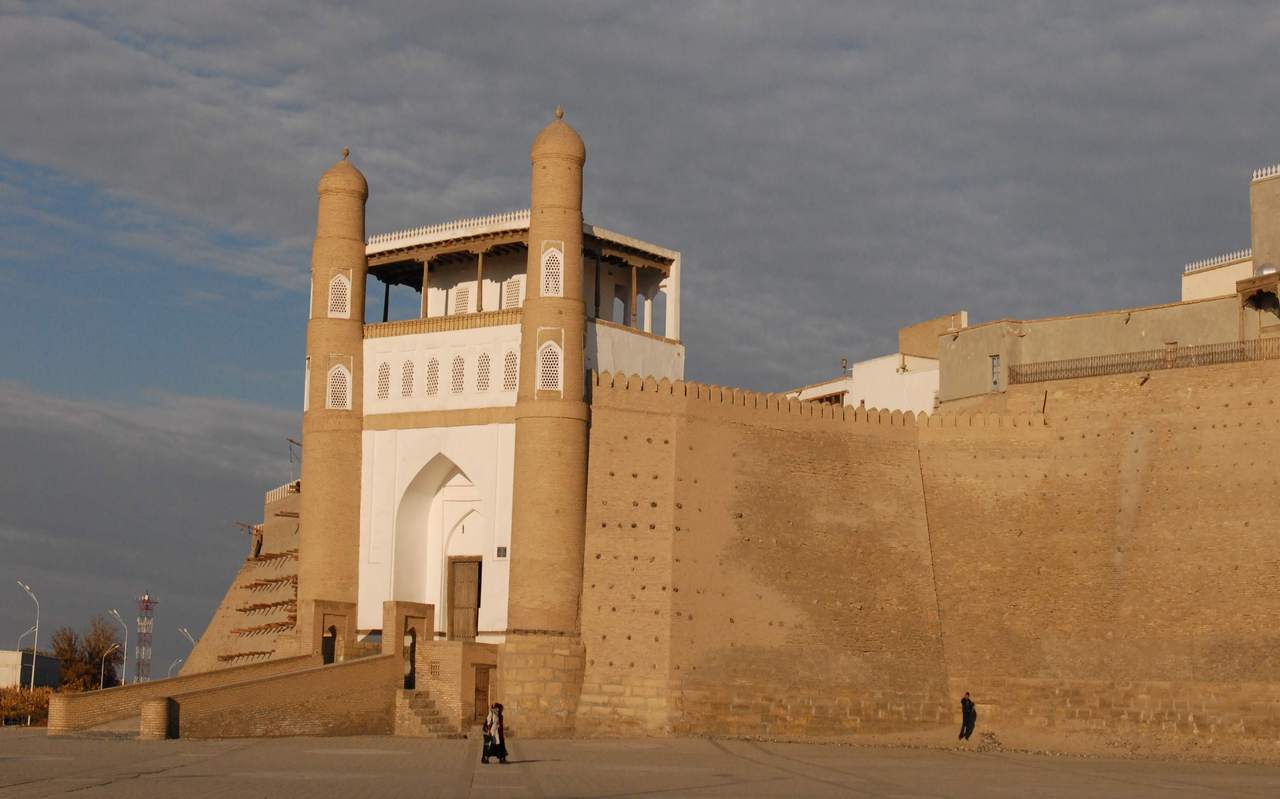
Ark Fortress
Without doubt, Bukhara has jaw-droppingly magnificent monuments, which draw first-time tourists to the city. But what makes a trip here unforgettable (and has brought me back dozens of times) are people like Komil and Mirzo. They are preserving and developing the intangible cultural history of the Bukhara, adding to an unbroken chain of people and traditions which dates back millennia. That is incredibly special indeed.
The post Why Bukhara is the best destination on the Silk Roads appeared first on The Travel Magazine.


