It’s time to plan your next ski holiday. You have your ski gear sorted, and now you just need to pick your destination. Here is our pick of the six best ski locations from France to Canada.
La Plagne, France
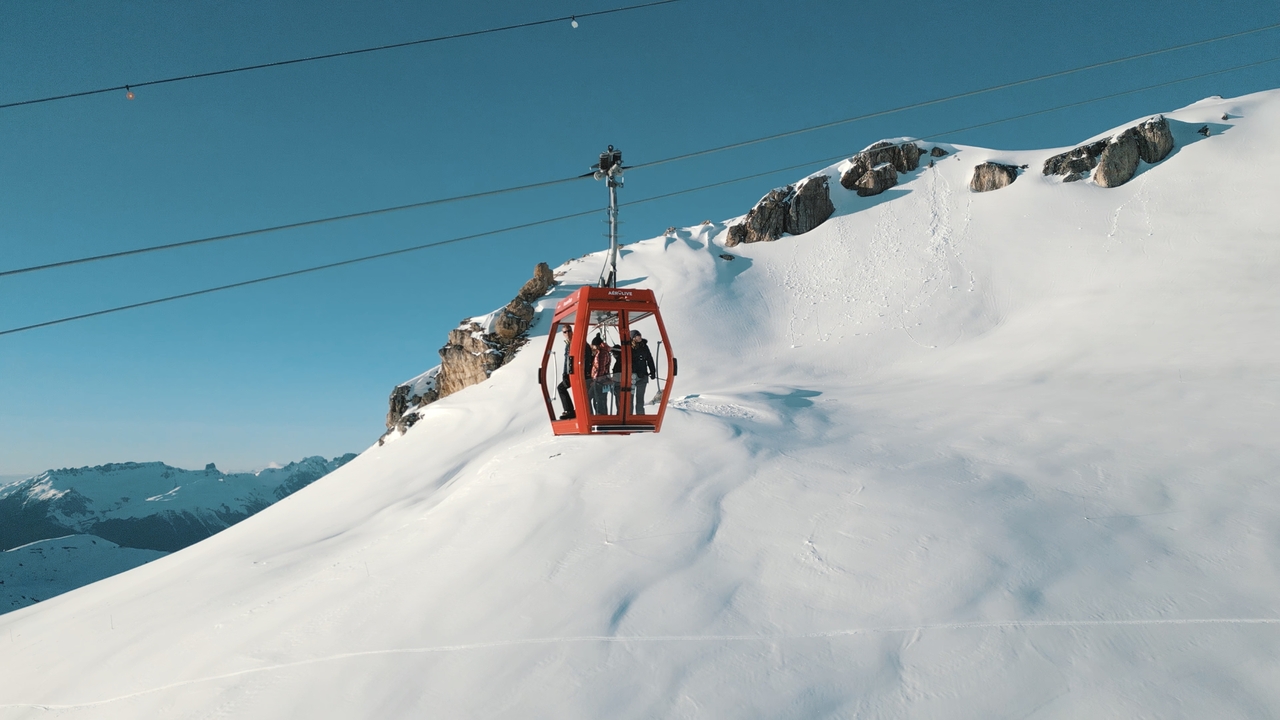
La Plagne’s Aérolive gondola is open to the elements
Over the past couple of seasons, the vast resort of La Plagne– linked to Les Arcs as part of the 425km Paradiski ski area – has been starting at the top. Live 3000 is the name for the expansion just below the area’s top point of 3,080m and now it’s quicker and more comfortable to get there.
The reborn two-stage Roche de Mio gondola from Plagne Bellecôte, one of the main village centres, provides travel to 2,739m Roche de Mio itself in just nine minutes, with the Glaciers lift servicing the last short leg. The improvements also cut the time to the top from Plagne Centre itself. The top of the first stage is Col de Forcle, itself an impressive spot with runs down to Bellcote, but also over to the pretty bowl runs all the way down to the 1,250m village of Champagny-en-Vanoise. The gondola’s second stage also has Aérolive, two completely open-air cabins (just the frame!) with a maximum of six riders held in by harnesses, getting 360° panoramic views (€29pp). At the top, you can relax on a sun lounger on Café Sixieme Ciel’s panoramic terrace.
Les Arcs, France
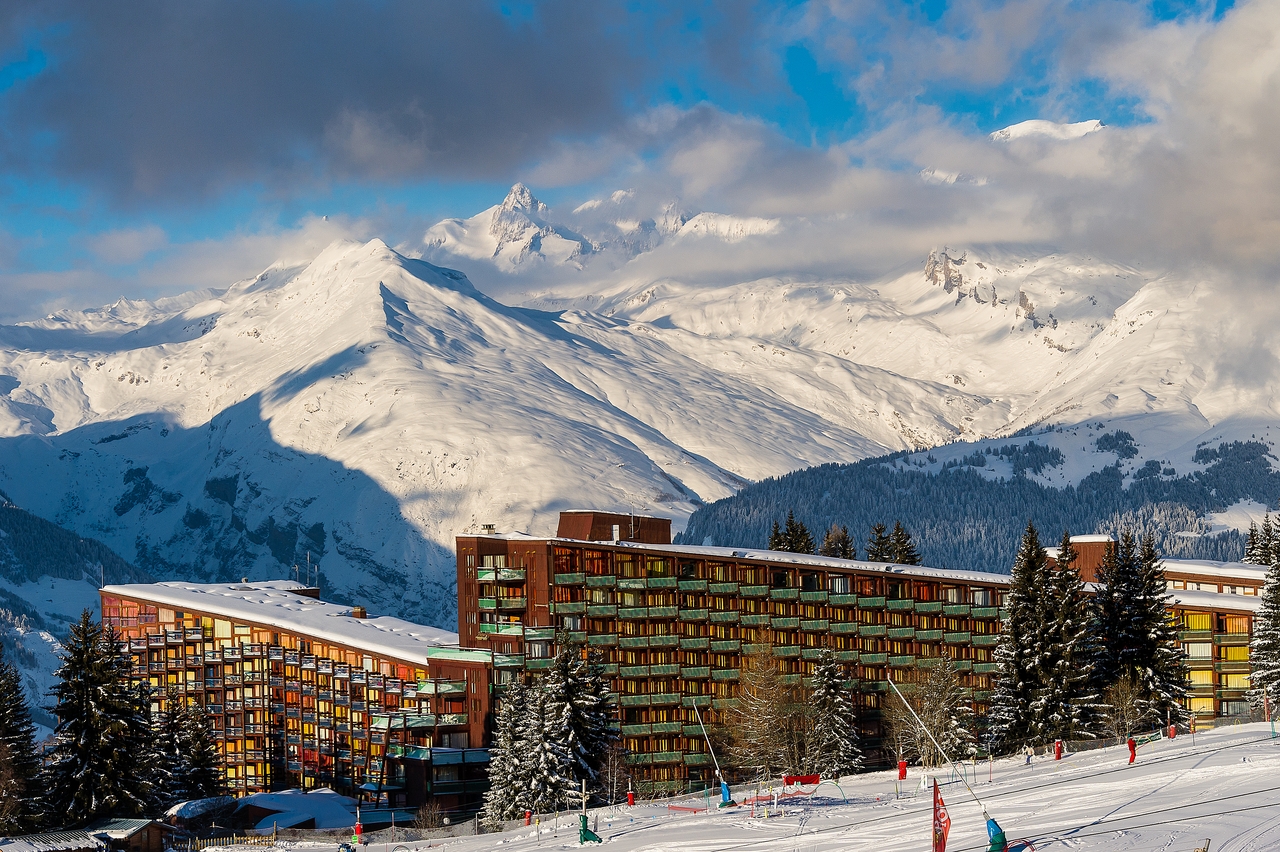
Les Arcs’ new gondola brings valley village Villaroger closer to the main centre of Arc 1800 ©Andy Parant
The village of Villaroger, at 1,200m is the lowest spot in Les Arcs’ mighty ski area, but is very good value… and now becomes more integrated into the resort as a whole. Two ageing chairs – Replat and Plan des Violettes – that provided access to the main area have been replaced by the fast, high-tech Plan des Violettes gondola, each car carrying 10 people, reducing travel time from 20 minutes to six minutes and 45 seconds.
The bonus is not just for those staying in Villaroger – the village is the finish point of Les Arcs’ longest, most famous run, the Aiguille Rouge. It pours down 7km, with a drop of 2,000m, from the Le Varet glacier to Villaroger’s apple orchards – and the high-speed gondola will make it easier to head home for people in the main resort centres. There will also be a posh new base building with shops and restaurants – and 3,000 trees have been planted and a wetland area created to enhance biodiversity.
3 Vallees, France
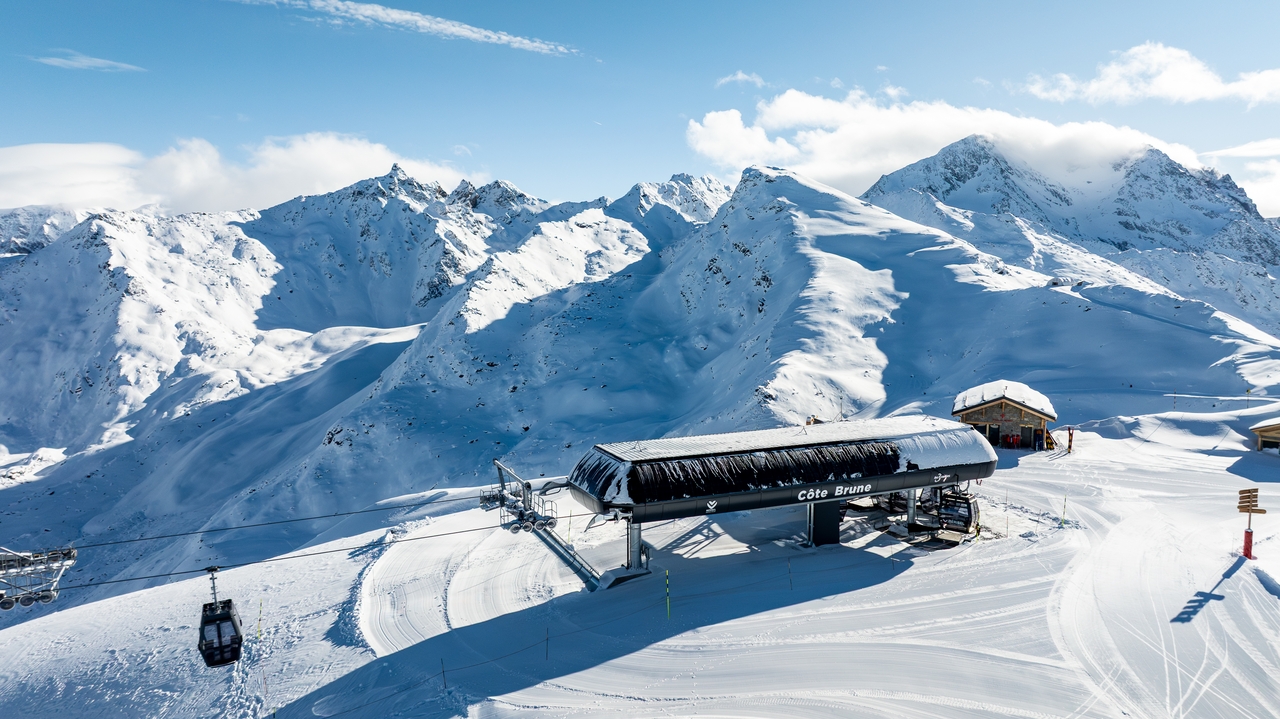
The Côte Brune gondola makes 3 Vallees skiing easier, quicker and comfier
The world’s largest ski area, 600km of piste reaching from Courchevel all the way to Val Thorens, taking in Meribel and Les Menuires in the middle, is making lift life easier. The €25m Côte Brune gondola, a state-of-the-art 10-seater, replacing a 35-year-old chair, stretches from Meribel-Mottaret up to the Col de la Chambre peak, the major connection with Val Thorens, with runs straight down, and with runs to Les Menuires. Handy (it’s much faster than the chair, one of the few bottlenecks in this vast area) for switching resorts for the day if you don’t want too much skiing, or for a relaxed return if you do.
Solden, Austria
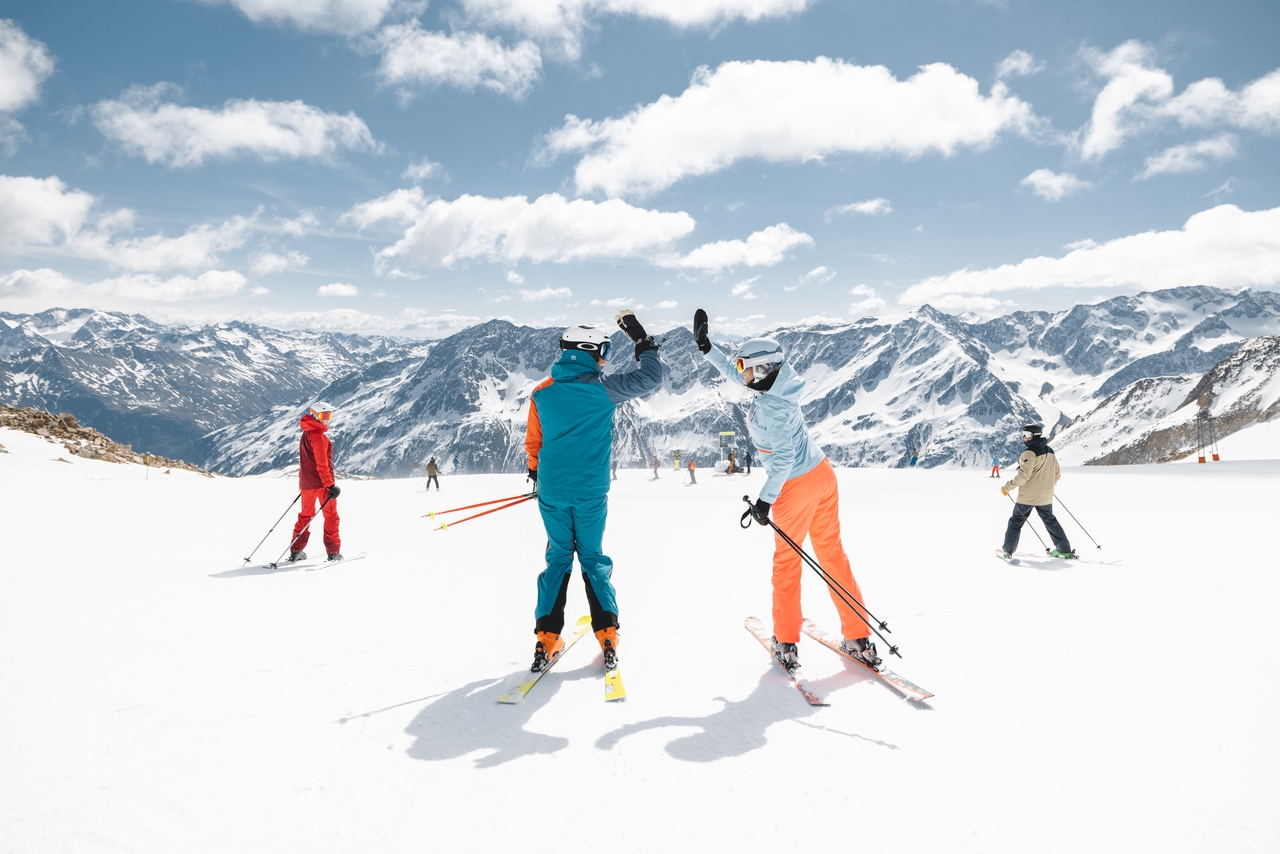
Enjoying the slopes at Solden
A new slope connection (linking valley runs 7 and 22) means that all four major valley points of this lofty resort (with not one but two glaciers) can be reached by ski, rather than having to resort to lift-hopping. It also means an easier ski route all the way from the top of the mountain to the main town lift areas (Postplatz Sölden, Gaislachkogl and Giggijoch), mostly cutting out the need for shuttle buses. The added 1.8km of slopes won’t in itself raise eyebrows, but in bad weather the connection creates a small, sheltered ski area. Up high, a four-person chair reaching Rettenbach and Tiefenbach glaciers has been replaced by the 8-seater, bubble-protected Einzeiger, taking only 3.5 minutes. Farther down (but also glacier-bound), the old Silberbrünnl chair at the top of the Giggijoch gondola also becomes a fast, protected 8-seater
You may like: Hotel Das Central Review Solden, Austria
Deer Valley, USA
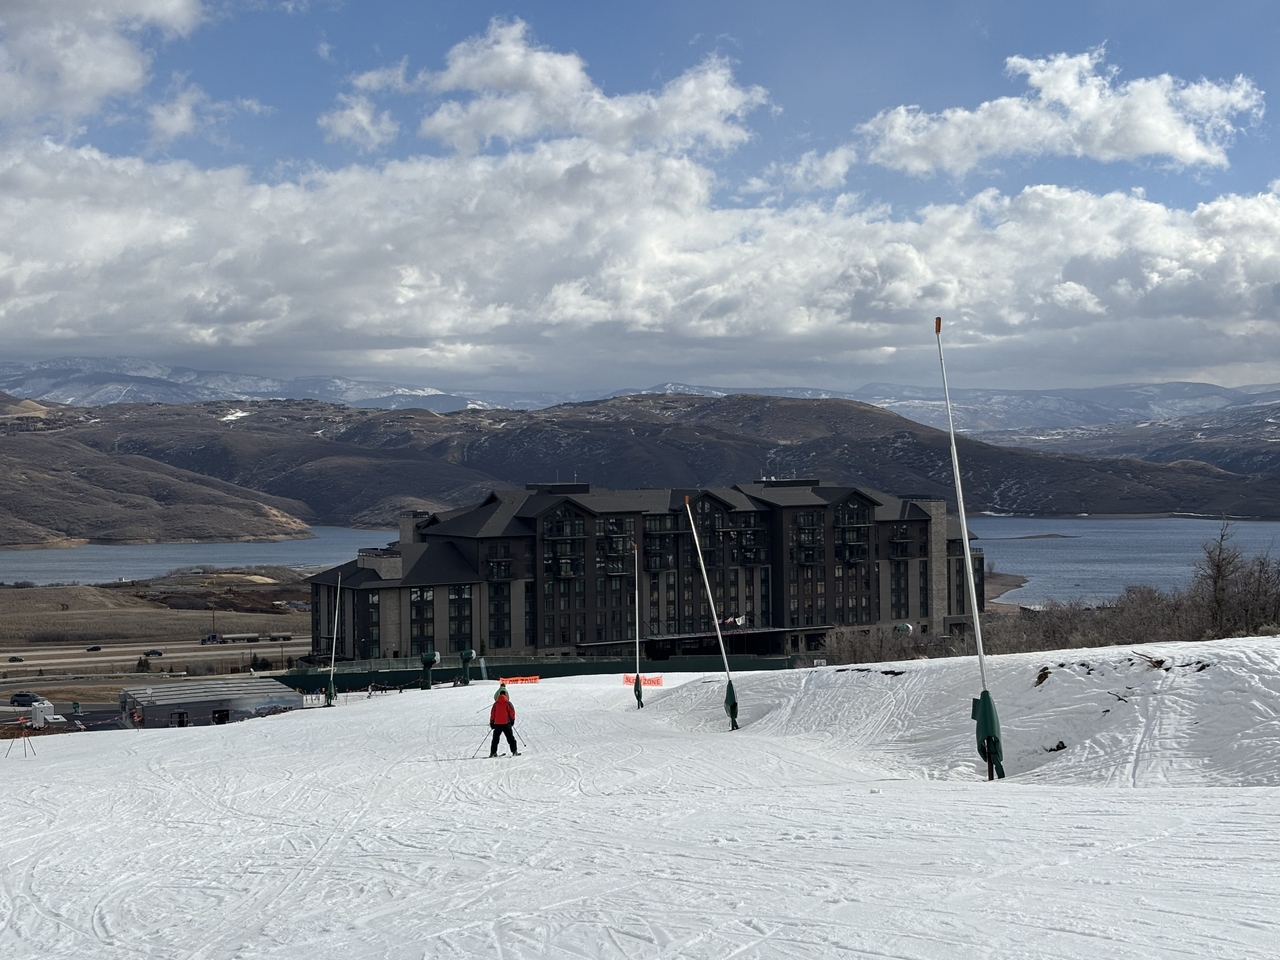
The Grand Hyatt hotel and Jordanelle Reservoir at Deer Valley’s new East Village
The Utah ski area, in arty, Victorian Park City has been undergoing massive expansion for a couple of years – a vast new area of terrain with nearly 100 new runs served by seven new lifts. East Village, a new base village with luxury hotels, including the 436-room Grand Hyatt, opened to skiers last season (three lifts and 20 new runs). This season’s 10-person East Village Express gondola connects the village with all the runs on newly-opened Big Dutch Peak, many with stunning views over Jordanelle Reservoir. Yet more runs and lifts coming for 26-27 on Hail Peak.
Lake Louise, Canada
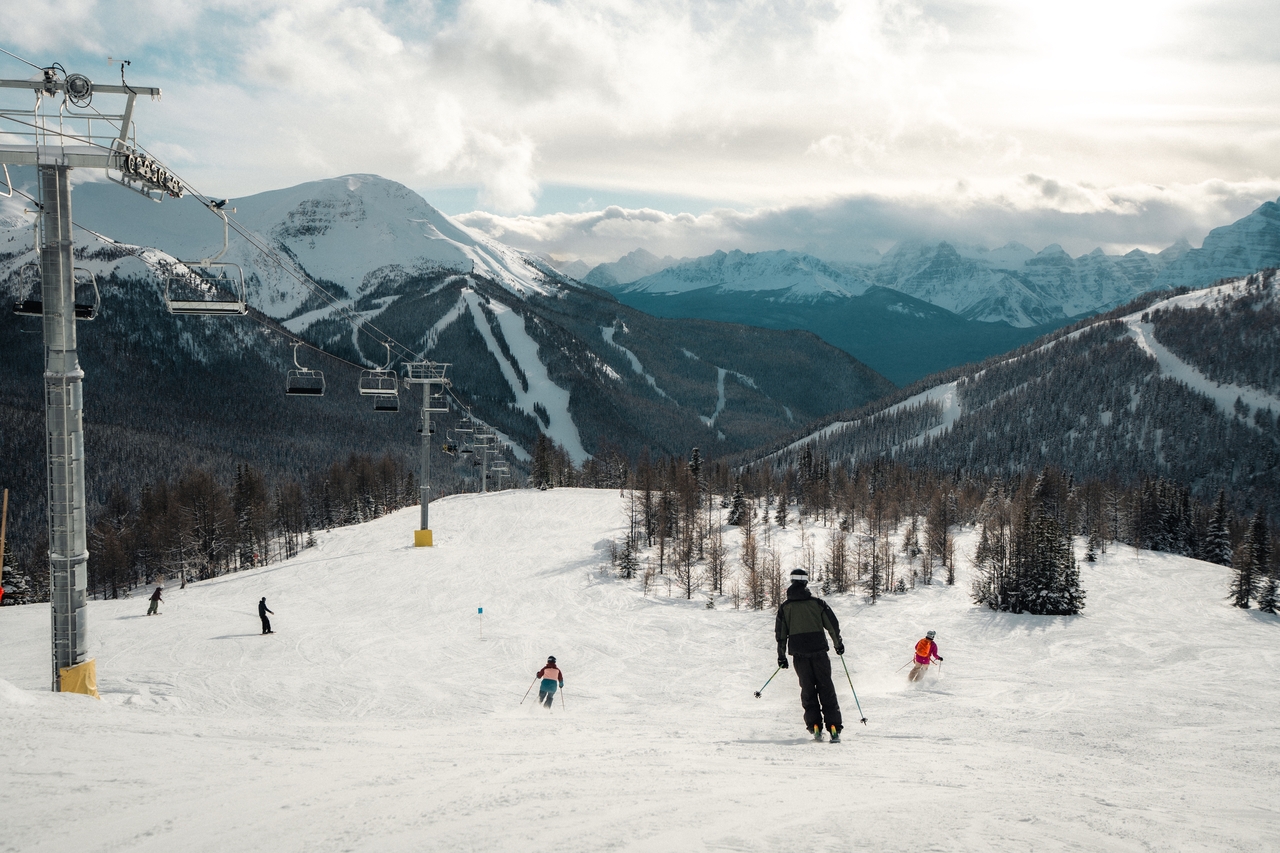
Skiing new Richardson’s Ridge, a big new area, at Lake Louise
The Alberta resort, one of Canada’s greats, has added Richardson’s Ridge, a large area of terrain with five beginner and intermediate runs, and the gateway to ‘cruisy, natural glades’. The panoramic peak is served by a new high-speed quad, Richardson’s Ridge Express. The opening of West Bowl in 2020 was the first expansion in 25 years, major new lifts followed, and the first phase of Richardson’s is the start of a push even further, with new gladed expert terrain on the cards.
The post Six ski areas hitting new heights appeared first on The Travel Magazine.


