
This New Masking Trick is a Boon for Landscape & Portrait Photographers (VIDEO)
We’re taking a look at a new masking feature that one pro describes as “hidden” because many Lightroom users don’t know it exists. In barely four minutes you’ll learn how powerful it is for enhancing skies, balancing color and light, and adding depth to your images with just a few clicks.
This eye-opening video comes to us from Portraits by Daniel, but don’t be misled by the name of this popular YouTube channel because today’s quick masking trick not only works wonders when processing people pictures, but it’s also a big help when working on nature images, landscapes, wildlife shots, family photos, and more.
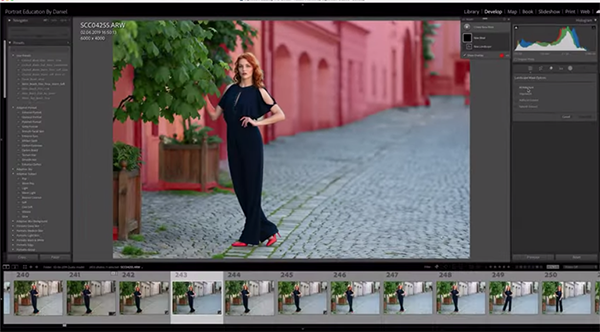
This versatile tool is known as Lightroom’s Landscape mask and it’s definitely one that you’ll want to add to your everyday workflow as soon as this tutorial concludes. When opening the Masking panel you’ll recognize the three core areas: Subject, Sky, and Background.. But now there’s a Landscape option below this trio of familiar tabs, and it often goes unnoticed.
As soon as you click on the new tool Lightroom identifies areas and prepares masks for elements that typically appear in landscape scenes. These elements include Architecture, Vegetation, Artificial Ground, and Natural Ground. A list in the panel includes each of these possibilities and you can hover over each one to view the suggested mask before applying it. And it’s easy to makes refinements these instant mask if need be.
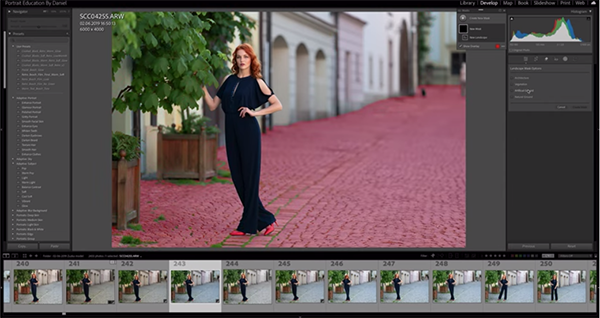
Daniel describes the timesaving benefits like this: “This is powerful stuff folks because now we can edit certain parts of an image without making a selection ourselves. Instead we’re going to let Lightroom automatically separate the various features of our photo.
The lesson includes examples that illustrate the various options available and explains how they work, individually or in tandem. Bottom line, the formerly “arduous” task of masking is now remarkably easy for Lightroom users of all skill levels.
The Portraits by Daniel YouTube channel is well worth a visit regardless of the types of images you shoot or your preferred style of processing.
And speaking of streamlining your image-editing workflow, be sure to watch our earlier tutorial from another Adobe expert who demonstrates a timesaving Lightroom technique for culling your photographs and avoid wasting hours behind the computer.


