This sweet treat will have butterflies flocking to your garden – and you only need 2 ingredients to make it
Butterflies need our help this summer
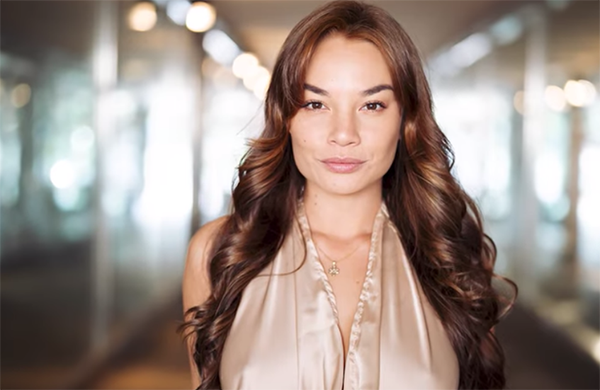
Shooting environmental portraits in the middle of the day can be sort of a nightmare and often results in unflattering shadows, squinting subjects, and washed out details and skin tones. Today’s five-minute tutorial from the Patrick’s Boudoir Photography channel will help you use harsh midday light as a creative tool.
Patrick’s straightforward lessons typically involve simple techniques for capturing indoor b&w boudoir photos with soft available light streaming through a large window. Today’s episode is a rare departure as he’s shooting conventional environmental portraits in color under lighting conditions than many of us would avoid.
He describes the lesson like this: “Whether you’re just starting out or want to elevate your portrait game, I’ll show you how to overcome the most common mistakes photographers make in direct light and reveal three powerful tips for creating flattering outdoor portraits in any lighting condition.”

This five-minute video is another installment of Patrick’s popular 6-Week Photography Challenge and he provides practical advice for the real-world challenge at hand—without the need for expensive gear or an experienced model. So here’s the scenario: You’re shooting outside, the weather is perfect (at least for a day at the beach), the sun is shining overhead, but the portraits you make aren’t flattering.
One of Patrick’s solutions for dealing with strong, direct sunlight is to “position a subject so that the sun is behind them, rather than lighting them from the front. This creates softer, more even illumination on the face and adds a beautiful glow to the hair.” Your photos may not be perfect, but at least this is a start for the superior techniques follow.
Simply put, “the most flattering portraits happen when you find a bit of shade and move a few steps out of direct sunlight” like under the overhang of a building or next to a big tree that provides a bit of indirect light. At this point the video is only at its midpoint and Patrick has more simple advice to impart.

You can find boudoir-specific tips and techniques on the Patrick’s Boudoir Photography YouTube channel,, so pay a visit and explore.
And don’t miss the related tutorial we featured with another experienced pro who demonstrates how to experiment with lenses of different focal lengths to capture mesmerizing portraits with whatever look you have in mind.
We often discuss the virtues of patience when shooting in the field, and why it’s advisable not to move from one location to the next until you’ve exhausted all the possibilities of your first stop. And this sometimes means capturing a nice shot, followed by another and another as your exploration continues.
Sure, it’s great to return home with several usable images, but have you ever considered combining two or more photos of the same scene to create one eye-catching masterpiece? This tutorial from the popular Photoshop Café YouTube channel explains how easy it is to use simple Lightroom tools to create a natural-looking composite.

Colin Smith is a notable photographer, author, trainer, and post-processing specialist with over 4K avid subscribers to his instructional YouTube channel. In the next six minutes he walks you through a straightforward process for merging, aligning, and masking different photos to achieve a final result’s that far more impressing than the sum of its individual parts.
In other words, don’t limit your choice to this photo or that photo, because the best approach may be this shot and that shot. Smith is working with two images in Photoshop, but rather than opening them and combining them you’ll see how to handle both tasks at once by clicking on the File tab atop the screen, selecting Scripts from the first dropdown you see, and then the Load Files Into Stack option from a second list of tools that appears.

As Smith says, “this is where we open multiple photographs and rely upon Photoshop to automatically load them into separate layers.” The two seascape photos at hand each depict an impressive wave crashing ashore in different parts of the frame, and Smith’s simple goal is to add impact by creating a well-composed composite that includes both of the attention-grabbing waves.
This technique is simple to achieve for Lightroom users of all skill levels and has broad applications for anyone who shoots in the great outdoors. The Photoshop Café YouTube channel is a rich resource for all things Adobe, so make sure to pay a visit and explore.
We also recommend watching the tutorial we featured with another post-processing expert who demonstrates why Tone Curve tools are Lightroom’s “magic window” into photographs with precise contrast.
