Want to Replace Your Adobe Photo Software? These Are the Best Options in 2025 (VIDEO)
There are a variety of reasons that some photographers are moving on from Adobe, and today we’re looking at a few alternatives that are worthy of your consideration. Perhaps Lightroom and Photoshop are too complicated for your needs, or you’re unhappy with paying the “Adobe tax” every month or the premium overall cost.
Today’s instructor Trent says, “I officially cancelled my Adobe Creative Cloud subscription two months ago, so let me show you what I’ve been using instead.” His choices include highly regarded replacements for Photoshop and Lightroom, along with alternatives to Illustrator, Premier Pro, and After Effects for the designers and digital artists among you.
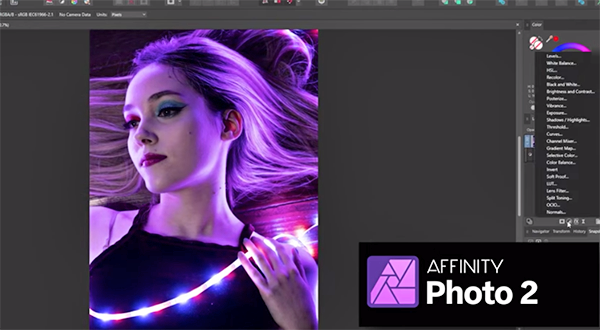
Trent reveals both free and affordable options (some without subscriptions), many of which are supported on multiple platforms like Mac, Windows, Linux, iPad and mobile. He begins with the photo-editing programs and Affinity Photo 2 is a top pick. He notes that “you only have to pay once for the major version and it’s yours.”

Affinity Photo offers many of the same features as Photoshop, and most users consider it easier to use and appreciate it’s streamlined interface. “Blend modes, adjustments, filters, and effects; it’s all there.” That said it lacks a few of the newer AI features and Neural-based tools.
If you want a totally free image-manipulation package Trent suggests you try out Gimp, a time-proven option that’s been around for years and is a staple of the open source image-editing community. Gimp does have the reputation of being a bit difficult for beginners to use, “but if you’re willing to take the time to learn it, it’s a very powerful tool.”
Trent continues with post processing options for photos, digital painting, and video editing, with a high recommendation Davinci Resolve. He says, “This free video editor has more powerful tools than most paid software. There’s a paid version as well, but I’ve never come close to needing it.” The interface is sleek and modern and there are pro-level tools for working with color and audio.

So invest six minutes in this quick discussion and you may find yourself saving big bucks by switching to an Adobe alternative that perfectly suits your specific needs. Then head over to Trent’s popular YouTube channel for more helpful tips on gear, software, and image-editing techniques.
On a related note, we encourage you to watch the recent tutorial we featured with another expert who demonstrates six common editing mistakes that can easily spoil outdoor photographs with whatever post-processing software you use. Effective solutions included.


