Rock Mill Luxury Holiday Apartments are in Stoney Middleton, an historic village in the Peak District, a National Park in Derbyshire. And yes, it is in a gorge. So, if you have ever wondered what it would be like to live in a gorge now you can find out.
But in more luxurious accommodation than the original inhabitants of Stoney Middleton, who mined limestone from the cliffs above them.

Rock Mill purpose built
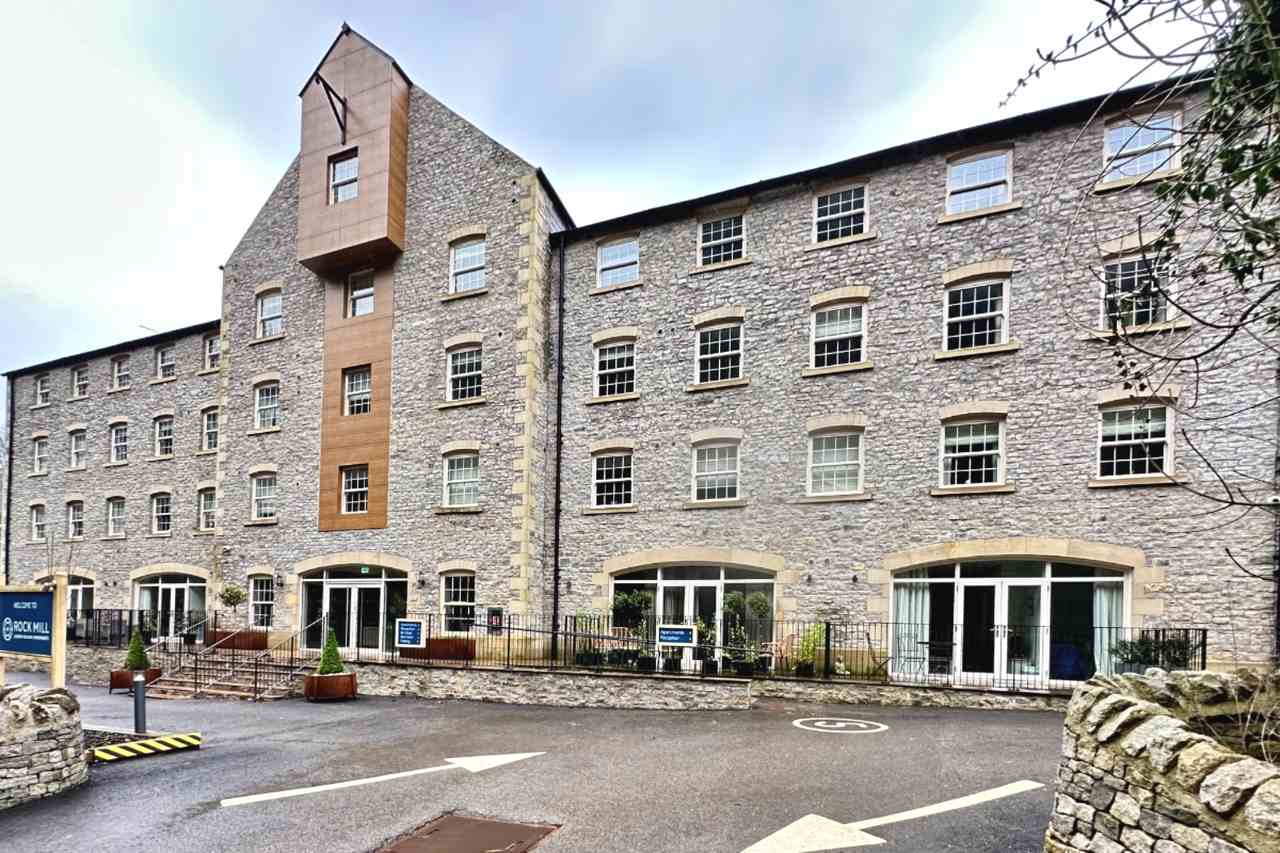
Rock Mill may be a purpose-built block of self-catering holiday apartments but its pseudo-industrial exterior blends well with local historic buildings.
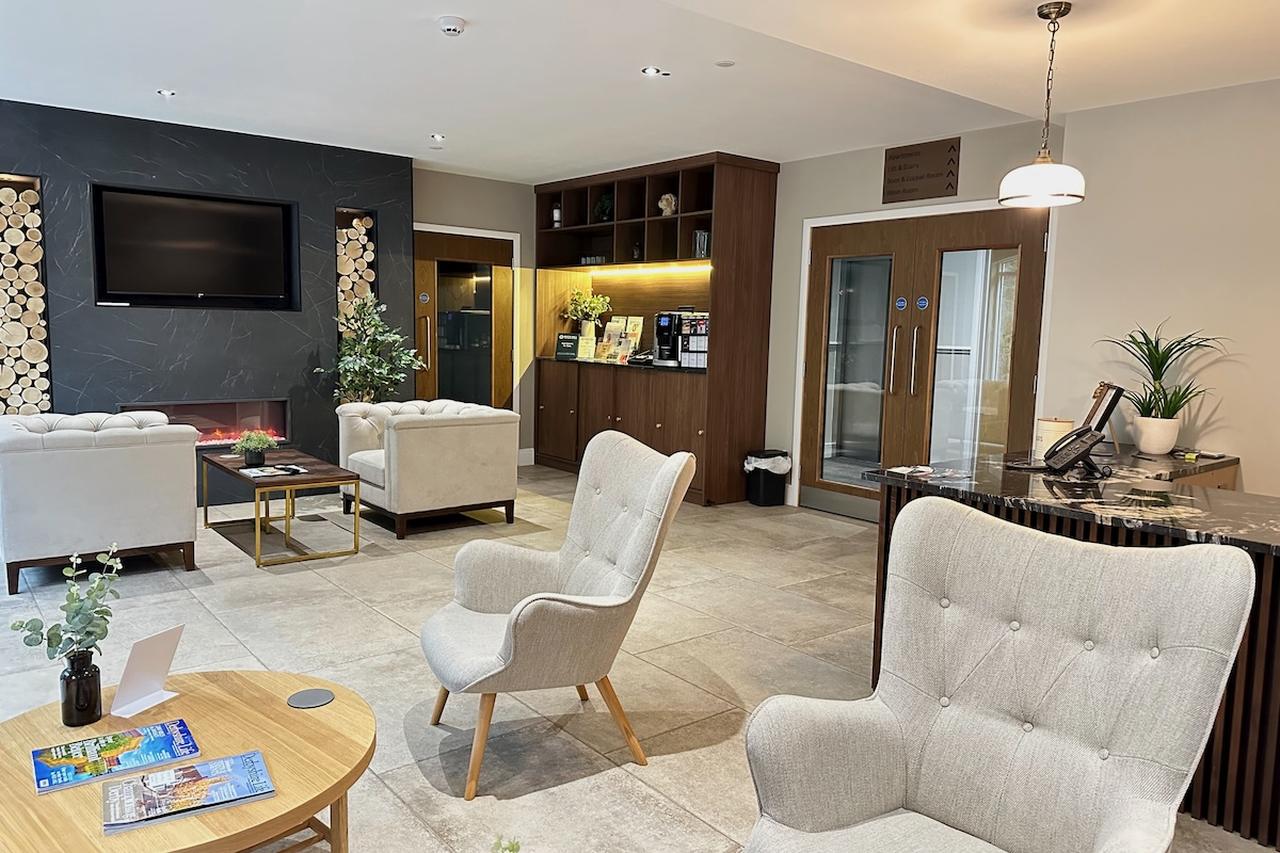
Beyond the spacious reception area, that also serves as a comfortable lounge, are 49 self-contained apartments.
Who For
Hikers, bikers, strollers and lovers of countryside retreats will enjoy a stay here. The apartments can accommodate solo travellers, couples, families and small groups. Dogs are welcome.

Reception
Accommodation at Rock Mill
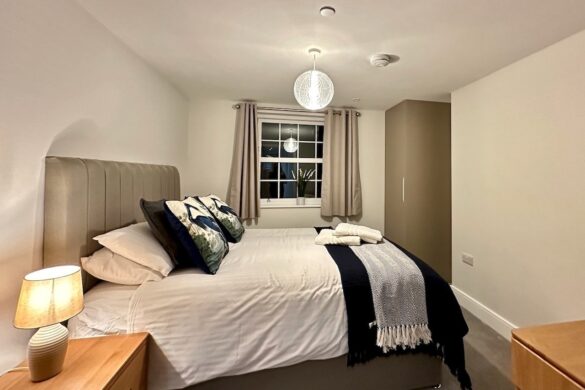
The 49 deluxe apartments include a mixture of studio flats, one- and two-bedroom apartments and four two-bedroomed penthouse apartments on the top floor. Rock Mill comprises four floors accessed by a lift and stairs. Each apartment is beautifully furnished and tastefully decorated.
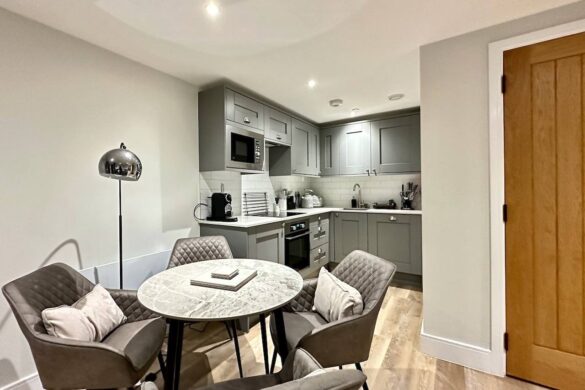
The kitchens are well equipped with an oven, microwave, dishwasher and coffee-maker as well as the cooking utensils and crockery necessary for a self-catered stay. All the apartments include flat screened televisions with access to Freeview television and other providers – sign in with your own subscriptions

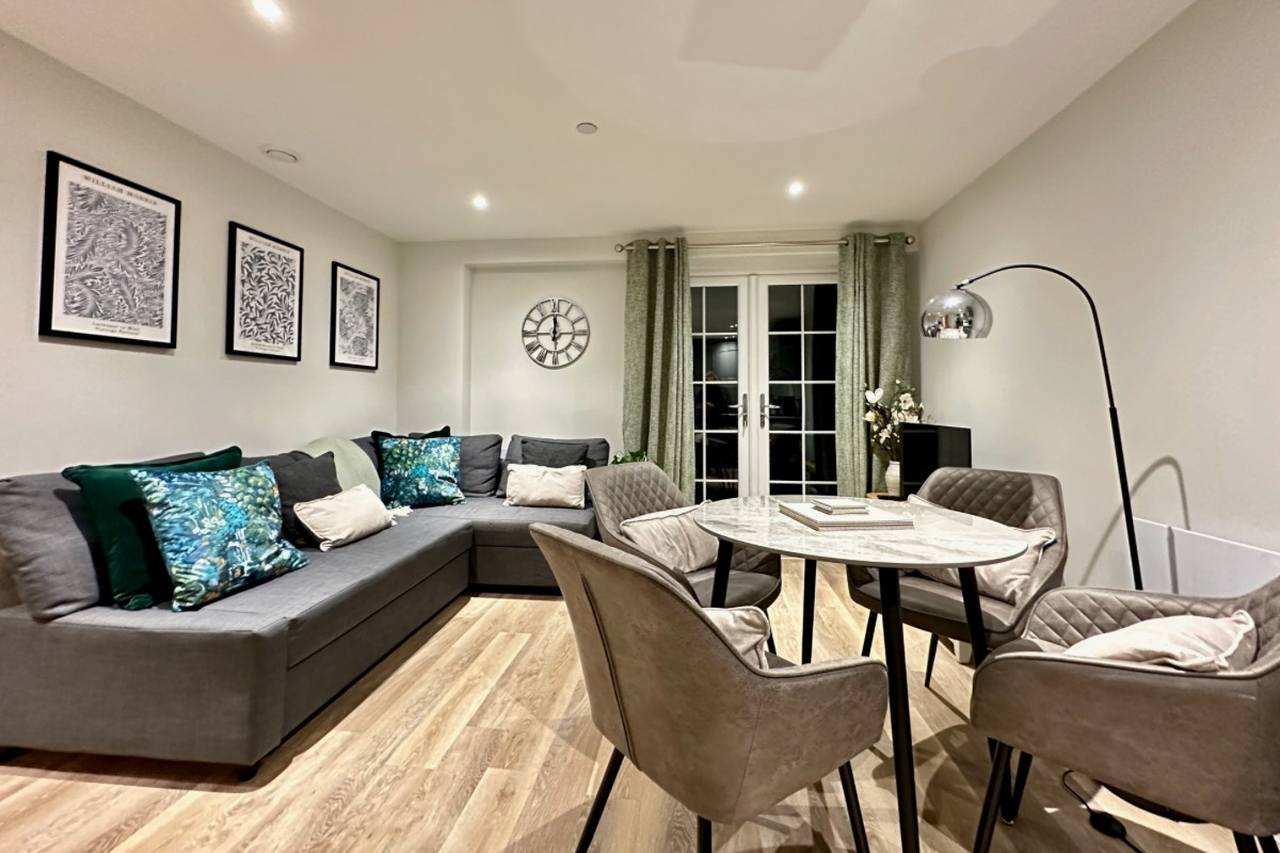
Lounge and Dining Area in a Duplex Two Bedroom Apartmient at Rock Mill in Stoney Middleton
Facilities at Rock Mill
Parking is often an issue for trippers but it is not a problem at Rock Mill which boasts a large, free parking area with designated disabled spaces and an electric vehicle charging station. Other facilities provided cater for every category of visitor to this area from serious hikers and bikers to casual dog walkers.
There is a secure cycle shed, a boot changing room with heated lockers to dry wet attire, boot-cleaning facilities and a dog wash. Children can let off steam in the outdoor play area while adults can gather in the lounge in the reception area to gossip over a hot drink.
There is also a function room for business meetings and free WiFi is available throughout the building. For visitors who do not relish the idea of self-catering while on holiday the excellent Cupola is adjacent to the Rock Mill and open all day for breakfast, lunch and dinner.
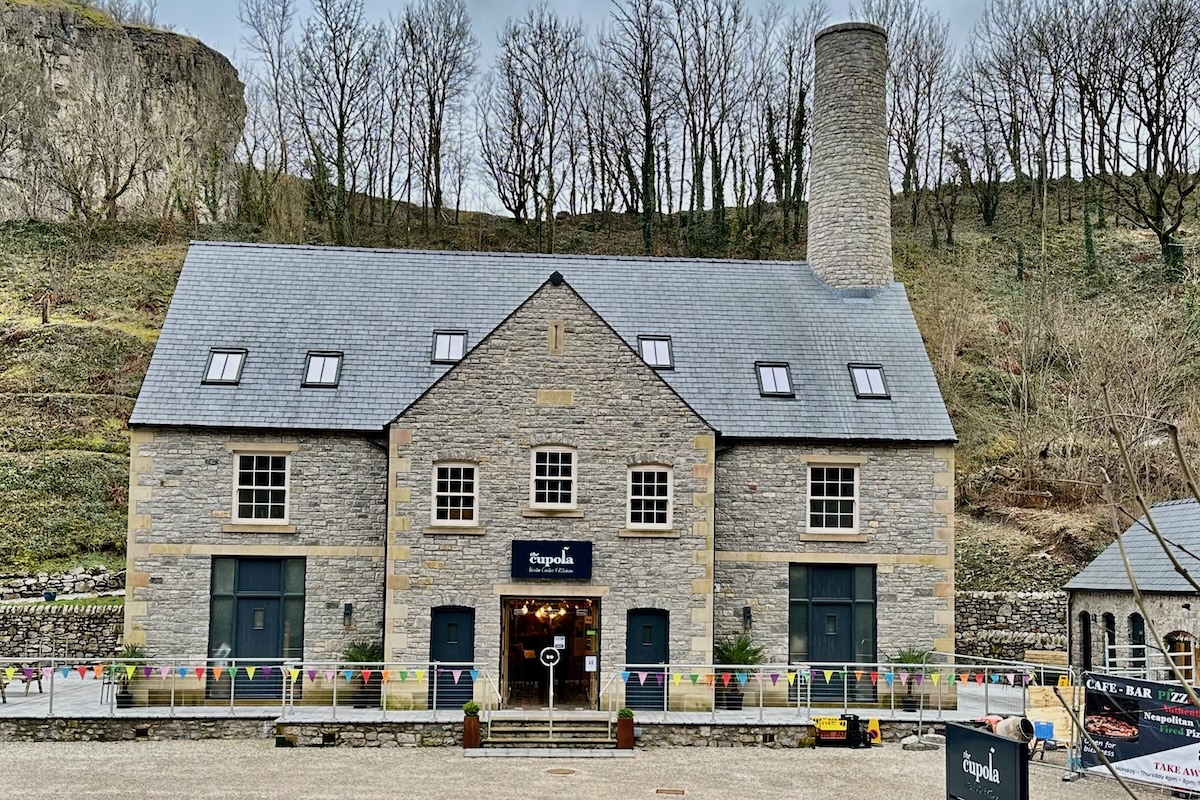
The Cupola in Stoney Middleton

The Cupola in Stoney Middleton
A real plus for any stay in Rock Mill is the close proximity of the Cupola, cosy restaurant that opens every day at 9am offering their iconic full English griddled breakfast amongst other choices. Lunch is served from 12pm and includes the delicious crispy chicken, created by their chef and a sensational mix of light, crispy batter encasing moist chicken and accompanied by one of three tasty sauces – teriyaki, barbecue or hot honey. In the evening the Cupola becomes an Italian pizzeria featuring a variety of excellent pizzas using genuine ingredients from Italy and cooked on a wood fired oven. The restaurant has a fully licensed bar stocked with some Italian specials.
A Margherita Pizza at the Cupola
But Cupola is not only a restaurant, it is also an informative Visitor Centre and numerous information recount the history of Stoney Middleton – all created by Colin Hall who owns and runs Cupola with his wife Alison.
Colin has also created some local historic walks and maps of these walks are available at Cupola and also on line. Colin’s passion for his restaurant and the history of the surrounding area will inspire visitors to explore further.
The building housing Cupola is a good start as it was built on the site of the former Lord’s Cupola which operated as a lead smelting oven from 1740 to 1885 – hence the tall chimney which has been retained as part of the new building. Historically, the village of Stoney Middleton was a centre for lead mining, quarrying limestone and boot making. Evidence of these activities is incorporated in the historic trails that start from the Rock Mill or Cupola. Colin can organise group walks, cycle rides and rock climbs, taking in this historic area of the Peak District also known as the White District due to the imposing limestone rock faces.
How much
A single bed apartment booked for 2 nights is currently £224 for both nights.
Attractions Near Rock Mill
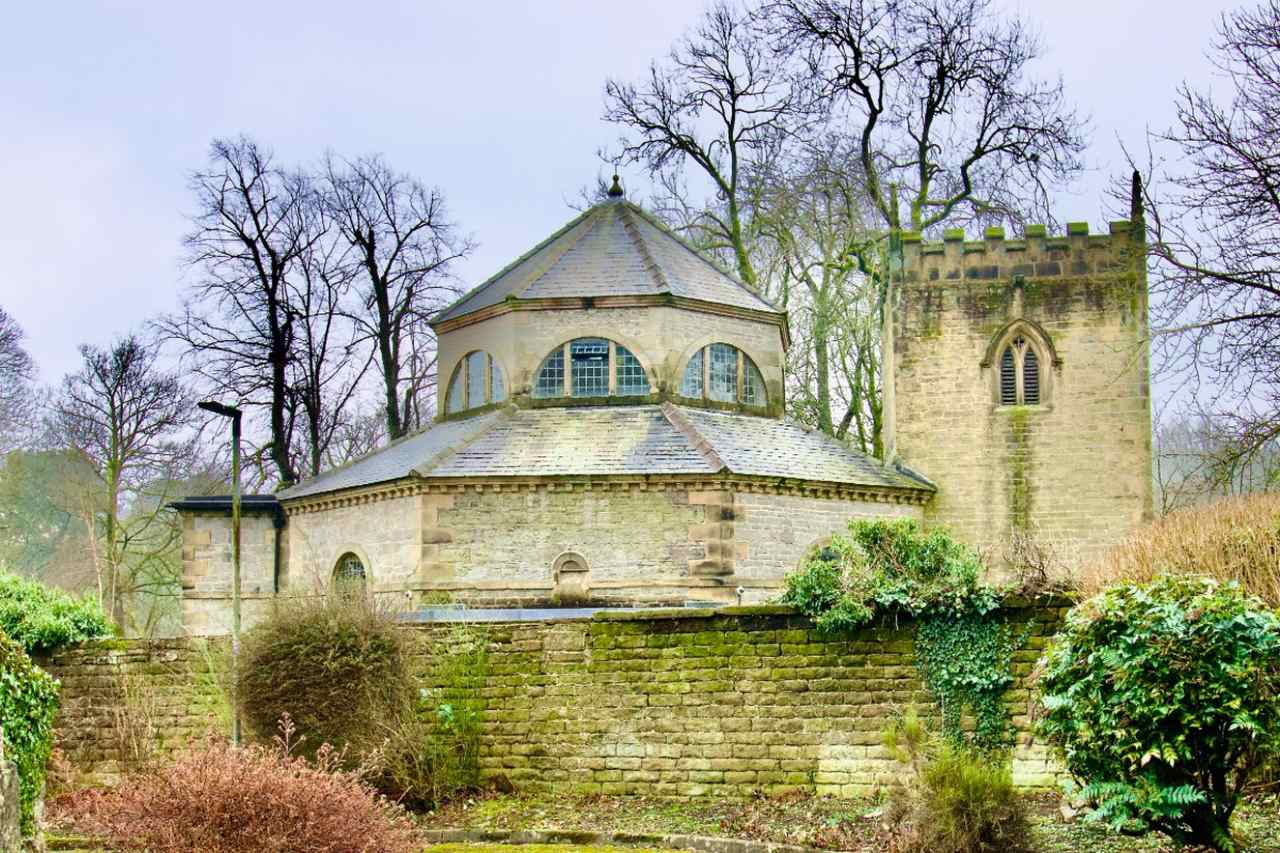
Rock Mill is in the village of Stoney Middleton which boasts some interesting architecture including an octagonal church (the oldest of only two in the country), Roman baths and the steepest High Street in Britain. The latter is also probably the only High Street that does not feature any shops.

The Moon Inn in Stoney Middleton
But it does have a pub, the legendary Moon Inn at the start/finish of the climb for visitors who chose to tackle this demanding walk. It is worthwhile for the views of the surrounding area from the top of this long road. At the top of this street is an access point to a walk that skirts the old quarry and returns to the village close to Rock Mill.
St Martin’s Church in Stoney Middleton

St Martin’s Church in Stoney Middleton
Rock Mill is a ten-minute drive from the village of Bakewell, famous for its well dressing, carnival week and Bakewell Pudding. This pudding is made in the bakery at the Cupola and sold in its shop where visitors can also buy local handicrafts.
Well dressing, the art of decorating springs with thousands of petals is also practised in Stoney Middleton. Also in close proximity is Chatsworth House which is open from late March to early January.
Christmas at Chatworth is a very special winter attraction and the Rock Mill is a convenient base for it. And, of course, Rock Mill is in the middle of the Peak District offering stunning scenery and interesting walks and hiking – including a walk through the gorge known as Hope Valley.
Walking Through the Gorge in Stoney Middleton
Highly recommended for walkers, hikers, bikers and anyone curious about life in a Gorge. A stay at Rock Mill is a holiday in itself with all that is going on in the locality and, due to the proximity of the Cupola visitors can be self-catering or eat the lovely food provided by this restaurant.
Colin Hall and his wife Alison are great promoters of Stoney Middleton and the surrounding area. They have created the complete package for anyone staying in Stoney Middleton Click here for more information.
Note: The Cupola has been short-listed for the Best New Tourism in the Peak District, Derbyshire & Derby Tourism Awards
The post Rock Mill Luxury Holiday Apartments in Gorgeous Stoney Middleton appeared first on The Travel Magazine.


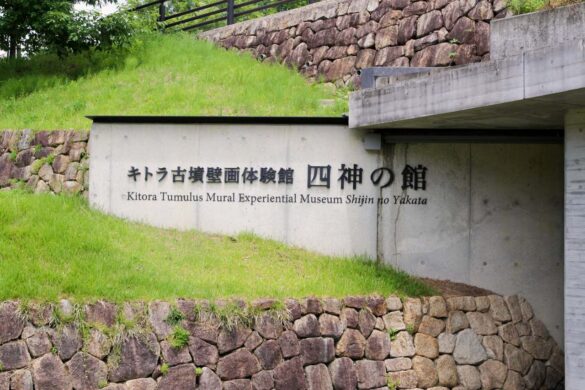

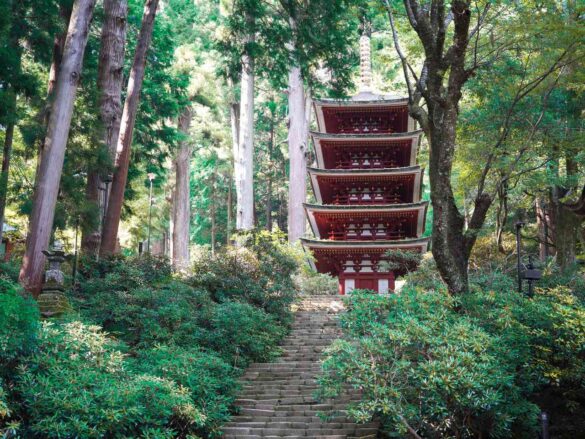
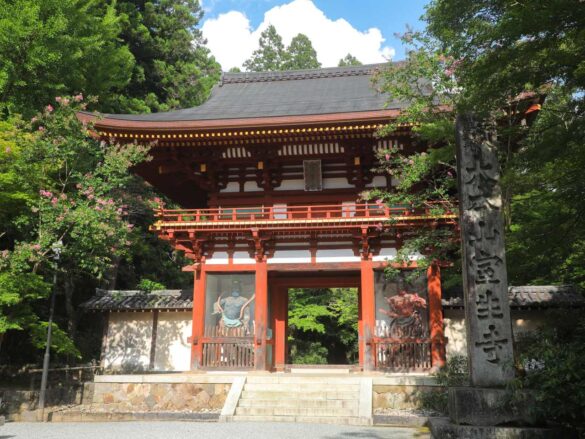
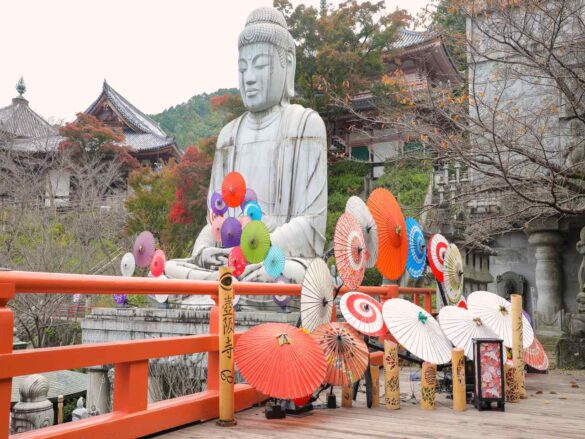
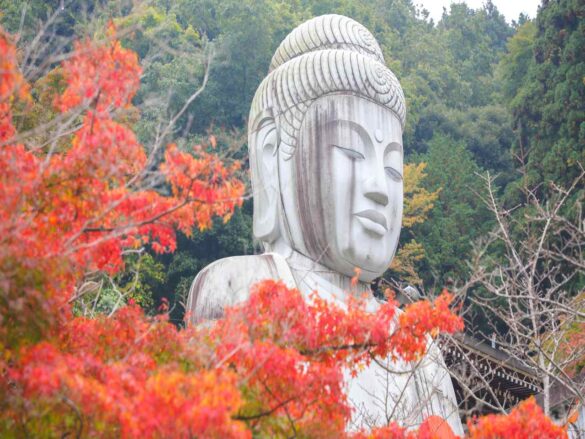
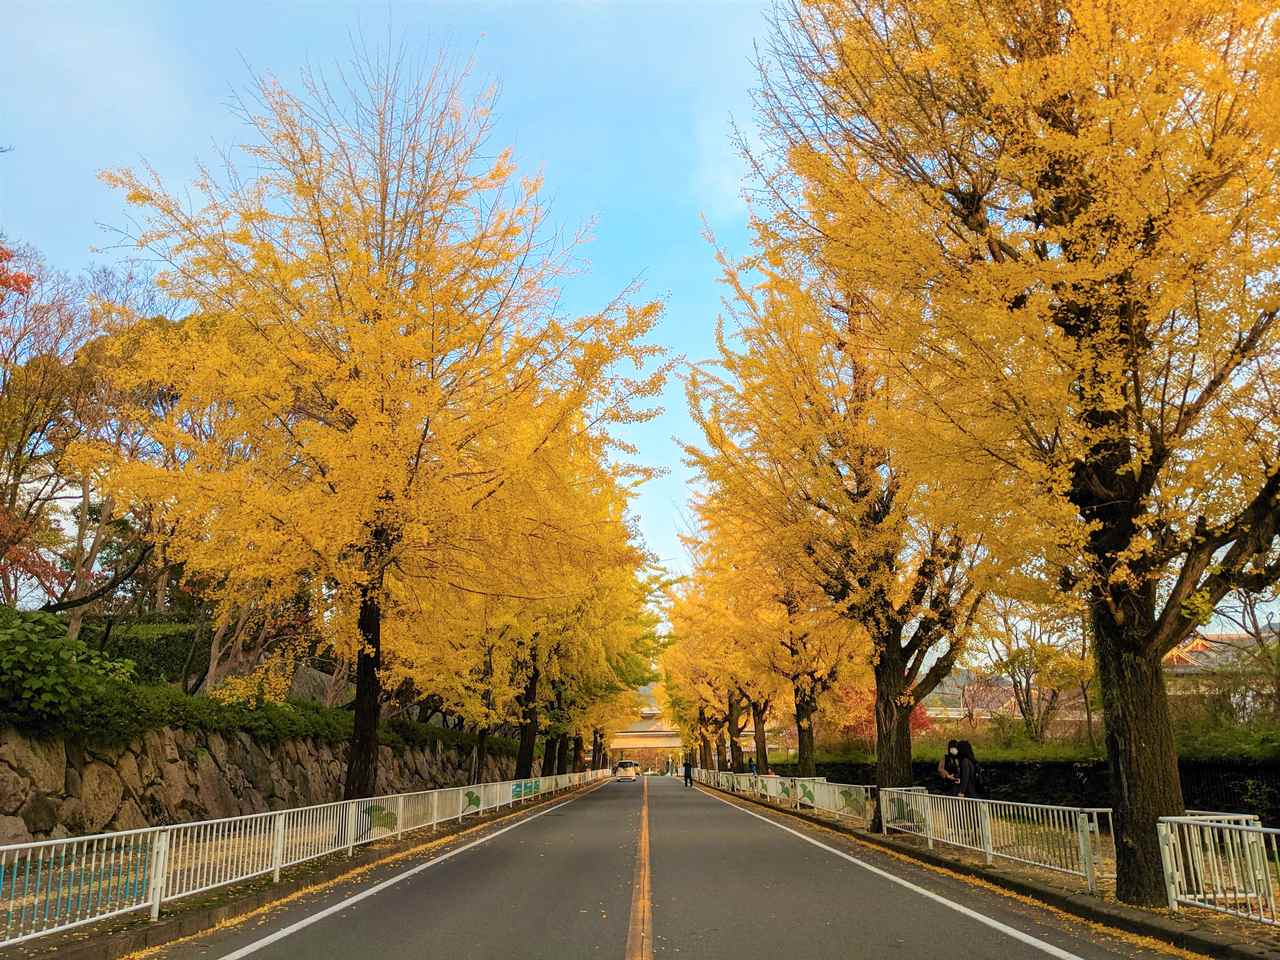
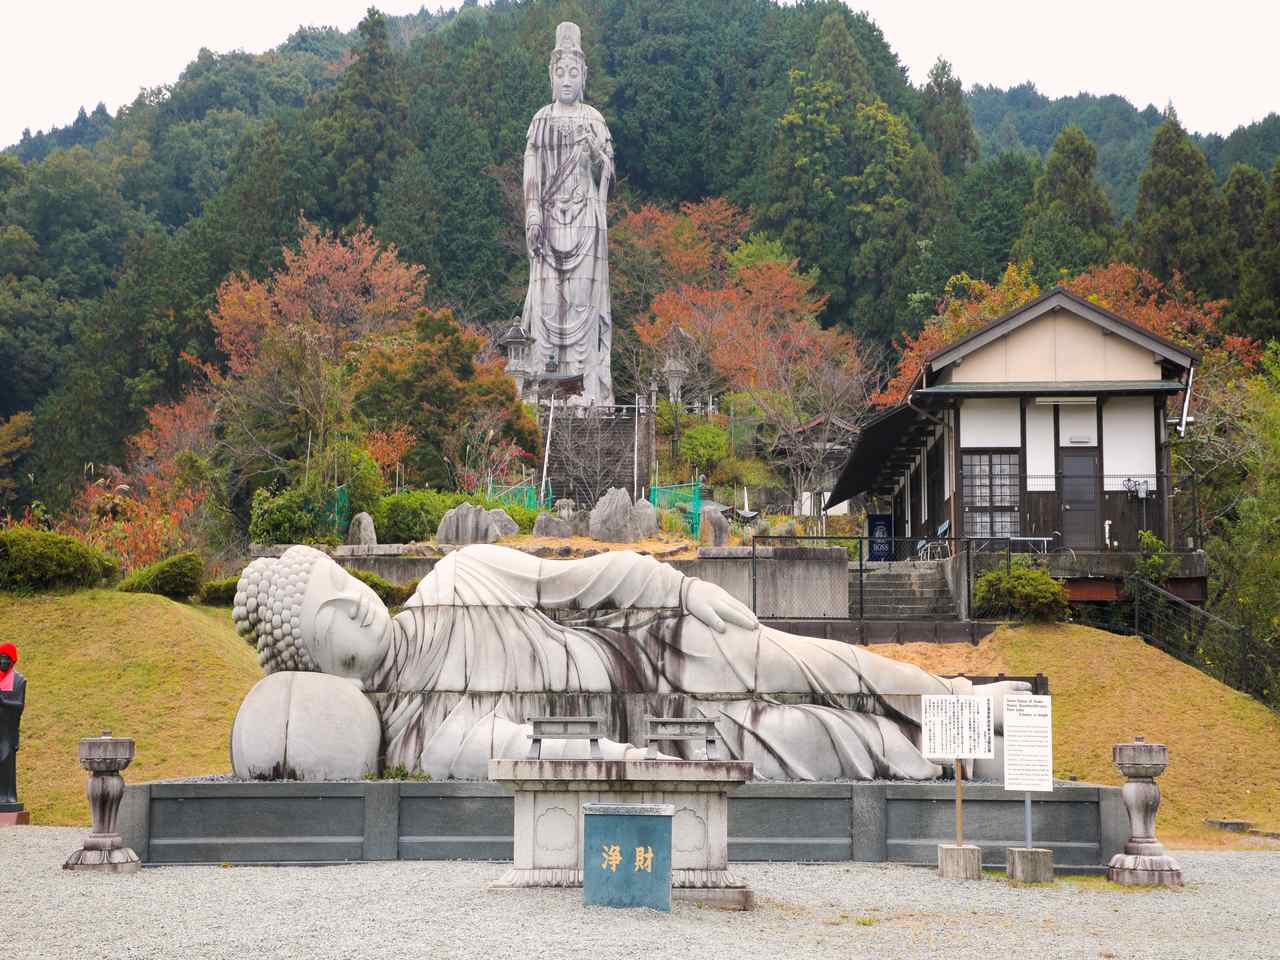 Nara Prefecture is home to many stunning autumn foliage spots, and you’re probably already familiar with the breathtaking fall scenery at Tsubosaka-dera Temple, right? The history of the hillside Tsubosaka-dera temple goes back to the 8th century, when Nara City served as Japan’s first capital. Not only is the scene extremely picturesque it has also been known as a place of healing.