
Give Landscape Photos a Warm Sunset Effect No Matter Time of Day They Were Shot (VIDEO)
Most outdoor photographers love shooting at Golden Hour, when soft warm tones bath the landscape before the sun disappears below the horizon. Unfortunately it’s not always possible to control when we come across an epic scene, and sometimes that happens earlier in the day when light is less than ideal.
Fortunately, it’s not particularly difficult to mimic the beauty of Golden Hour with a straightforward Photoshop edit, as you’ll see in the tutorial below from the PHLOG Photography YouTube channel. And if you carefully follow the steps, you’ll achieve a very natural looking result.
Instructor Christian Mohrle provides a link beneath the video for downloading his sample Raw file so you can follow along and make the changes yourself. By the time you’re done and compare the before/after photos you will be justifiably proud of what has been accomplished. This simple technique is one you can use with regularity—whether you’re after a sunset look or your image is just flat and uninspiring.
If you’ve followed Mohrle in the past you know that he always begins with a few basic global adjustments to prepare a photo for the selective enhancements that follow. Today his preliminary steps begin with changing the profile from Adobe Color to Adobe Landscape which immediately increases base saturation and restores details in the dark portions of the frame.
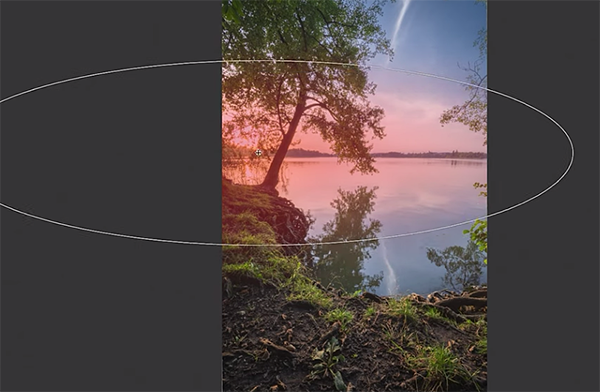
Next he opens Photoshop’s Basic panel and uses several sliders to further refine the image. Mohrle first adjusts White Balance to achieve the “intense” sunset colors he has in mind. He also cools off blue tones in the sky and water. Exposure comes next as Mohrle brings down highlights while opening up shadows in the foreground of the frame.
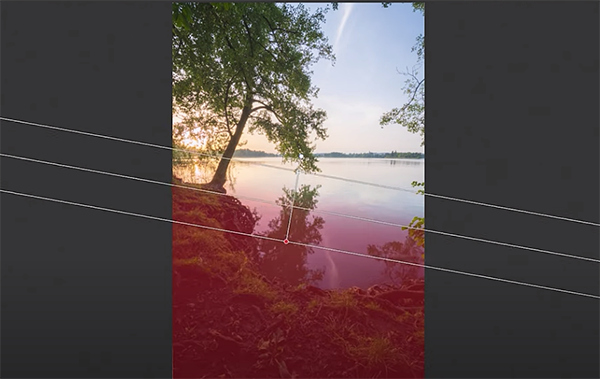
After a few more basic tweaks the image looks much better, and it’s now time for selective masking enhancements that really deliver the wow factor. Mohrle begins with a linear gradient over a dark area in the foreground that still needs some of work. Here he increases Clarity to add much-needed detail.
Next comes a Color Range mask that he uses to target blue areas in the sky and in the water on the right side of the shot. This selection is used to carefully drop exposure, accentuate blue tones, and increase Contrast where it’s lacking. Four more simple masks and these selective adjustments are complete.
All that left to complete the transformation is straightforward color grading, careful sharpening, a bit more glow, and some final cleanup. We think you’ll agree that the results are impressive. You can find more shooting and editing tips on Morganti’s YouTube channel.
You’ll also enjoy watching a tutorial we posted earlier from another image-editing expert, explaining a better way to sharpen landscape photos using a technique he developed himself.


