
How to Focus Stack Landscape Photos in Photoshop for Perfect Sharpness Throughout (VIDEO)
One of the most daunting challenges faced by landscape shooters is optimizing sharpness in scenes with important objects in the foreground, midrange, and background of the frame. That’s because even if you stop your lens all the way down to f/22 there’s insufficient depth of field to maintain sharpness from here to there.
In these situations the solution is achieved during the editing process, and instructor Mark Dumbleton says, “In this video I’m going to show you how to create perfect focus-stacked landscape photographs in Photoshop.” This technique isn’t necessary for most landscape photos, and only comes into play when there’s a very close foreground that demands attention as does everything behind.
As you’ll see, there are some quirks to Photoshop’s focus-stacking algorithm, and Dumbleton explains an easy way to overcome these as he demonstrates his straightforward focus-stacking method. You also learn to avoid the minimum aperture on a lens, because diffraction at this setting can degrade image quality.

Dumbleton’s demonstration image is an intriguing scene of sand dunes running most of the way through the frame, with mountains in the background that he wants to keep sharp. His technique involves shooting three images with the same settings and vantage point. The only difference is that he focused on a different area for each shot.
In this case Dumbleton only required a trio of images—one focused on the foreground, another on the mid-range, and the third on the background. He notes that more than three shots may be required for extremely complicated scenes.
Dumbleton begins in Lightroom where he makes minor enhancements to the images before merging them in Photoshop. He applies the tweaks to his first image and copies them over to the others to they all look the same. Now it’s time to move over to Photoshop.
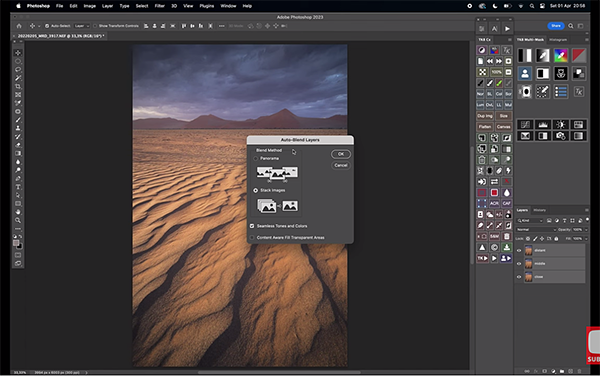
After selecting all three image, Dumbleton clicks on the Photo tab atop the screen and selects Edit In from the dropdown menu. Then he chooses the Open as Layer option from a second dropdown that appears. Now the three images are opened as a stack. This process takes a few moments before you’re ready to go.
Dumbleton then walks you through the step-by-step process for arriving at a final image with sharpness all the way from foreground to background. He notes why he prefers placing the close-focus shot at the bottom of the stack, the mid-range image in the middle, and the third photo on the top. Now the merging process proceeds smoothly.
You can find more helpful landscape lessons on Dumbleton’s YouTube channel. We also recommend watching the related tutorial we posted recently, explaining how to create eye-catching landscape photos with more depth and dimension by adjusting color and contrast in Lightroom.


