
How to Restore Drastically Underexposed Images in Photoshop (VIDEO)
It’s not uncommon to underexpose landscape photos when shooting in complicated lighting situations. This mistake can be particularly acute when the sun appears within the frame.
Fortunately there’s an easy Photoshop fix, as you’ll see in the tutorial below from the PHLOG Photography YouTube channel. You’ll learn how to make an amazing transformation, along with a few other enhancements in less than 13 minutes.
We often turn to German landscape pro Christian Mohrle for image-editing tips that anyone can master. He begins this episode with an image that’s severely underexposed, in part because of the sun on the horizon. We suggest downloading the Raw file with the link beneath the video so you can follow along and make the edits yourself as they’re explained.
Mohrle introduces the lessen like this: “Initially I planned on merging an HDR but decided to give a single Raw file a try and it worked really well.” His restoration is accomplished in the Camera Raw editor, with some cleanup and final tweaks in Photoshop.
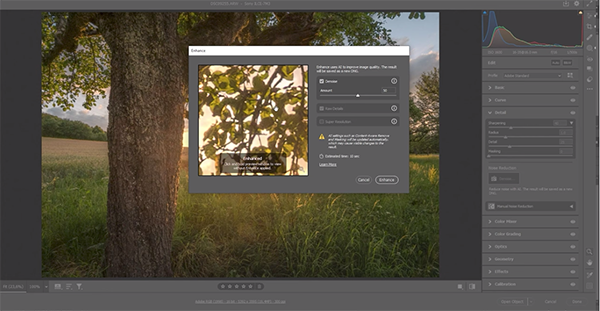
The process begins with a few basic adjustments to the overall image, to get it ready for what follows. Mohrle switches the Profile to Adobe Standard which slightly raises the dark portions of the shot. Then he increases exposure while bringing down highlights to prevent overexposing the sky.
Mohrle completes the preliminary enhancements by pushing the shadows for more detail and boosting contrast for more punch. He also introduces a “dreamy” effect by adding texture while reducing Clarity and Dehaze.
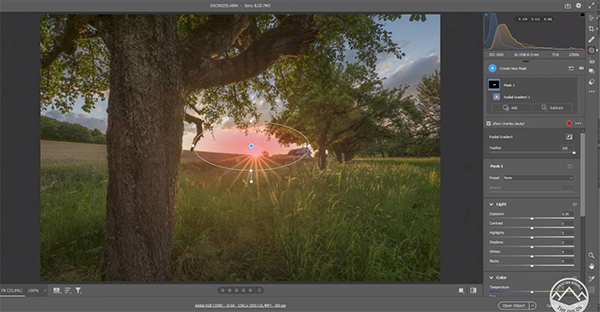
Now it’s time for selective adjustments using masks. Mohrle applies an inverted Radial Gradient over the sun to adjust the Whites, and a few Linear Gradients over the foreground —adding Contrast and Clarity to make this area look sharper. He also does this to the tree on the left side of the frame.
The masking concludes with a large Radial Gradient over the center of the image for adding some glow and a further cut to Dehaze. The color grading that follows is short and sweet. Mohrle increases blue and orange saturation and applies a split-toning effect to warm up highlights and mid-tones while cooling off the shadows.
The final step is a bit of cleanup with Photoshop’s Spot Healing Brush, careful Dodging of foreground highlights, and one more layer of glow in the middle of the frame. A quick look at the before/after images illustrates the power of this approach.
After watching the video pay a visit to Mohrle’s instructional YouTube channel where you’ll find much more of interest, especially if landscape photography is your thing.
We also recommend watching the earlier tutorial we posted from another accomplished pro, explaining why composing with symmetry in mind is a secret weapon for more captivating outdoor photographs.


