
How to Use Positive & Negative Clarity to Enhance Travel & Landscape Photos (VIDEO)
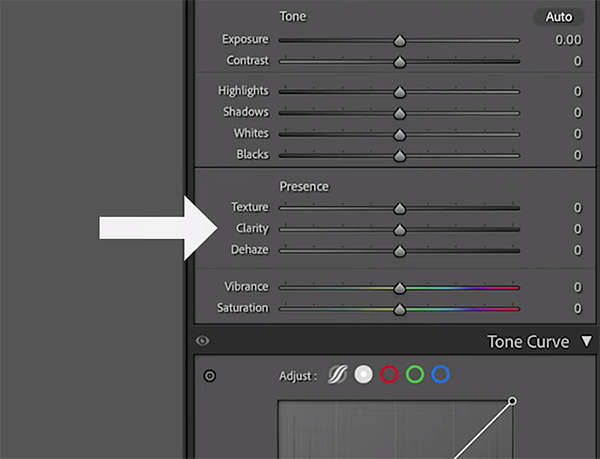
The easy-to-use Clarity tool is extremely helpful when editing outdoor images in Lightroom, Lightroom Classic and Adobe Camera Raw. In the tutorial below you’ll learn how it works, why you should consider applying positive or negative Clarity, and the circumstances in which this straightforward tool should be used.
Instructor Todd Dominey created a popular YouTube channel to share his interests in photography, travel, and creative thinking. In this 12-minute episode you’ll learn everything necessary to add the Clarity tool to your editing bag of tricks.
This video is all about editing Raw files, and Dominey explains that that Clarity is a “micro contrast” tool. He says that the key to this feature is that “it creates contrast within an image, as opposed to regular normal contrast that is applied across an image.” Don’t worry if you find this confusing because Dominey uses a gray-scale graphic to illustrate what he means.
In short, here’s the difference: When you use the conventional Contrast tool “it simply makes bright areas brighter and dark tones darker—essentially pushing them further away from one another.” Micro contrast works in a similar way but does so within the image. As Dominey explains, this means that the Clarity tool “looks for change from one tonal value to the next,” in a way that almost imparts a 3D look to an image.
If you’ve Clarity in the past, it’s likely you did so to pump up the effect. That’s what’s meant by positive clarity. But Dominey demonstrates why negative clarity can be also beneficial for certain types of images. What happens with this approach is that all of the distinct tonal values are blended together. In other words, this method is the inverse of positive clarity.
With the basics out of the way Dominey moves on to several practical examples of how he used both types of Clarity adjustments to improve his landscape images. The image atop this page was captured in Utah on a beautiful crisp day. Unfortunately, by the time he set up his gear the clouds had moved in, obscuring the sun and spoiling the dramatic light. As you’ll see, the judicial use of positive Clarity tool enhanced the image to perfection. Now there’s noticeably more division between the various tones in the shot.

While watching the lesson you’ll see more examples of images that benefitted from both positive and negative clarity, and Dominey walks you through the simple steps required to get the job done. And contrary to what you’ve been told, it’s OK to be negative on occasion.
You can find more straightforward advice like this by visiting Dominey’s instructional YouTube channel so be sure to take a look.
And don’t miss another tutorial we posted recently that explains the best exposure modes to use for nature and wildlife photography.


