River cruising is becoming increasingly popular year on year and after my recent cruise on one of Riviera’s 5-star ships it’s easy to see why.
My recent journey onboard Riviera’s MS Thomas Hardy combined relaxed luxury with an ever-changing scenery as we gently sailed along the Rhone River through Provence.
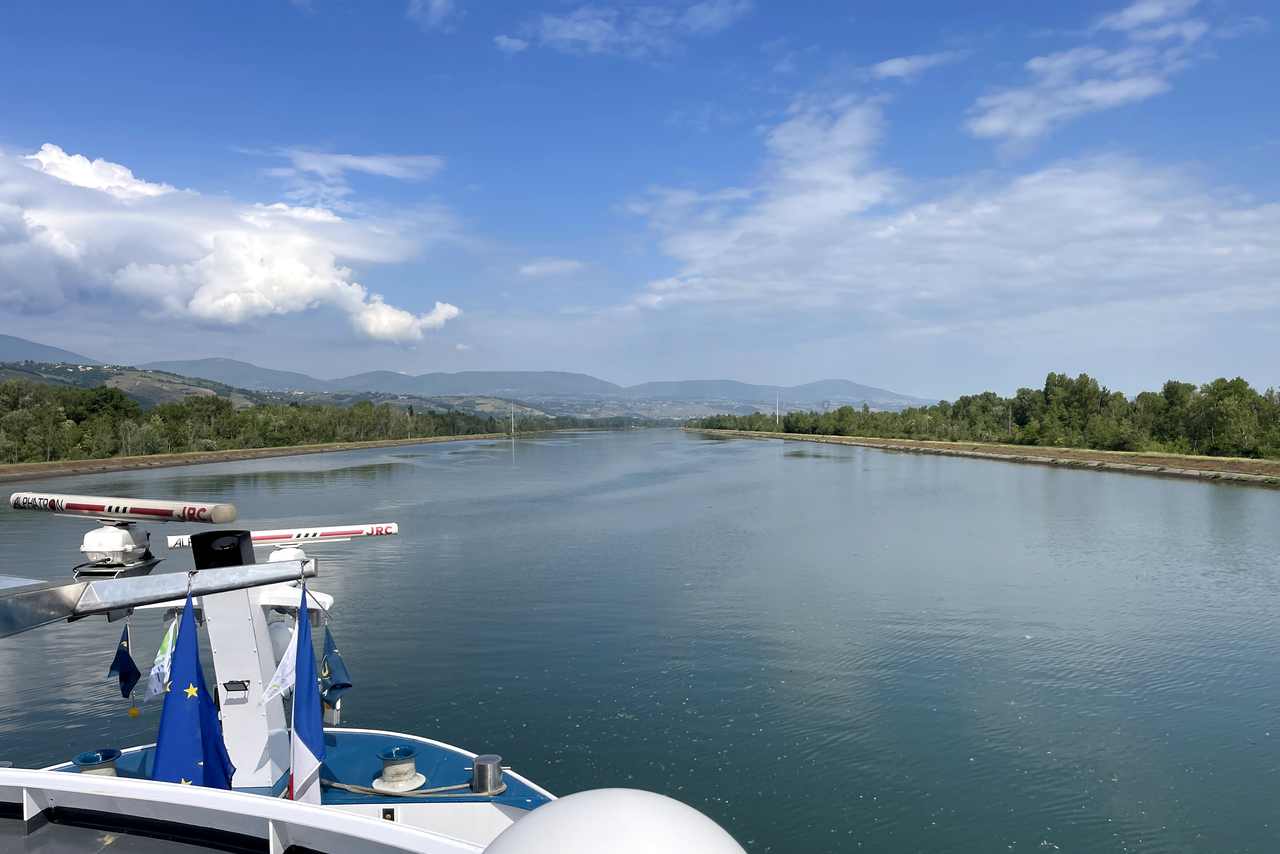
Cruising along the Rhone river on MS Thomas Hardy
From the moment I stepped onboard the ship I was impressed by the wonderful balance of elegance and practical comfort. Riviera’s 5-star fleet has long been known for its luxurious and welcoming style, and Thomas Hardy was no exception.
Suites
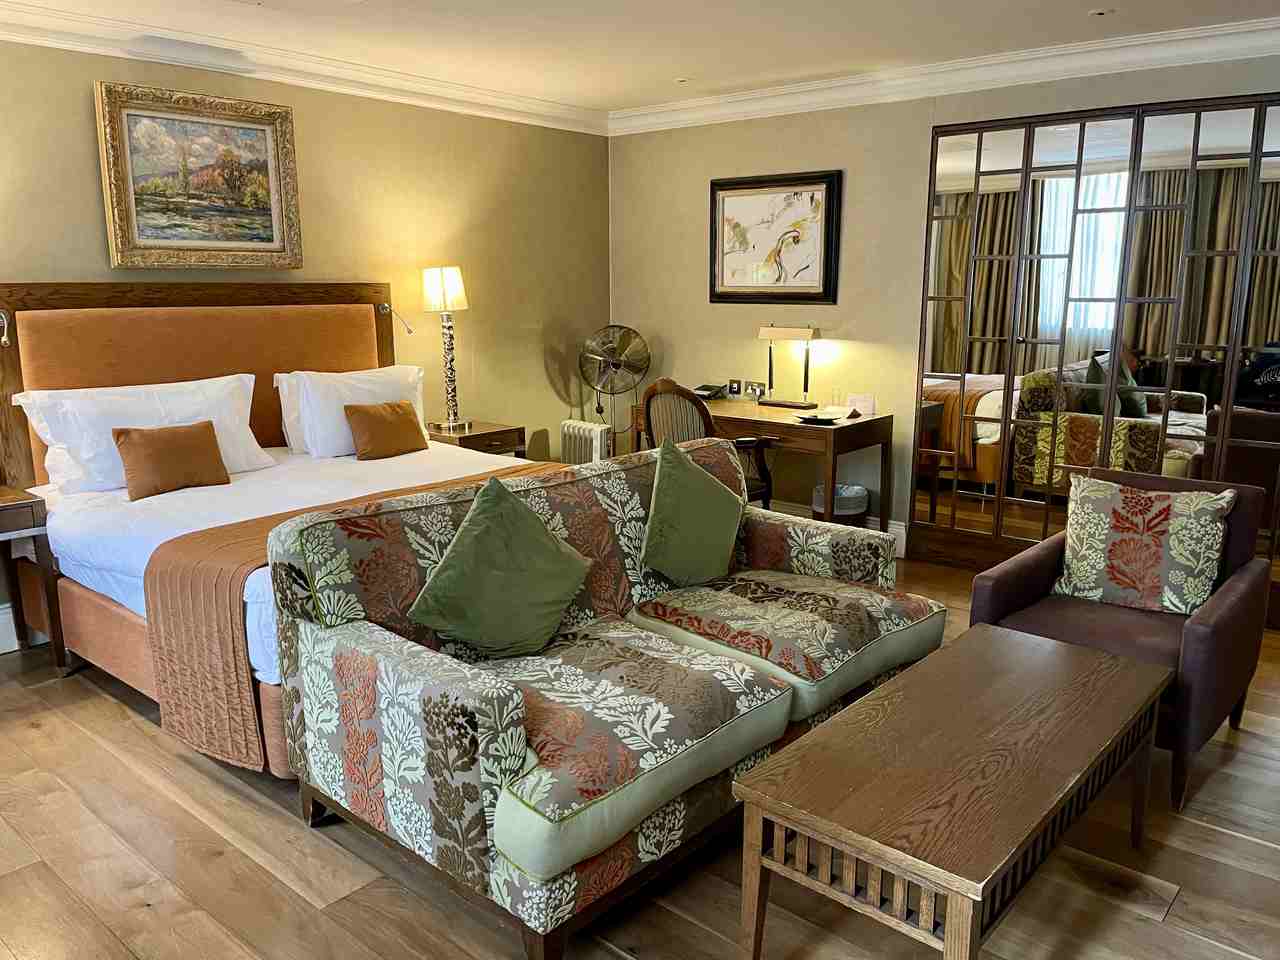
My home for the voyage was a Diamond Deck suite. Positioned on the upper deck, these suites benefit from floor-to-ceiling sliding glass doors that open onto a French balcony.
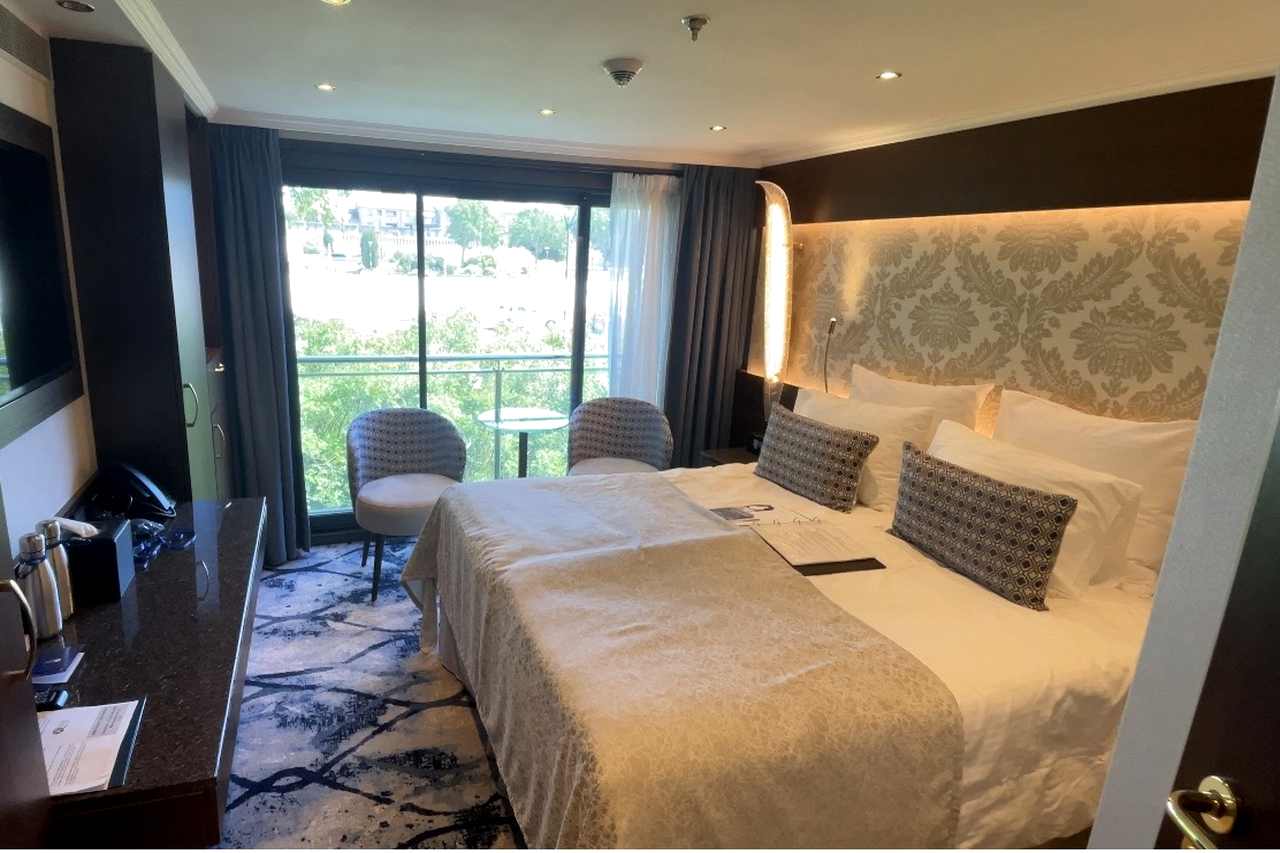
The Diamond Deck Suite on board MS Thomas Hardy
The suites are thoughtfully laid out, with lots of space and are very comfortable. A generously sized bed, ample wardrobe storage, air conditioning, a safe, tea- and coffee-making facilities, and a well-appointed bathroom with a walk-in shower and a very efficient housekeeping service all contributed immensely to our 7-day cruise.
Public Areas
Public areas on board Thomas Hardy are luxuriously designed. The main lounge and bar is the social hub of the ship, a bright and airy space where panoramic windows ensure you never lose sight of the passing scenery.
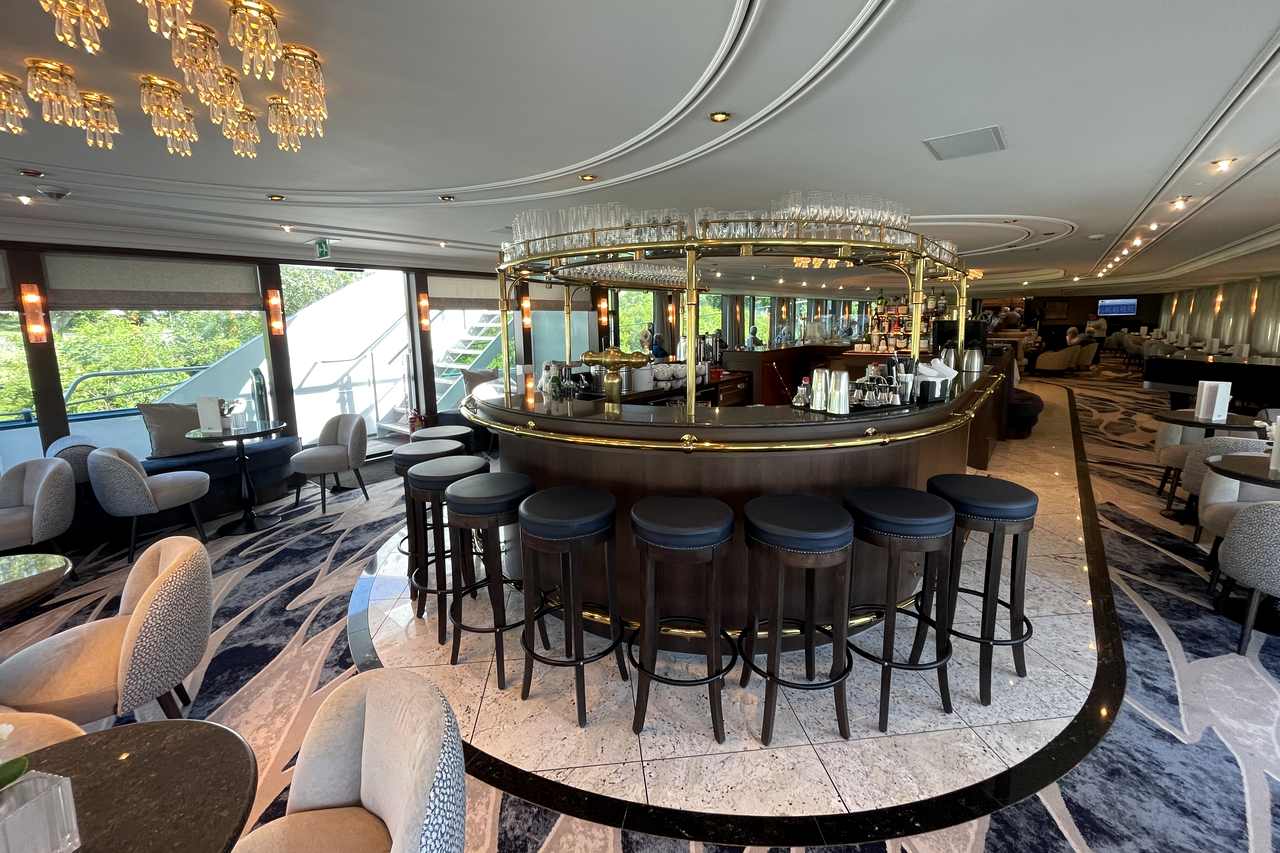
Lounge and Bar on board Thomas Hardy
Whether attending a port talk, enjoying live music and a drink in the evening, or simply settling in with a book or browsing the internet, it’s a welcoming environment that naturally draws passengers together. There’s an onboard boutique, reception desk and a Spa and Wellness Centre. A lift is also available between the upper, lower and middle decks.
Dining
Dining was a true highlight of the cruise. The elegant main restaurant delivered a consistently high standard, with menus that reflected both international favourites and regional specialities inspired by the itinerary.
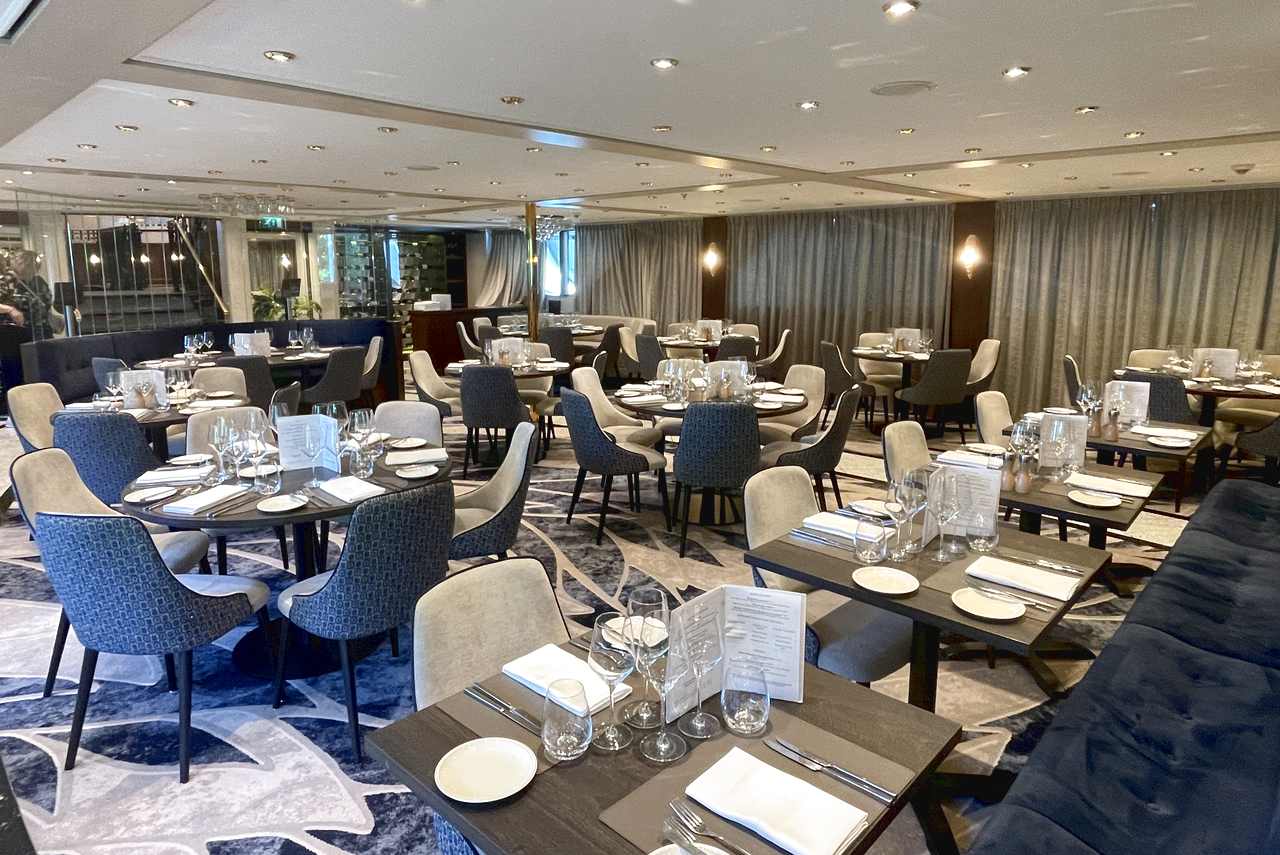
Dining Room on board MS Thomas Hardy
Buffet breakfasts were generous and varied, lunches relaxed, and dinners suitably elegant without becoming overly formal. A particularly welcome inclusion was the free all-inclusive drinks package, with wine, beer, and soft drinks served with lunch and dinner and available at the bar, as well as a tea and coffee station and a still or sparkling water station near reception.
For something a little different, the ship’s Bistro Restaurant at the rear of the ship provided a more intimate setting and of course magnificent views!
Destinations
River cruising is as much about the destinations as it is about the ship, and this itinerary offered a particularly exciting selection of excursions. We joined the ship at Avignon, and on a walking tour the next day, together with a Petite Train Tour, we seemed to see history at every turn. Wandering through its medieval streets and visiting the imposing Palais des Papes, the guided tour was both informative and engaging, providing context without overwhelming detail.
Equally memorable was the visit to the Pont du Gard. This ancient Roman aqueduct is nothing short of breathtaking – its honey-coloured stone arches spanning the river with quiet authority. Standing beneath it, you can’t help but marvel at the engineering prowess of a civilisation that flourished two millennia ago. The excursion allowed enough time not just to admire the structure but to absorb the surrounding landscape and visit the museum and shop.
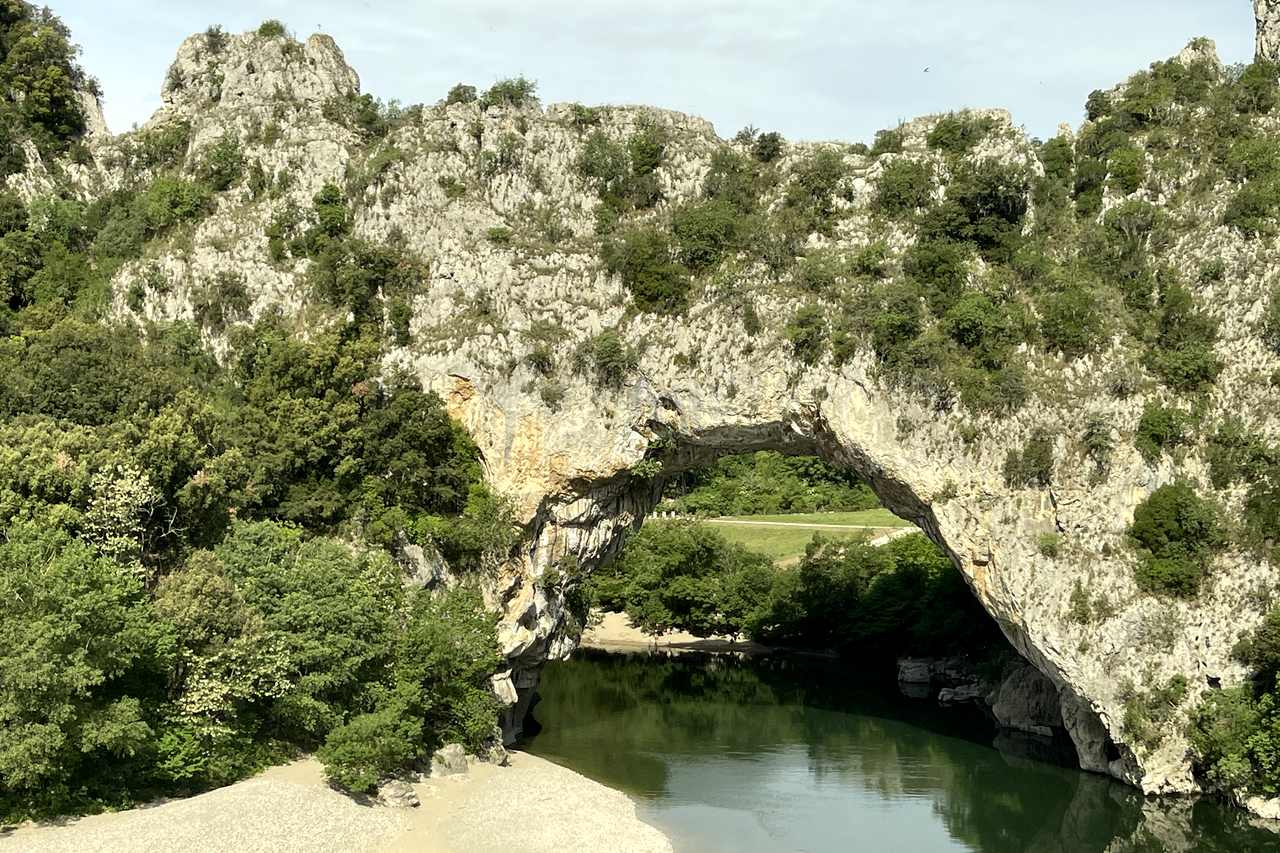
Ardeche Gorge
The Ardèche Gorges offered a dramatic change of scenery. Here, the river cuts through towering limestone cliffs, creating a rugged and almost cinematic environment. The excursion through this region felt like stepping into a different world – wilder, less cultivated and strikingly beautiful.
Then there was the lavender farm and shop. A small train took our group through rows of fragrant lavender plants followed by a short video about the cultivation and distillation processes of lavender. It was interesting to see why this region has become synonymous with lavender production.
Ship Facilities
Back on board, the ship’s facilities ensured there was always a comfortable space when cruising during the day or to retreat to after a tour or free time ashore. Enjoying a glass of wine on the sun deck as we cruise past terraced vineyards and quaint riverside villages is one of those simple pleasures that river cruising does so well.
A particular highlight of the experience was the presence of Riviera’s River cruise hosts, Tony and Peer, who were constantly on hand throughout the journey. Their knowledge, organisation and approachable manner ensured everything ran smoothly while also enriching the overall experience with helpful insights and local context.
Service throughout the voyage was first class. The crew were all friendly, helpful and keen to ensure all passengers had a memorable experience. Dress code was smart casual but on the Captain’s Gala night the majority of guests dressed a little more formally.
Verdict
Thomas Hardy delivered a super river cruise experience, with transfers, comfortable accommodation, excellent dining, thoughtfully curated excursions, good tour guides, and a relaxed onboard environment that allowed the destinations to shine. Combined with the ever-changing scenery of the Rhone and Provence, it made for a journey that was deeply enjoyable. I would highly recommend river cruising with Riviera Travel and can’t wait to join them again!
MORE INFO:
For more information on a Riviera River Cruise visit www.rivieratravel.co.uk/river-cruises
The post Cruising the Rhone River on MS Thomas Hardy appeared first on The Travel Magazine.