Selective Color Edits are Easier Than Ever with Lightroom’s New Masking Tools (VIDEO)
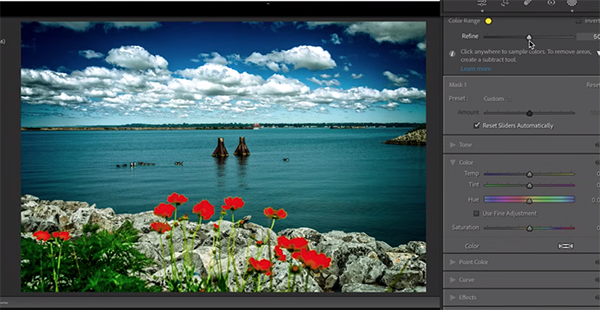
Yesterday we featured a straightforward guide to using Selective Exposure adjustments to get the light right in complicated images with a wide range of brightness levels throughout the frame. Today’s tutorial from another image-editing expert demonstrates how to take a similar approach with Lightroom’s powerful Selective Color tools.
One of the key benefits to a Selective editing approach that we mentioned yesterday applies to today’s technique, as well as to other enhancements made with this preferred approach. Simply put, that’s because you’ll achieve far more precise results by adjusting specific points within a scene differently, rather than by applying global enhancements that affect the entire image at once.
Selective editing requires the use of masking, and some photographers shy away from this method because of the extra steps involved. But as you’ll see in the following tutorial from image-editing expert Anthony Morganti, all that has changed because of the streamlined capabilities of Lightroom’s new Masking tools.

Morganti is an accomplished photographer and a very popular educator based in Buffalo, NY. Today’s 13-minute primer is a must-see if you’re new to Selective Color tools, whether you use Lightroom Classic, the Cloud version, or Adobe Camera Raw (ACR). And like with yesterday’s video, by mastering today’s technique you’ll be well-prepared for other types of selective editing.
Morganti’s first demonstration image is a nice lakeside shot of a cardinal perched atop a boulder on the shore. The problem is that the colors in the scene are a bit flat and there’s no way to enhance the image in the manner Morganti envisions with the common global approach.
Morganti’s goal is to give this shot a unique look, with a vibrant red Cardinal and everything else in b&w—a creative way to accentuate the main subject and guide the viewer’s eye to the most important part of the shot. His approach is to first make whatever basic global adjustments are required, and the turn to masks and selective adjustments that refine colors to the max.

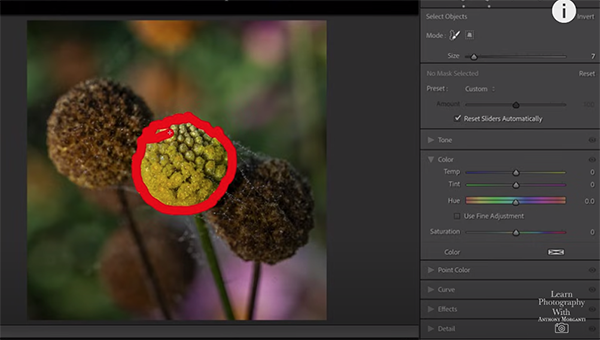
As you see, the simplicity of the photo makes the required transformation very easy to accomplish. With this understanding under your belt Morganti moves on to more involved examples, and he walks you through the process for getting the job done. The impressive results he achieves with each image will convince you of the superiority of these techniques.
There’s much more to learn about post processing on Morganti’ popular YouTube channel, so be sure to take a look.
And don’t forget to watch the tutorial mentioned above that will enable you to level up exposure adjustments with a very similar technique. Once you get exposure and color corrected to perfection you’re well along the way to creating very compelling photos.


