Sydney In Summer: Top 5 Arts and Cultural Must-Dos
I have lost count of the number of times someone has told me Sydney is “beautiful, but not very cultural.” This is usually said by people who have been here for four days, spent most of it horizontal on Bondi Beach, and eaten three identical avocado breakfasts. It is also often said within sight of the Sydney Opera House, a building so relentlessly associated with culture that it has become almost invisible, like a very glamorous piece of furniture everyone assumes belongs to someone else.
What this view misses is timing. January in Australia is when Sydney stops being quietly cultural and becomes impossible to ignore. While much of the Northern Hemisphere slows down, Sydney accelerates. Festivals spill across the city, major artists arrive mid tour, galleries open ambitious summer programs, and culture moves outdoors with casual confidence. If you are looking for an escape that offers more than good weather, Sydney in summer makes a compelling case.
To help frame that case, here is a clear-eyed checklist of what the city offers during Australian summer.
 1. Sydney Festival: A City That Refuses to Sit Still
Sydney Festival does not revolve around a single centrepiece. Instead, it spreads across the city, feeling less like a crown jewel and more like a carefully scattered collection of fine pearls. Its 50th anniversary carried particular weight, arriving in the aftermath of the Bondi Beach attack and openly positioning itself as a way for people to reconnect through shared cultural experiences.
The program spans theatre, dance, music, talks, workshops and fringe performances, mixing free events with ticketed shows. Highlights included Khalid Abdalla’s solo work Nowhere, a playful and politically charged reflection on revolution and exile, and two nights of Hot Chip at the Opera House that treated electronic pop with arena-level seriousness.
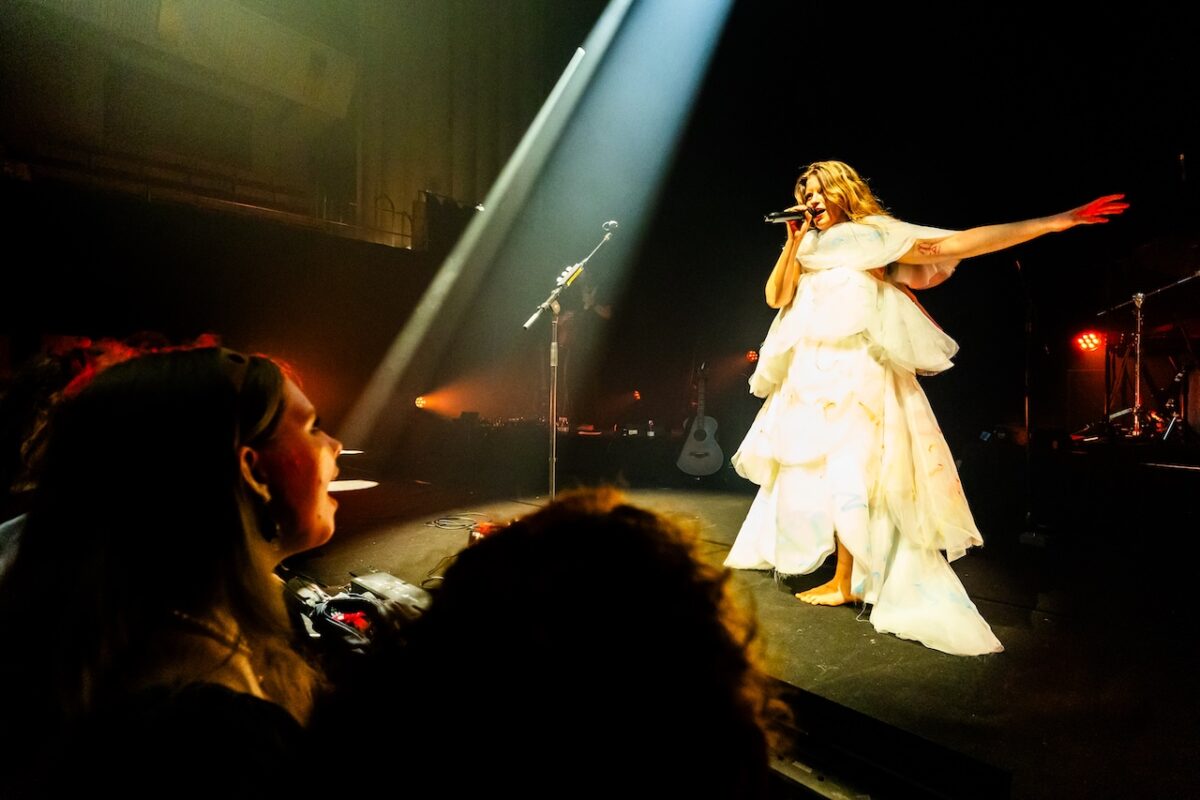
 Alongside these sat the next generation of artists. Travis Alabanza’s Burgerz turned a transphobic assault into a sharp, funny and deeply human exploration of vulnerability, while Paris Paloma’s sold-out performances at City Recital Hall brought an infectious Gen Z energy to a venue better known for restraint.
Sydney Festival remains one of the most efficient ways to experience the city at full creative tilt.
Plan your visit here.
 2. Sydney Opera House: Not a Monument, a Machine
From the outside, the Sydney Opera House reads as an icon. Inside, it reveals itself as something more useful: a working cultural engine. Its Contemporary Performance program runs year-round and extends far beyond opera and orchestral staples.
Programming ranges from major music theatre, including SIX, In the Heights and Sweeney Todd, to international dance by artists such as Akram Khan and Hofesh Shechter, alongside cabaret, circus and magic from performers like Penn and Teller. The throughline is momentum. Classics are reworked, popular culture is taken seriously, and international work is presented without dilution.
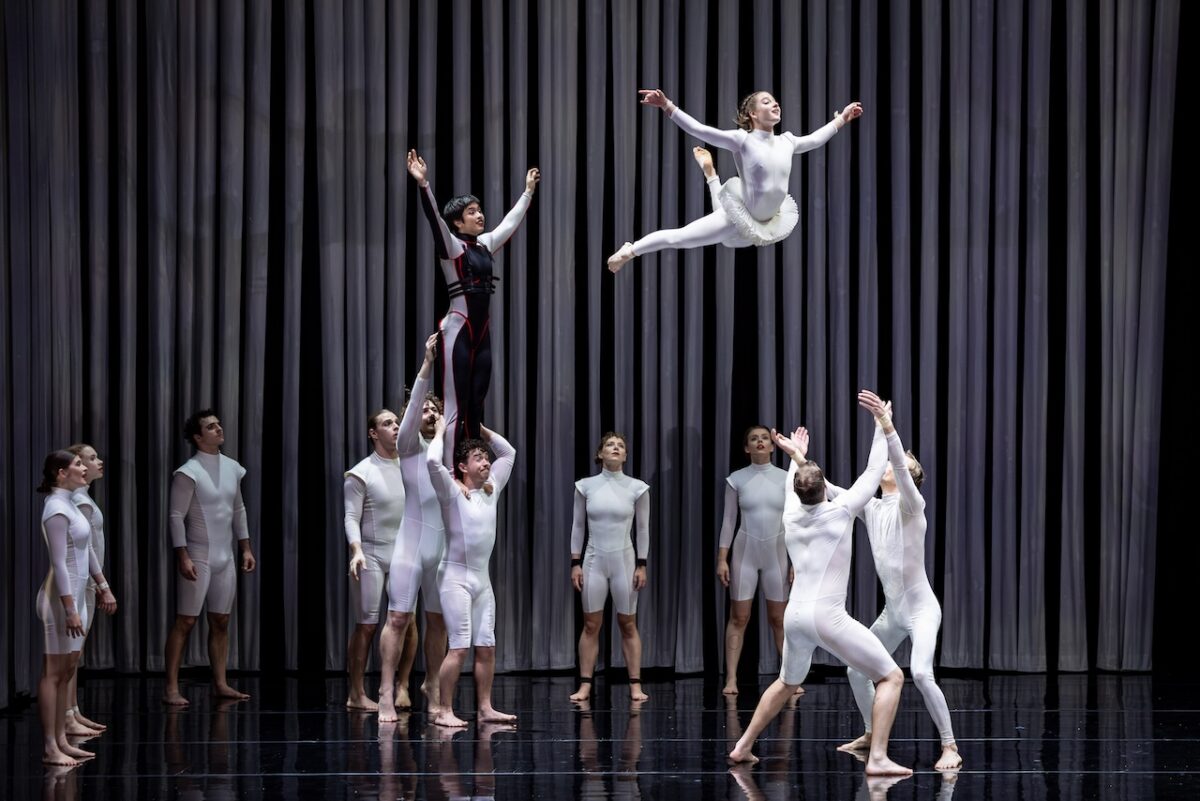
 That approach was neatly illustrated by Duck Pond, which played a brief Sydney season ahead of national and international touring. Circa’s reimagining of Swan Lake and The Ugly Duckling replaces reverence with wit, strength and physical storytelling. Tutus give way to astonishing feats of trust and balance, while mischievous ducks in bright orange beaks puncture any hint of solemnity. It was funny, breathtaking and unexpectedly moving, proof that old stories survive not by staying the same, but by being retold with intelligence and humour.
Explore the full program here.
 3. Outdoor Cinemas: Culture After Dark, Under the Stars
Australians worked out early that warm summer nights do not belong indoors, and Sydney’s outdoor cinema culture feels like the logical result. In January, watching films under the stars is not a novelty. It is simply how evenings unfold.
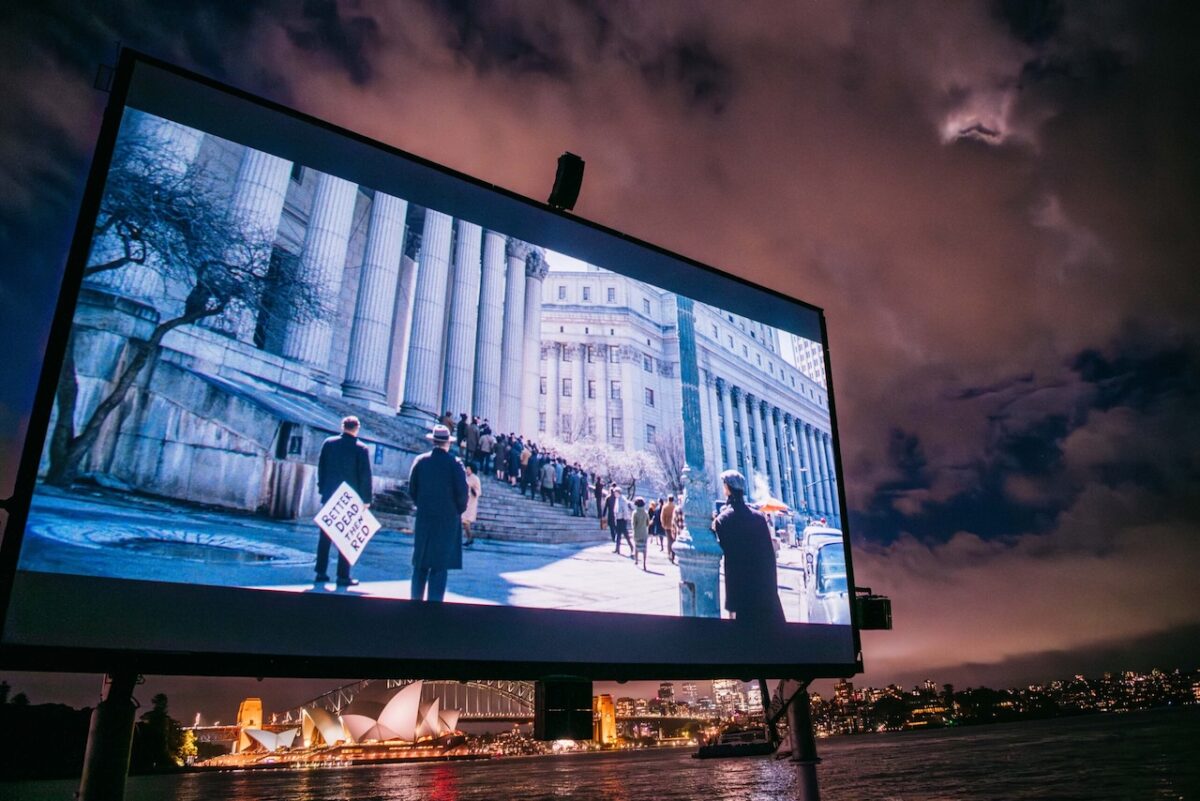
Westpac OpenAir at the Royal Botanic Garden offers the most polished version of the experience. Screenings play out against a harbour backdrop so spectacular it barely needs embellishment, with the Opera House and skyline doing much of the visual work. Alongside current releases, evenings often open with short films from the National Film and Sound Archive, giving the night a heightened sense of occasion.
Find out more here
 At Barangaroo, Mov’in Bed takes a deliberately softer approach. Guests watch from fully made beds complete with pillows and duvets, trading grandeur for comfort. The programming is accessible, the atmosphere relaxed, and the emphasis firmly on ease rather than spectacle.
Together, they capture a defining Sydney idea: culture does not need walls to feel important, just a good screen, a warm night, and no rush to leave.
 4. Global Touring Artists: Winter Elsewhere, Peak Season Here
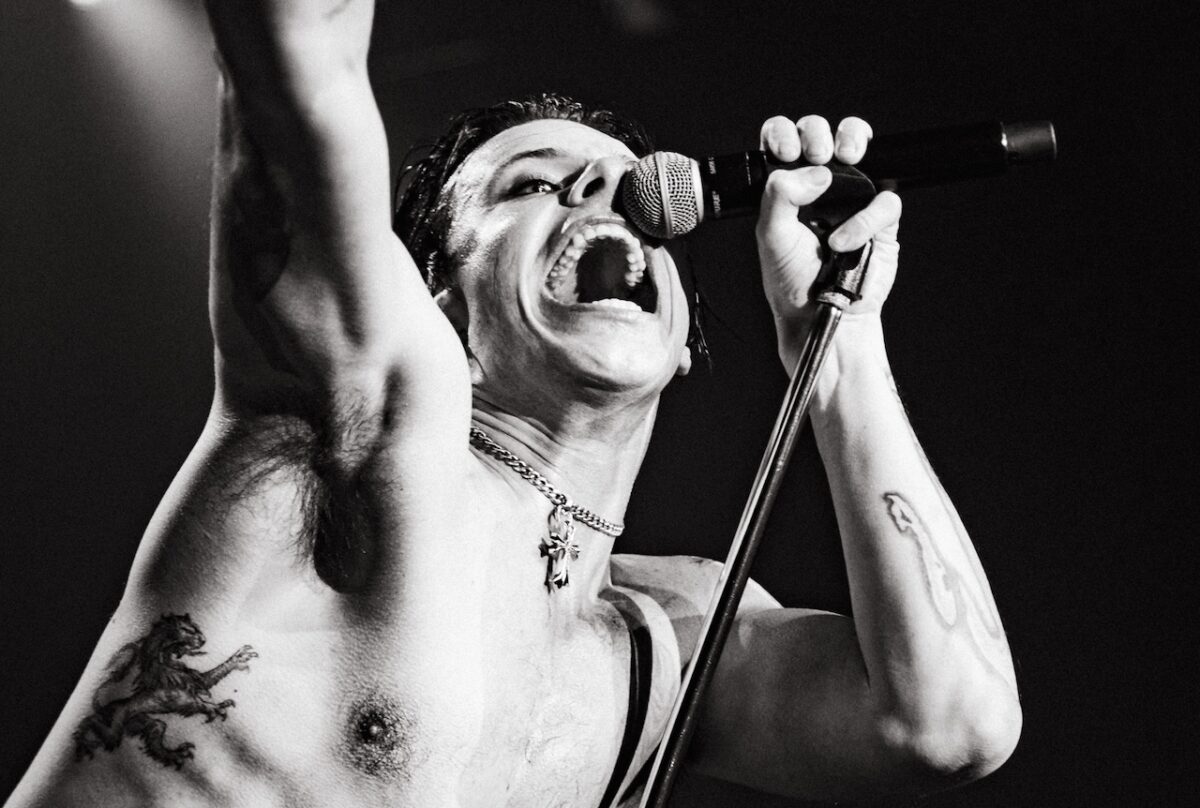
While Europe and North America slow down, Sydney fills up. January and February are prime touring months, and the city benefits accordingly. Artists like Turnstile and Yungblud arrive mid tour rather than as an afterthought, playing to crowds that underline Sydney’s place on the global live music circuit.
For visitors, this creates a simple advantage. If you care about contemporary music, January in Sydney is not a cultural gap. It is a sweet spot. Checking listings on Songkick before you travel is often enough to secure an unexpected highlight. Don’t forget to check The Travel Magazine’s own Live Reviews section for any shows you miss!
 5. Galleries and Exhibitions: Big Institutions, Quiet Discoveries
Away from stages and screens, Sydney’s galleries do their work with less noise and equal confidence. The expanded Art Gallery of New South Wales balances major international exhibitions with strong contemporary and First Nations programming. Summer exhibitions are often paired with free talks, tours and workshops, making the space feel active rather than ceremonial.
Across the harbour, the Museum of Contemporary Art Australia continues to mount ambitious and often provocative exhibitions, frequently engaging with technology, identity and future-facing ideas. Its Circular Quay location makes it an easy cultural stop, and lingering is encouraged.
Beyond the major institutions, January rewards curiosity. N.Smith Gallery in Paddington regularly stages thoughtful group exhibitions that offer an intimate counterpoint to museum-scale shows.
Artist-run spaces like Artspace in Woolloomooloo present emerging and experimental voices, often tackling political and social themes with directness and urgency.
Further afield, White Rabbit Gallery in Chippendale continues to showcase contemporary Chinese art, while suburban venues such as Mosman Art Gallery focus on place, history and local practice. For a broader snapshot of what is on across the city, Art Almanac remains a reliable guide.
Taken together, Sydney’s visual arts scene does not shout for attention. It invites you to wander, linger and look more closely, quietly reinforcing the case for Sydney as a serious cultural destination, particularly in summer.
The post Sydney In Summer: Top 5 Arts and Cultural Must-Dos appeared first on The Travel Magazine.


