
COLOR CALIBRATION: The Secret to Epic Landscape Photos (VIDEO)
Every so often we stumble upon a photo with breathtaking colors that appear natural but seem almost impossible to achieve. Shots like this often involve more than being at the right place at the right time, as you’ll see in the quick tutorial below.
Instructor Neil Borg is a professional photographer, specializing in landscape, travel and nature imagery. He’s also a post-processing expert, known for quick and effective techniques that enable him to finish the job and get back out in the field as soon as possible.
Today’s episode demonstrates how Borg harnesses the magic of Color Calibration to perfect the color of his amazing imagery. He explains the video like this: “We’ll delve into Lightroom’s powerful Color Calibration panel and unlock its secrets to transform your photos into extraordinary works of art.”

Even if creating “art” isn’t a personal priority, you undoubtedly want your images to be as compelling as possible, so open up Lightroom, pull up an image, follow along, and learn how to achieve “dreamy and impossible” colors in barely eight minutes.
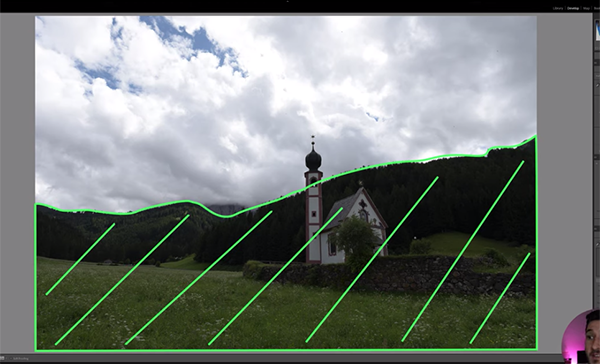
There are two basic problems with Borg’s sample shot: The colors are highly influenced by greenery in the foreground, and by the very bright highlights in the sky. He intentionally picked a Jpeg image to illustrate that this straightforward technique doesn’t require a Raw file to accomplish.
Borg opens the Calibration panel at the bottom of Lightroom’s Develop module and focuses his attention on the three pairs of sliders for adjusting red, green, and blue. There’s also a Tint slider, but that only works when editing Raw files.
You’ll then see how easy it is to dramatically “re-color” a photo by moving the red, green, and blue sliders in a way that makes adjustments in a complimentary fashion. He first pushes greens all the way to the left for more “yellowish” tones, before making less drastic modifications to the other two primary colors.
The colors look much better after these preliminary changes, and now it can be edited like any other image. Borg walks you through his quick process for improving Exposure, Contrast, and other important variables. He also uses Lightroom’s Dehaze tool to create a subtle, dreamy effect.
Borg completes the impressive transformation by using an S-Curve as part of his global settings. After watching the video head over to his instructional YouTube channel for more straightforward tips on editing outdoor photographs.
And don’t miss a tutorial we posted from another pro recently, with a simple Lightroom masking hack for photographers of all skill levels. Trust us: this one will quickly transform dull landscape photos into stunning images that grab attention.


